
- Creating the Active Directory Network VMs
- Installing Windows Server 2019
- Configuring the Server as Domain Controller
- Configuring Server as Certificate Authority
Creating the Active Directory Network VMs
Here are the minimum specifications and dhcp allocations within the webConfigurator for the server and client machine. We will not be setting up the 2nd client machine at this time because we are going to clone the first client VM after OS installation to save ourselves time and effort.


Installing Windows Server 2019
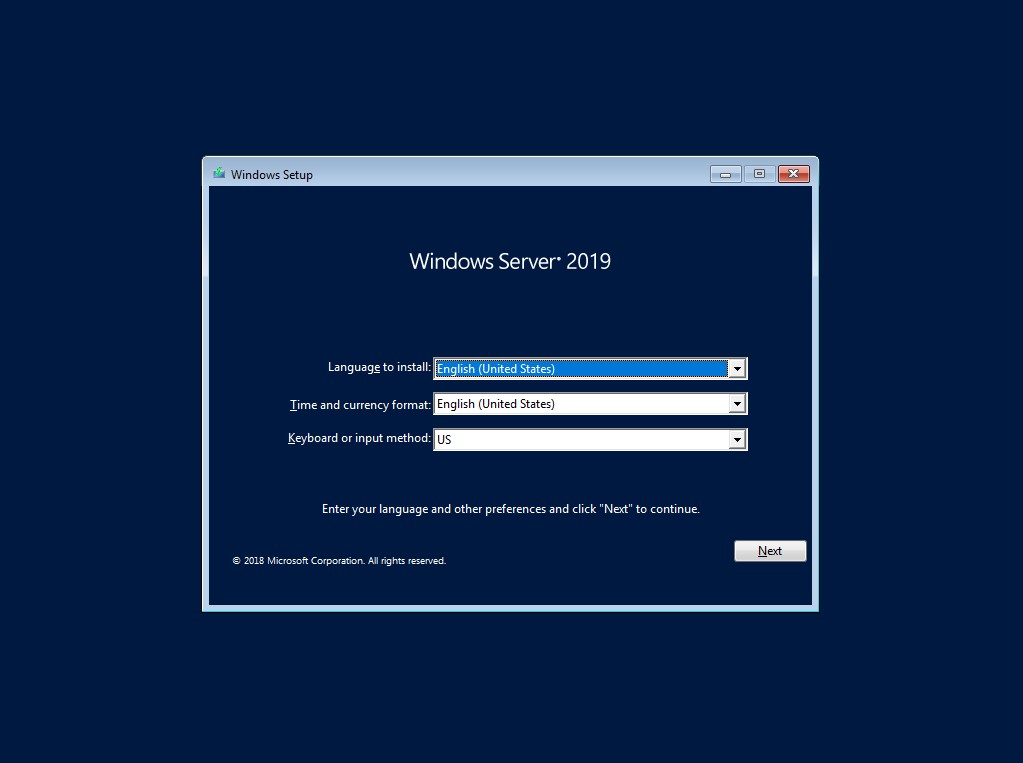
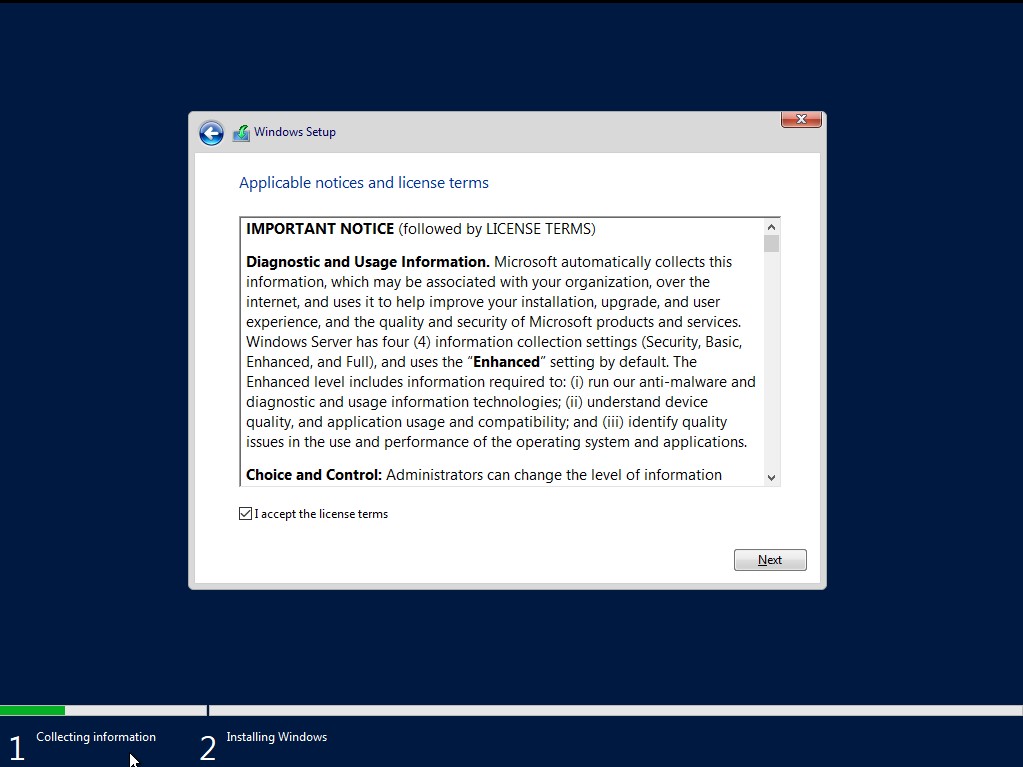
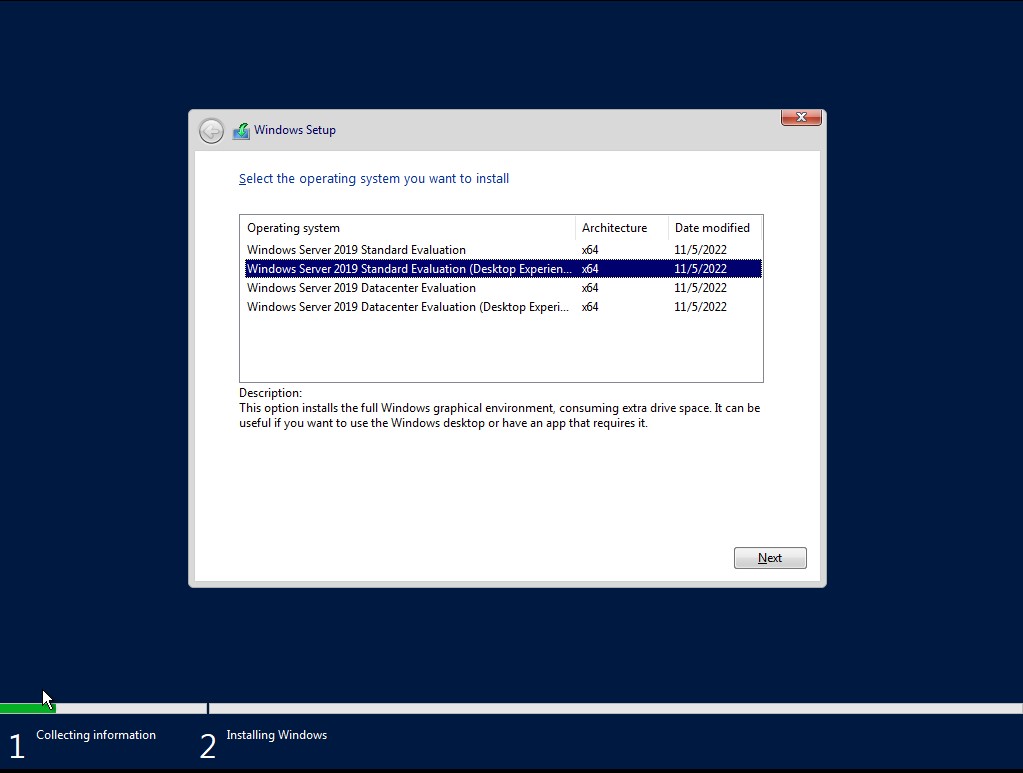
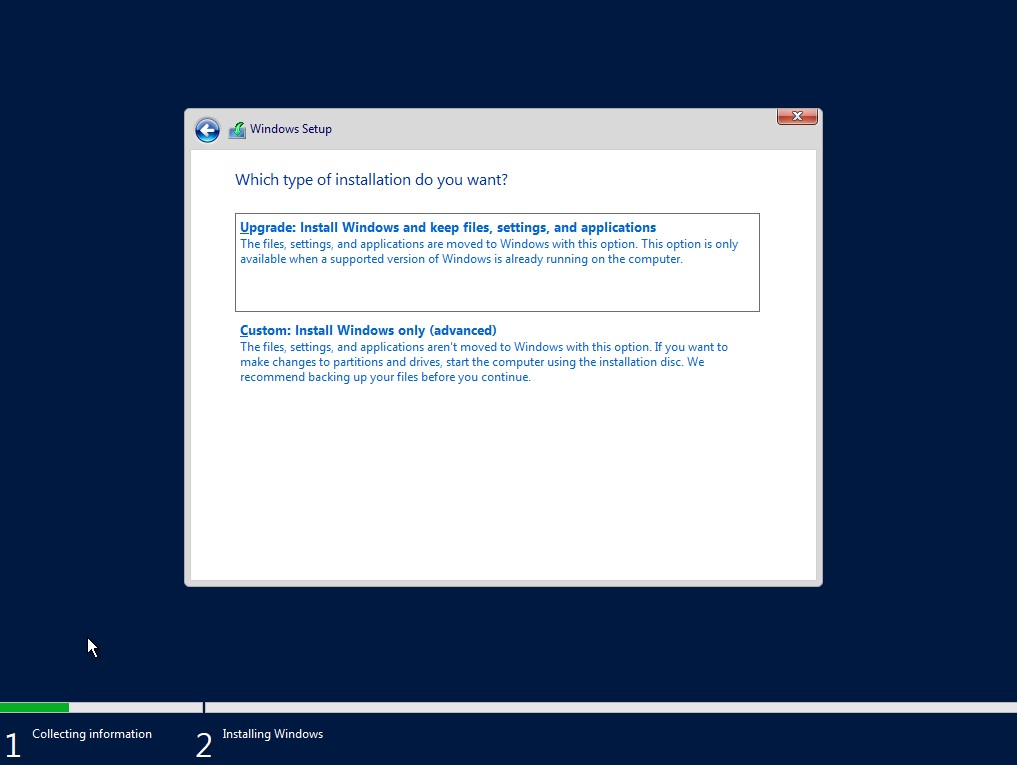
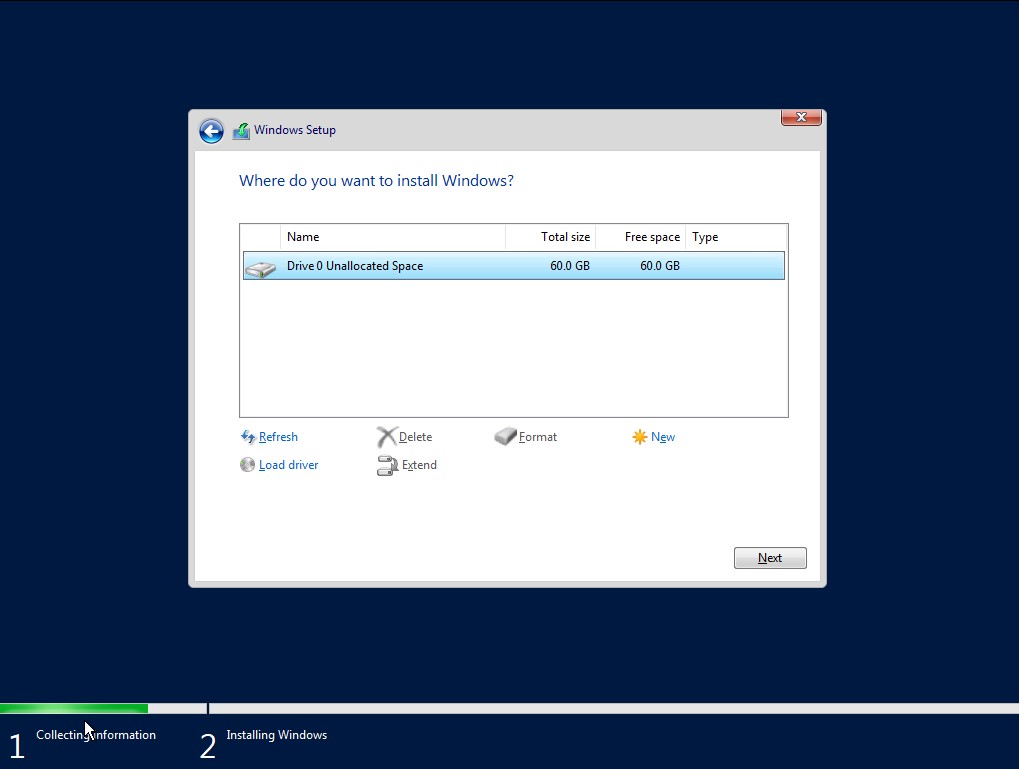
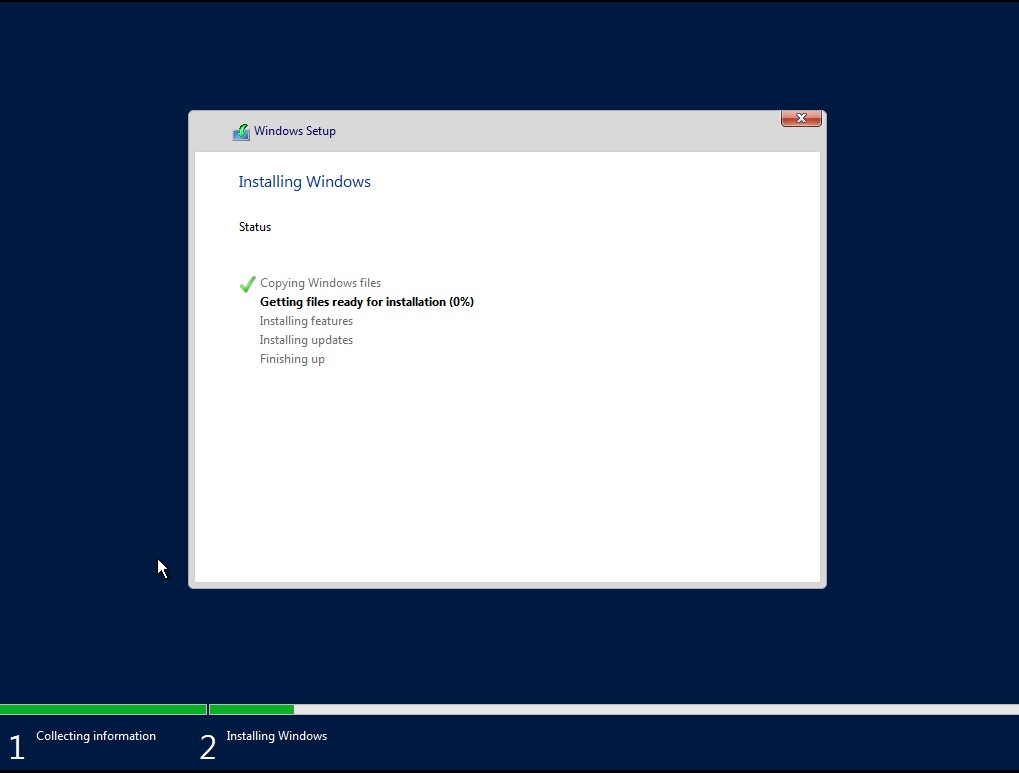
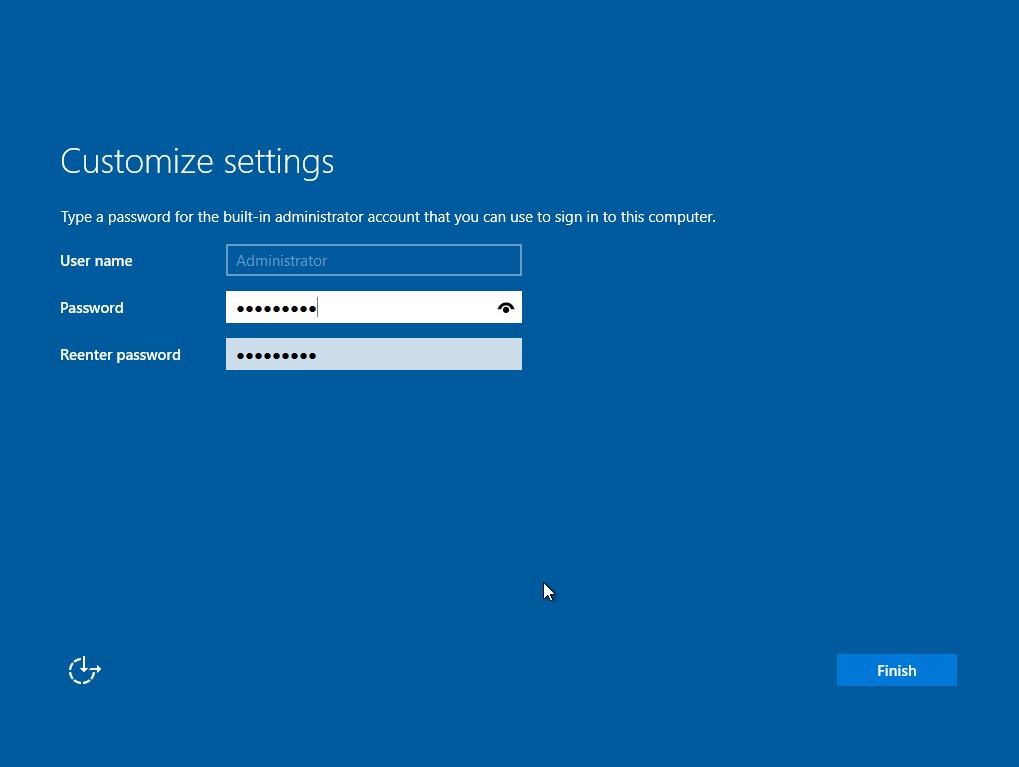
Power on the machine and make sure to press any key to boot from the CD/DVD drive or you will get a time out error. You will be introduced to the ‘Windows Setup’ wizard. Choose your language, time, and keyboard settings and click ‘Next’. Click ‘Install Now’ after that. When it asks which operating system you want to use, select the standard evaluation with desktop experience. On the next page, accept the license agreement. After that, we want to select the custom installation option. Choose the drive we have already created and click ‘Next;. The server will now begin installing, so this may take some time. Once it’s complete, you will have to make a password for the admin account. Click ‘Finish’ once done.
Make sure you don’t choose too complex of a password as we want to make this domain actively weak.
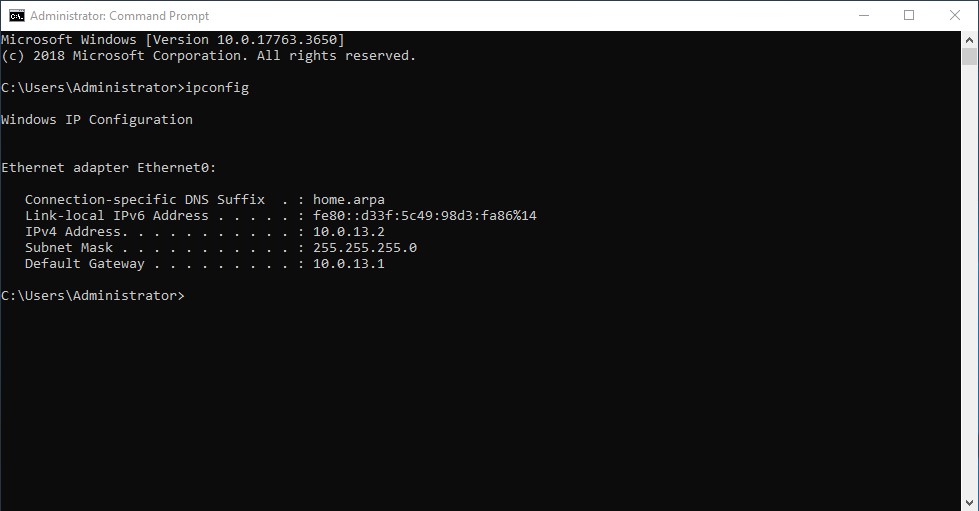
Now we can login. To send a ctrl-alt-del to the virtual machine you can press the highlighted button below to do so. Once in we can do a quick ipconfig to make sure that pfSense DHCP is working correctly for this machine.

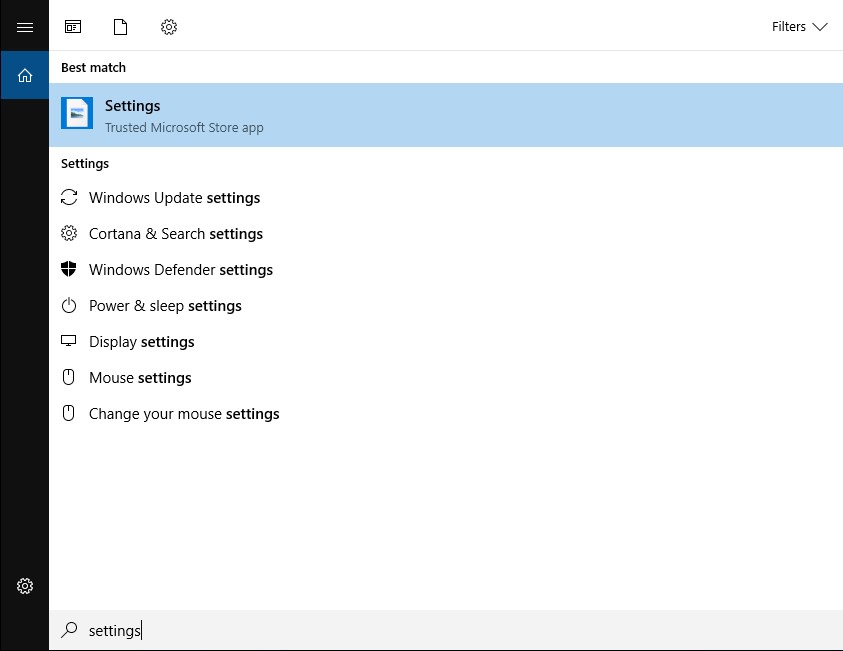
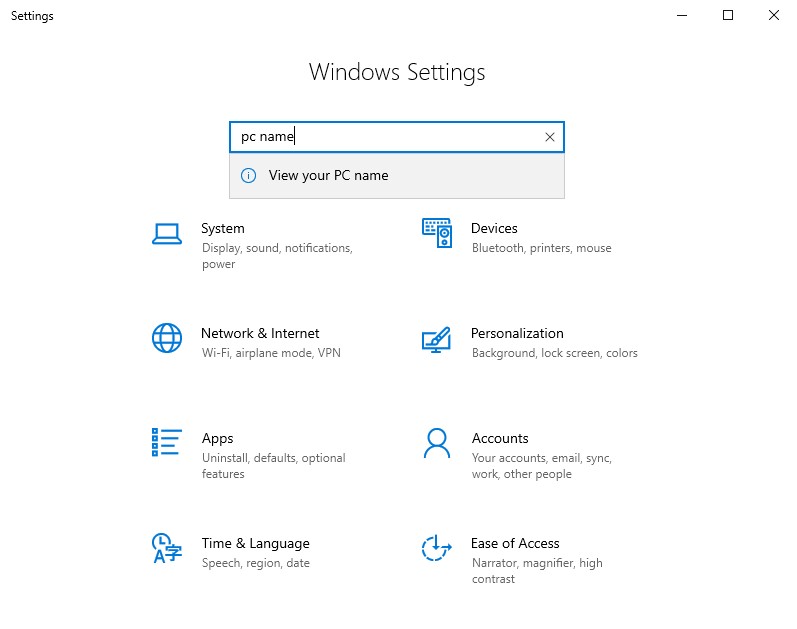
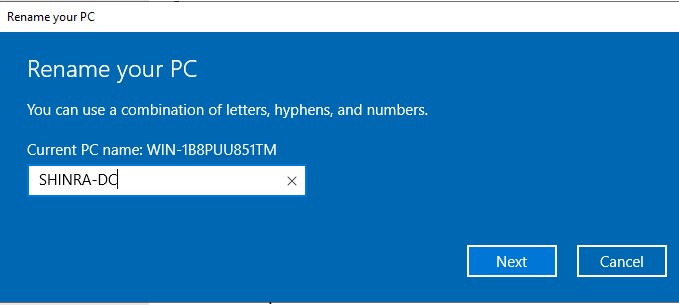
Now that we know everything is in working order we can setup our server to act a a domain controller, but first let’s rename the machine. Go to the search bar and type ‘settings’ to access server settings. On the settings window, search once again for ‘pc name’ and choose the option that appears. Under ‘Device specifications’ you can then change the device name to whatever you please. Go with whatever theme you want. Now we must restart for the change to take effect.
Configuring the Server as Domain Controller
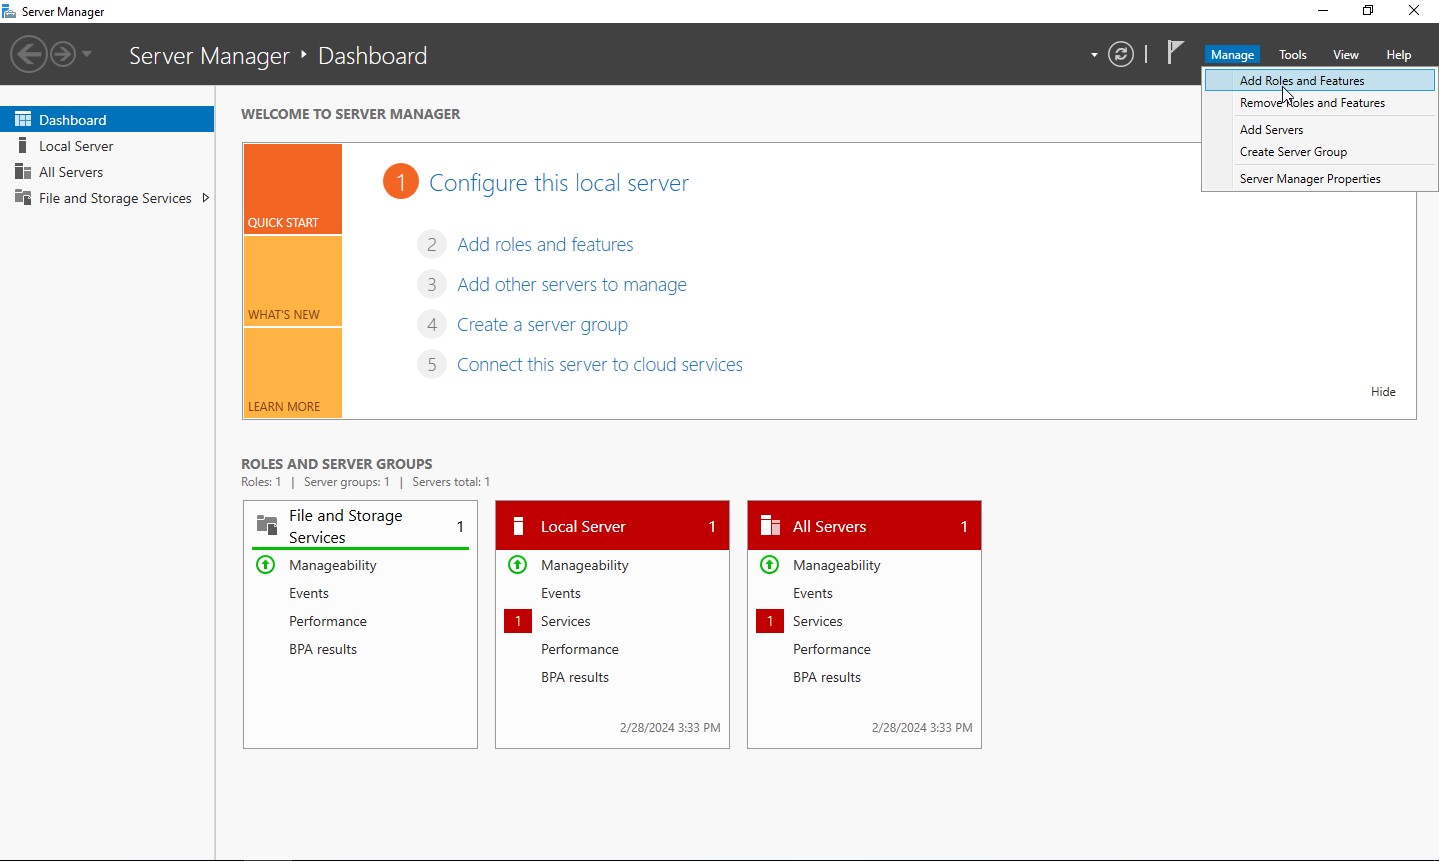
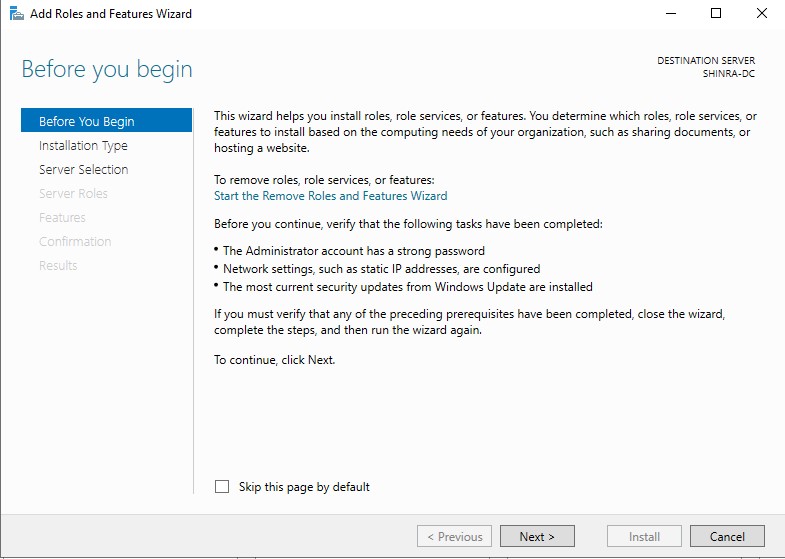
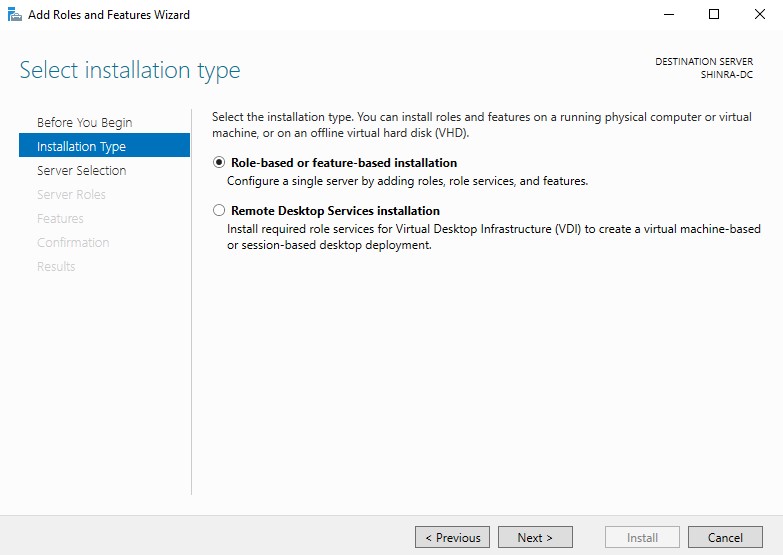
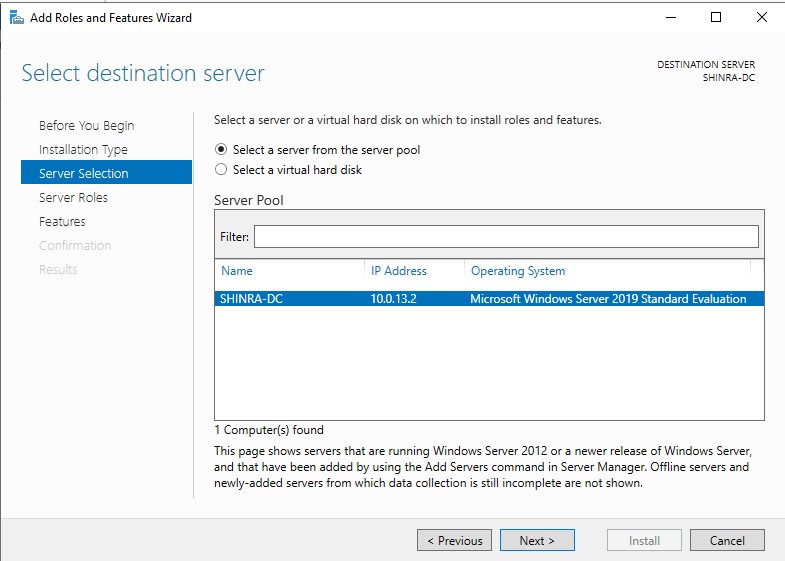
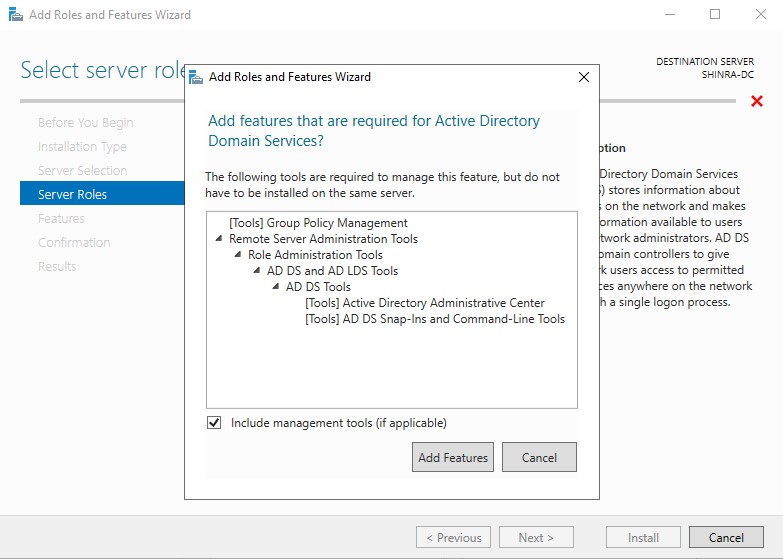
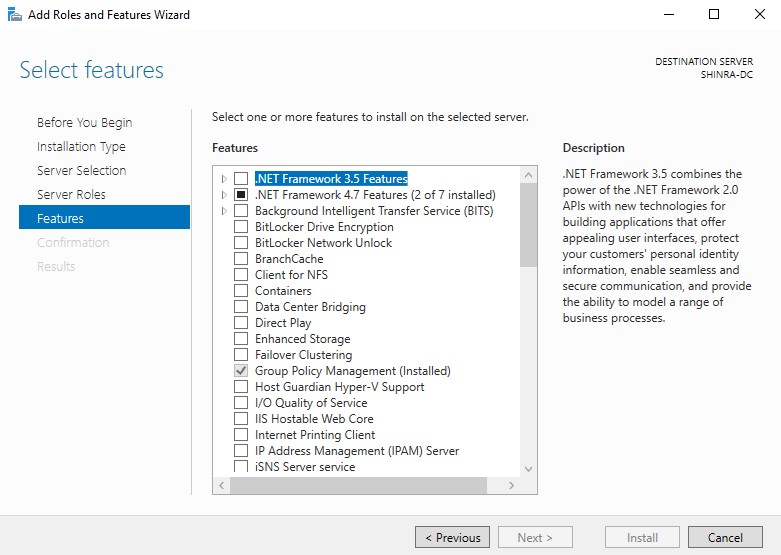
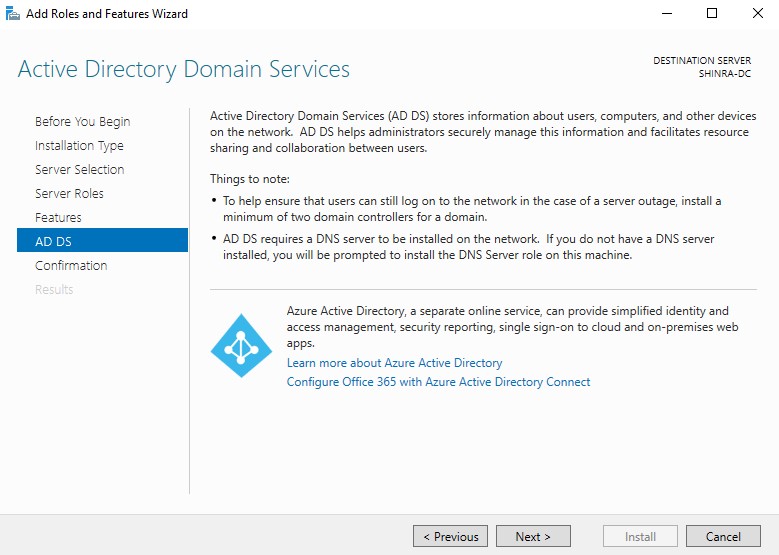
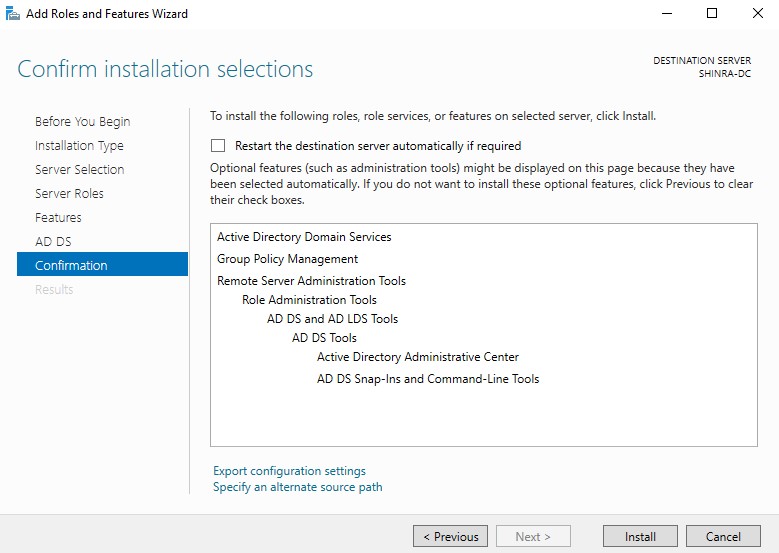
When we log in again, we should be greeted with the ‘Server Manager’. This is the interface we will be using to configure the DC. Go to ‘Manage’ → ‘Add Roles and Features’. The wizard will launch, click through until you get to ‘Server Roles’. Once there we are going to skip through the ‘Before you Begin’ section. Under ‘Installation Type’ we are going to leave it at role-based/feature-based. On ‘Server Selection’, our current server should be selected by default so skip through this part. For ‘Server Roles’, we are going to select active directory domain service. For ‘Features’, we don’t need to select anything additional. Skip through the ‘AD DS’ and ‘AD CS’ screen,s and then confirm and install, Once it’s finished we will need to manually reboot, so go ahead and do so.
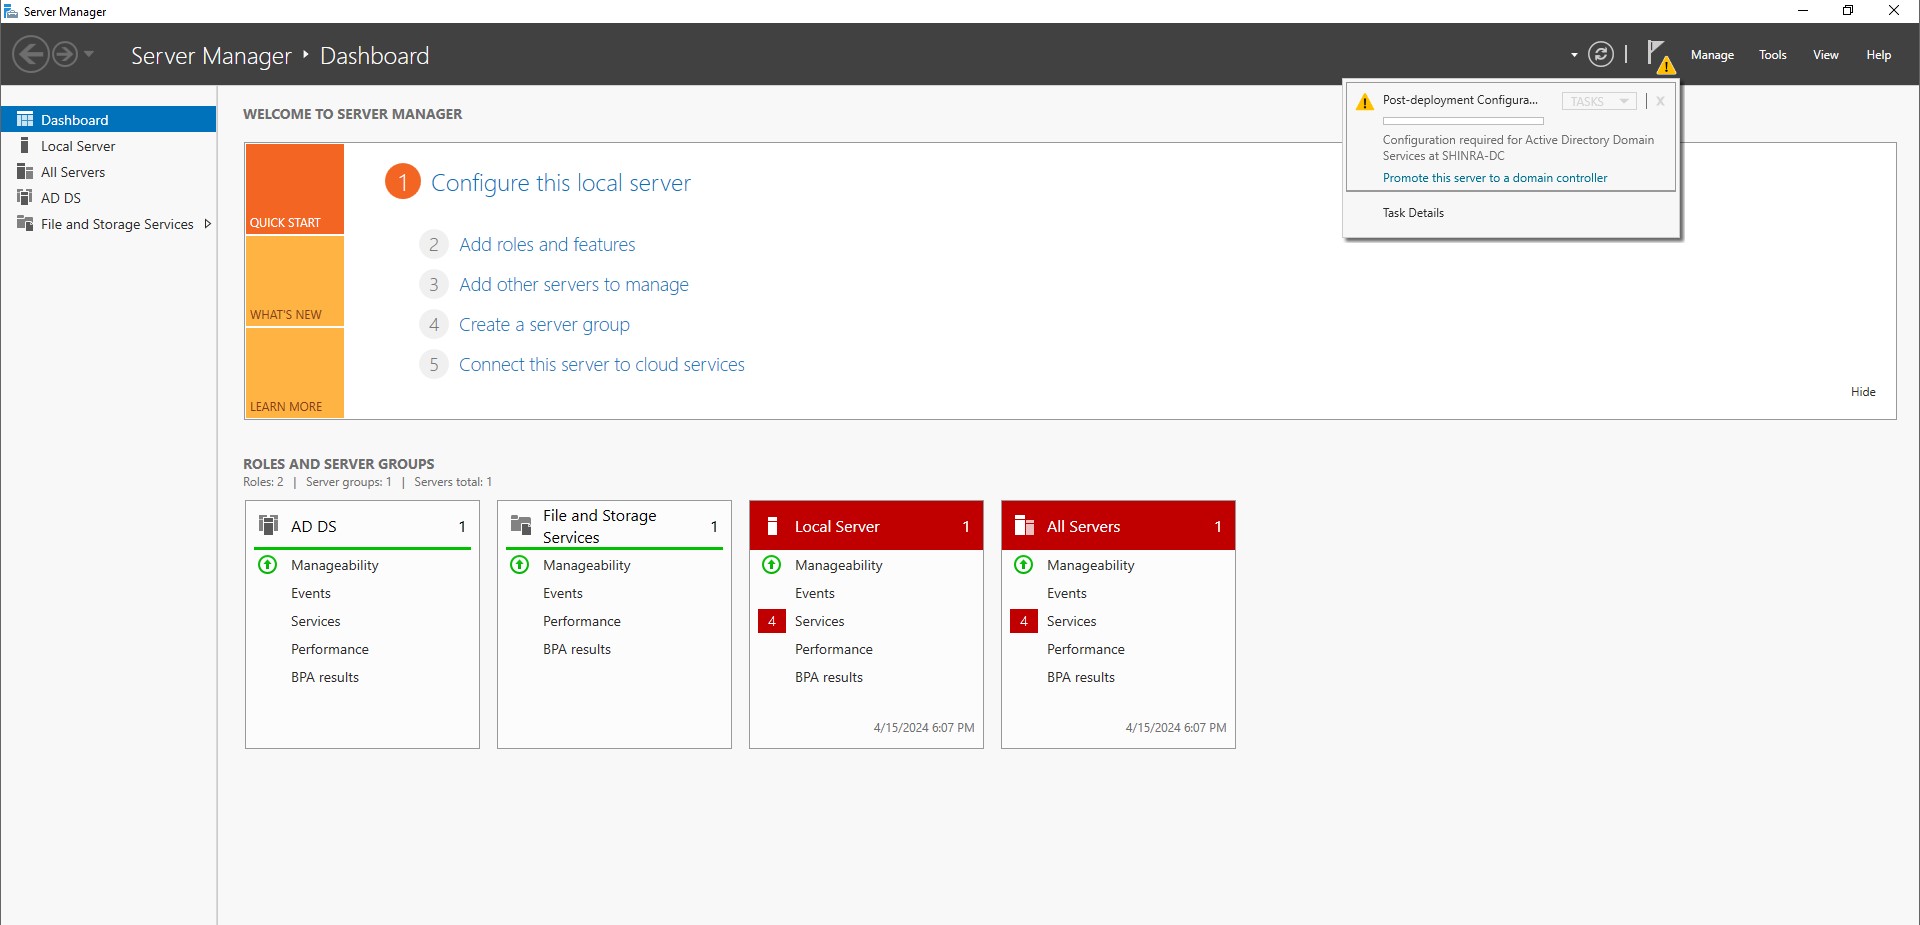
Once it’s restarted, We can go back to the server manager to configure the domain controller. There should be a flag with a yellow caution sign in the menu bar up top, let’s click on it. When we do, we should see the option ‘Promote this server to a domain controller’. Click on it to launch the domain services configuration wizard.
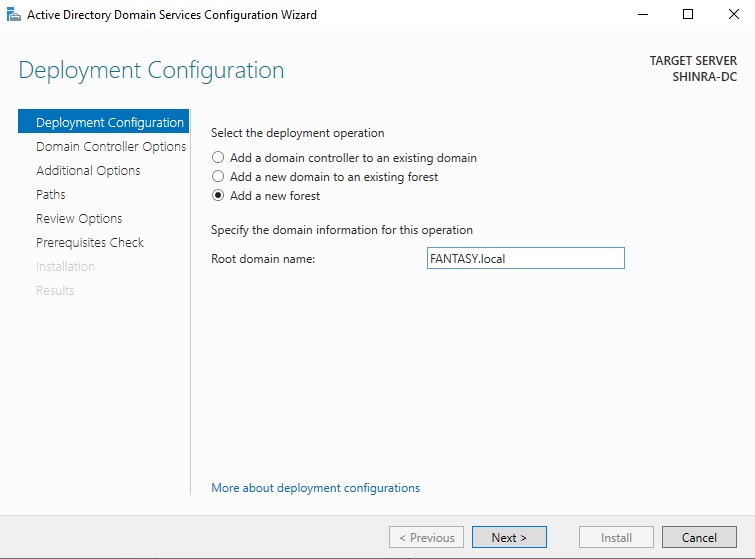
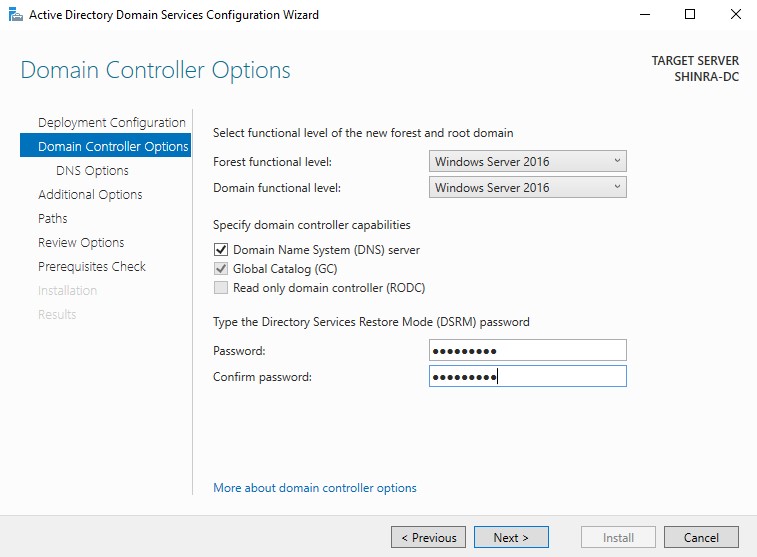
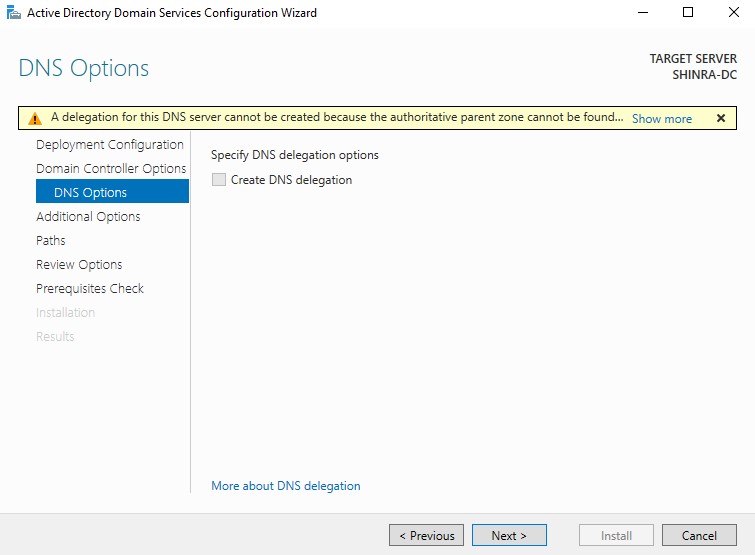
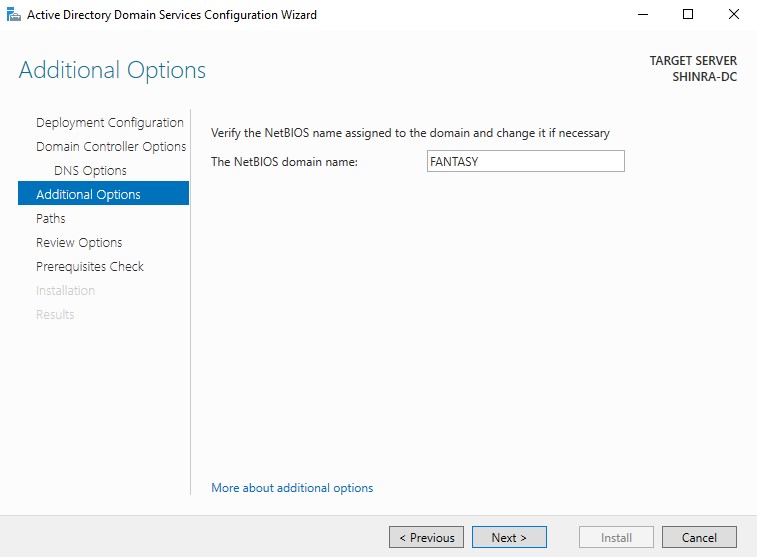
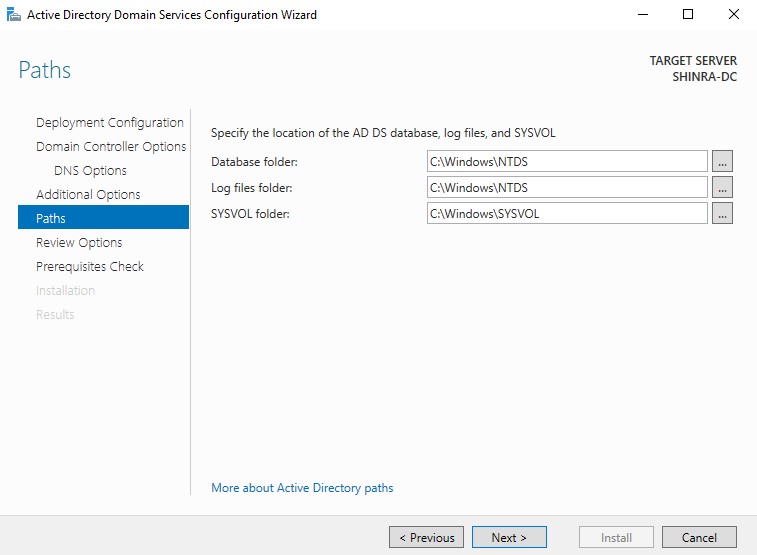
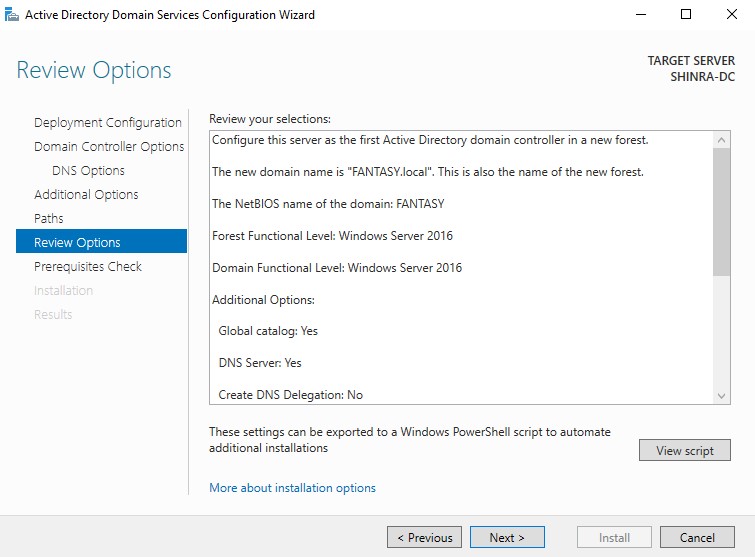
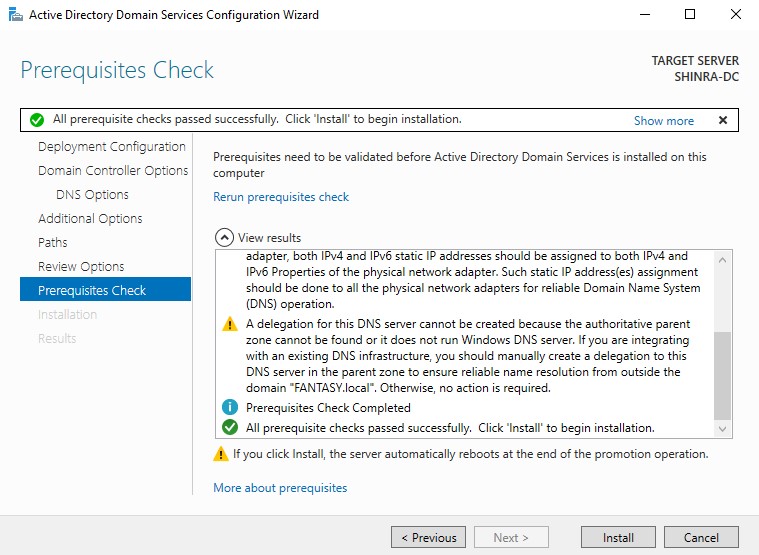
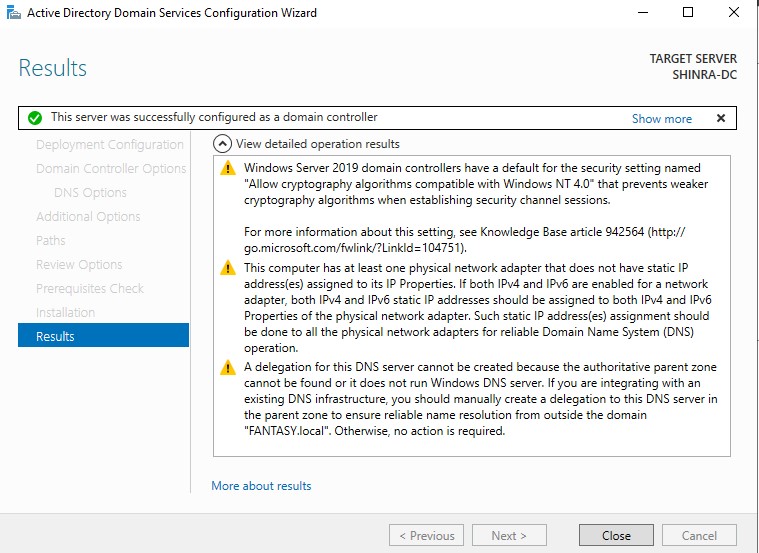
Select ‘Add a new forest’ and choose a root domain name. On ‘Domain Controller Options’, choose a recovery password and leave as default. For ‘DNS Options’ we can ignore the warning and continue. Skip past ‘Additional Options’ and ‘Paths’, leaving them as default. Click past ‘Review Options’. On the ‘Prerequisite Check’ screen, you should see three warnings, but those are to be ignored as well. We can then begin installation. Once it’s done it will automatically restart after a short period. Once it’s restarted we can configure the server as a certificate authority.
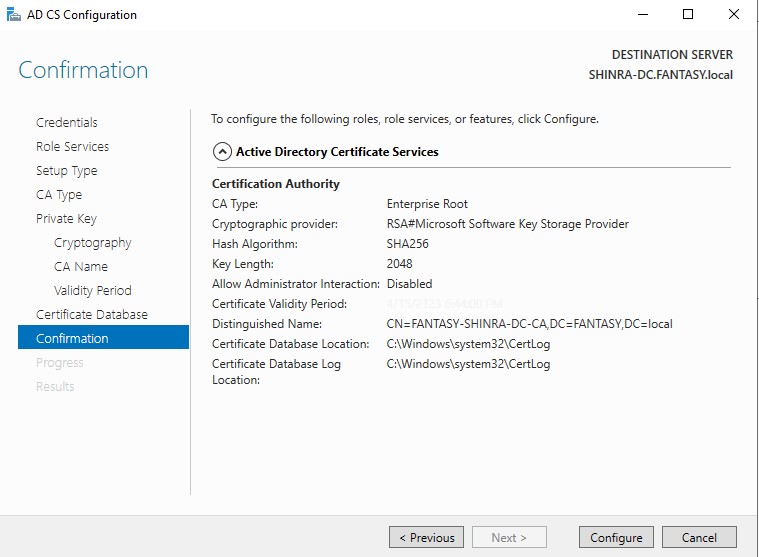
Configuring Server as Certificate Authority
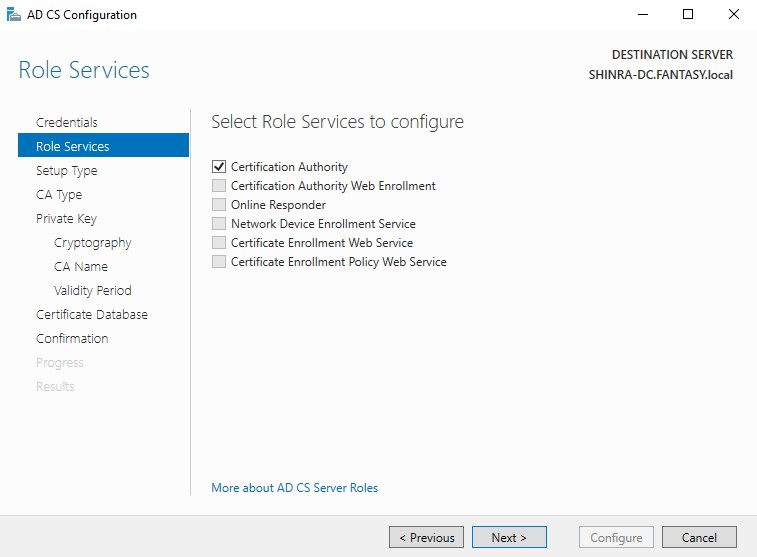
This process is the same as above except when we get to ‘Server Roles’ in the roles and features setup wizard, we need to choose ‘Active Directory Certificate Services’ instead. Under ‘Role Services’ leave it as default.
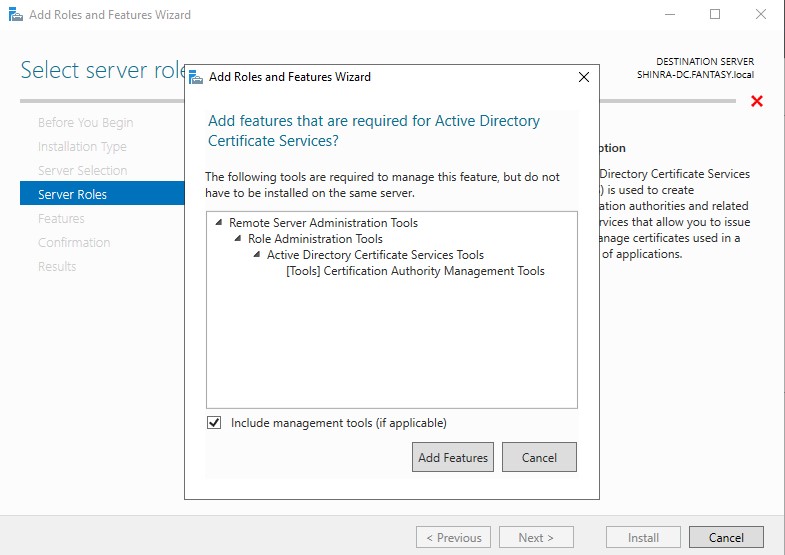
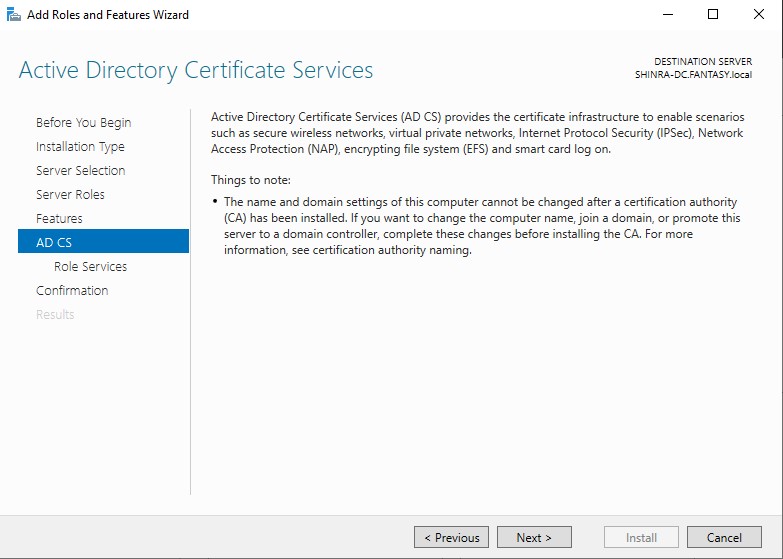
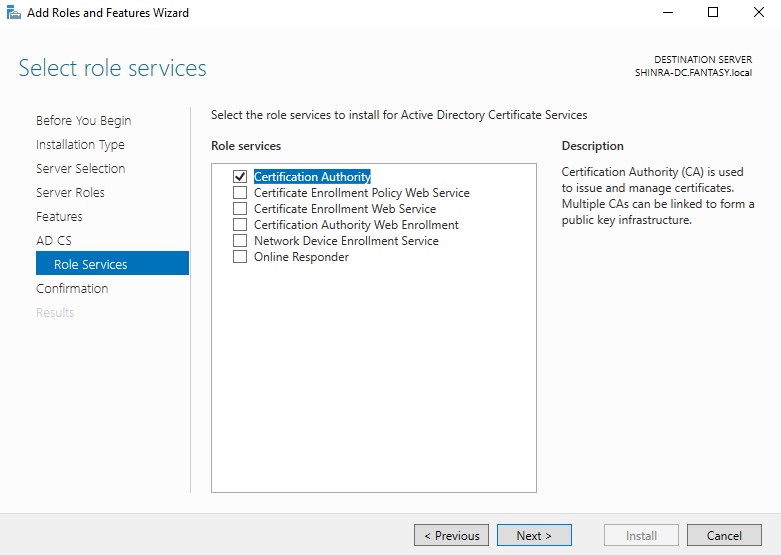
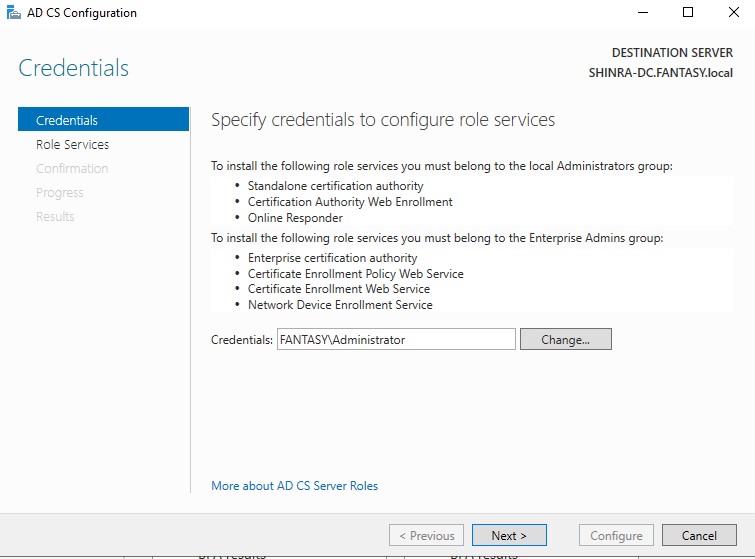
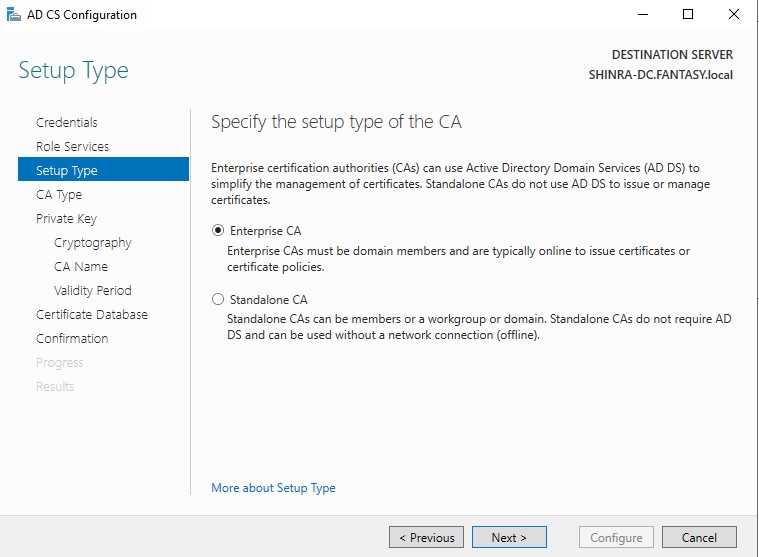
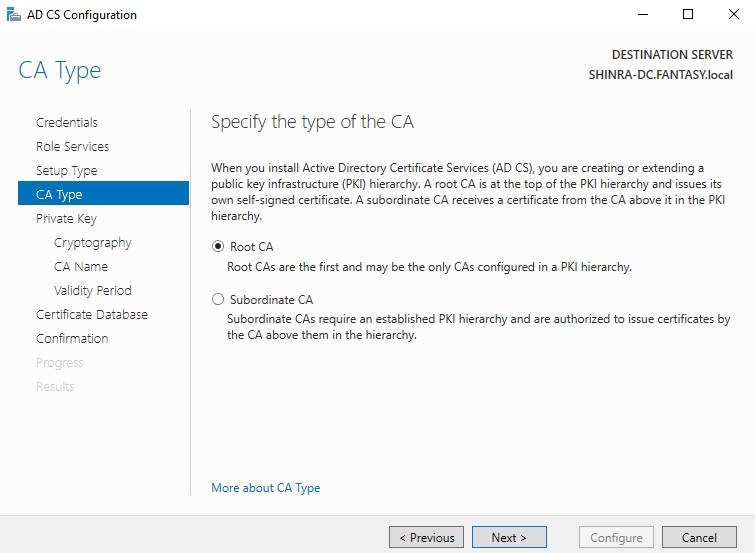
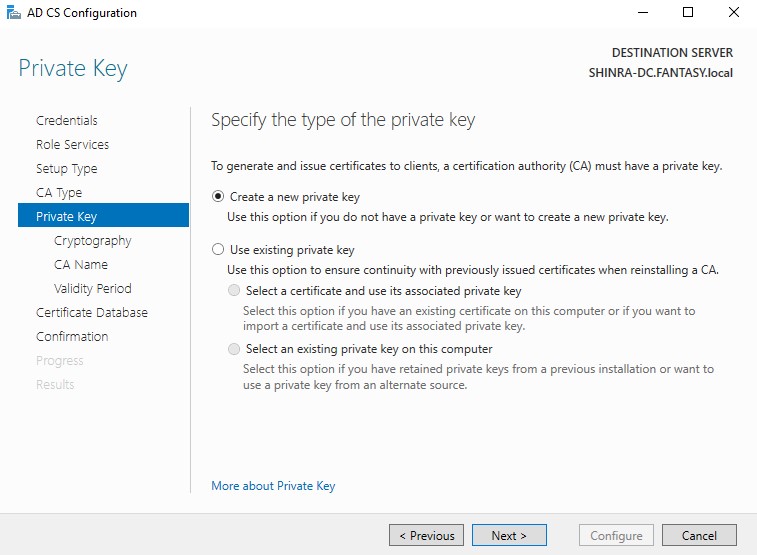
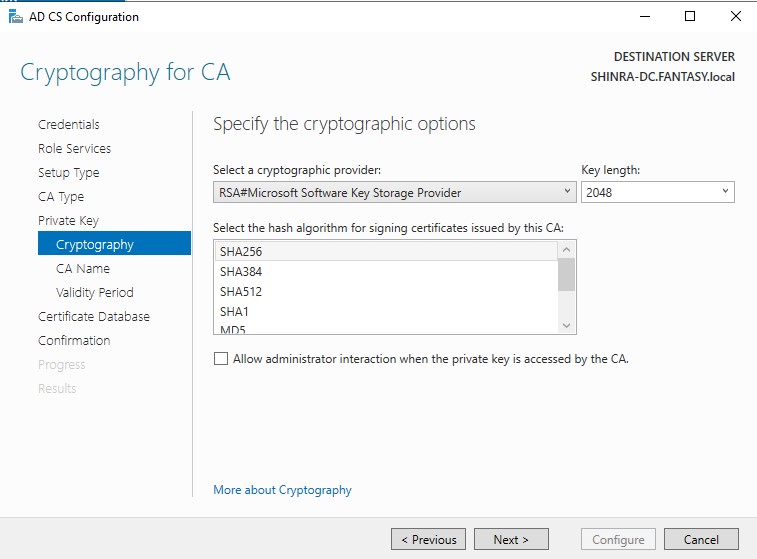
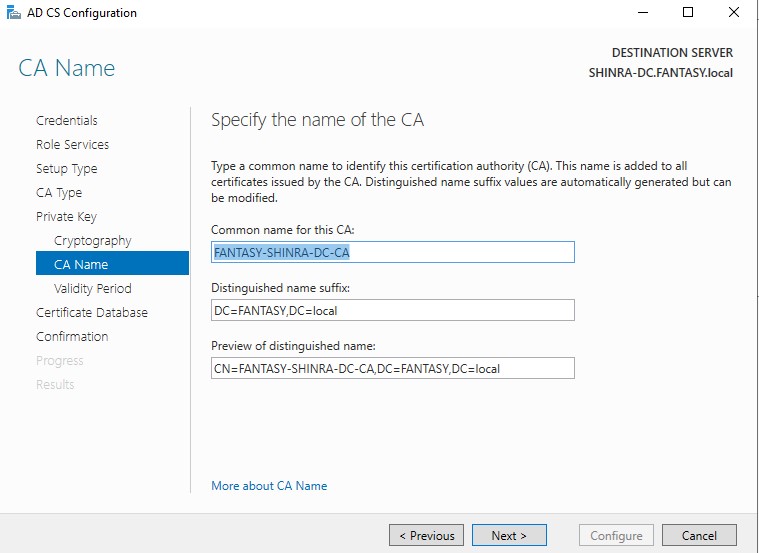
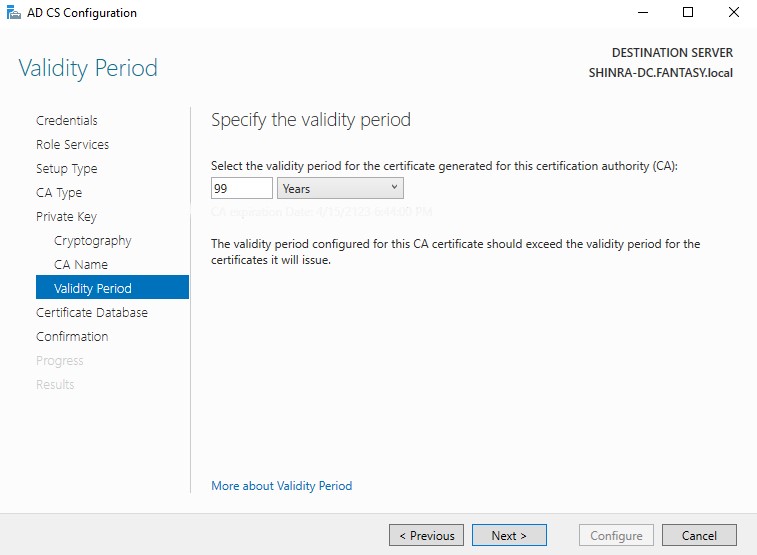
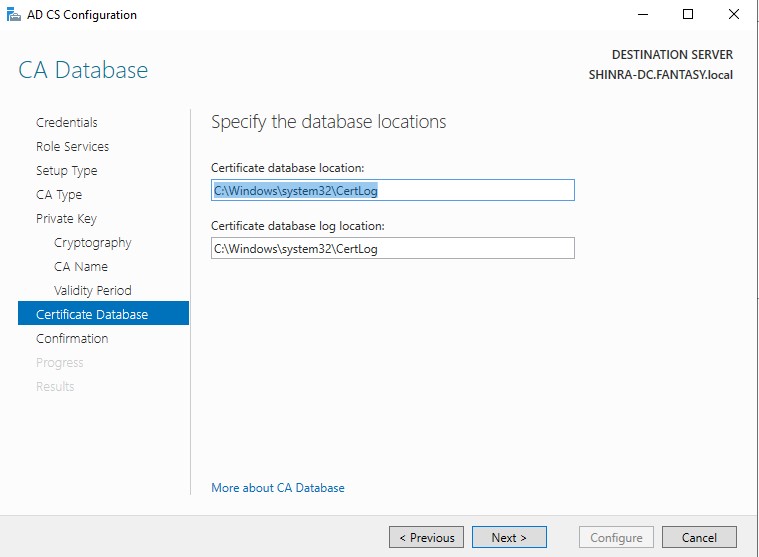
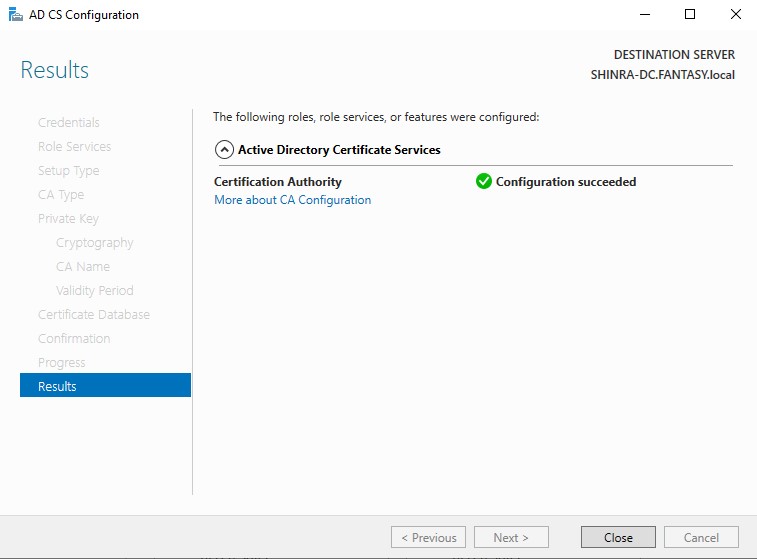
Like before, go to the top menu bar and click the yellow caution sign under the flag and click ‘Configure Active Directory Certificate Services on the destination server’. The wizard will launch. Make sure every step looks identical to the images below. Once it’s done installing, the machine will restart automatically.
Congrats, you are halfway done with setting up your AD forest in your AD subnet. In the next part, we will cover how to create new user account objects, setup an SPN for SQL service, open SMB ports, and join client machines to the forest. You can find it in the further reading section below or in the sidebar under ‘Categories’ → ‘Homelab’.