
- Creating New User Account Objects
- Setting Up Service Principal Name for SQL Service
- Creating an SMB Share to Open Ports
- Windows 10 Enterprise Installation
- Joining the Clients to the Domain
- Creating Local Administrators for the Client Machines
Creating New User Account Objects
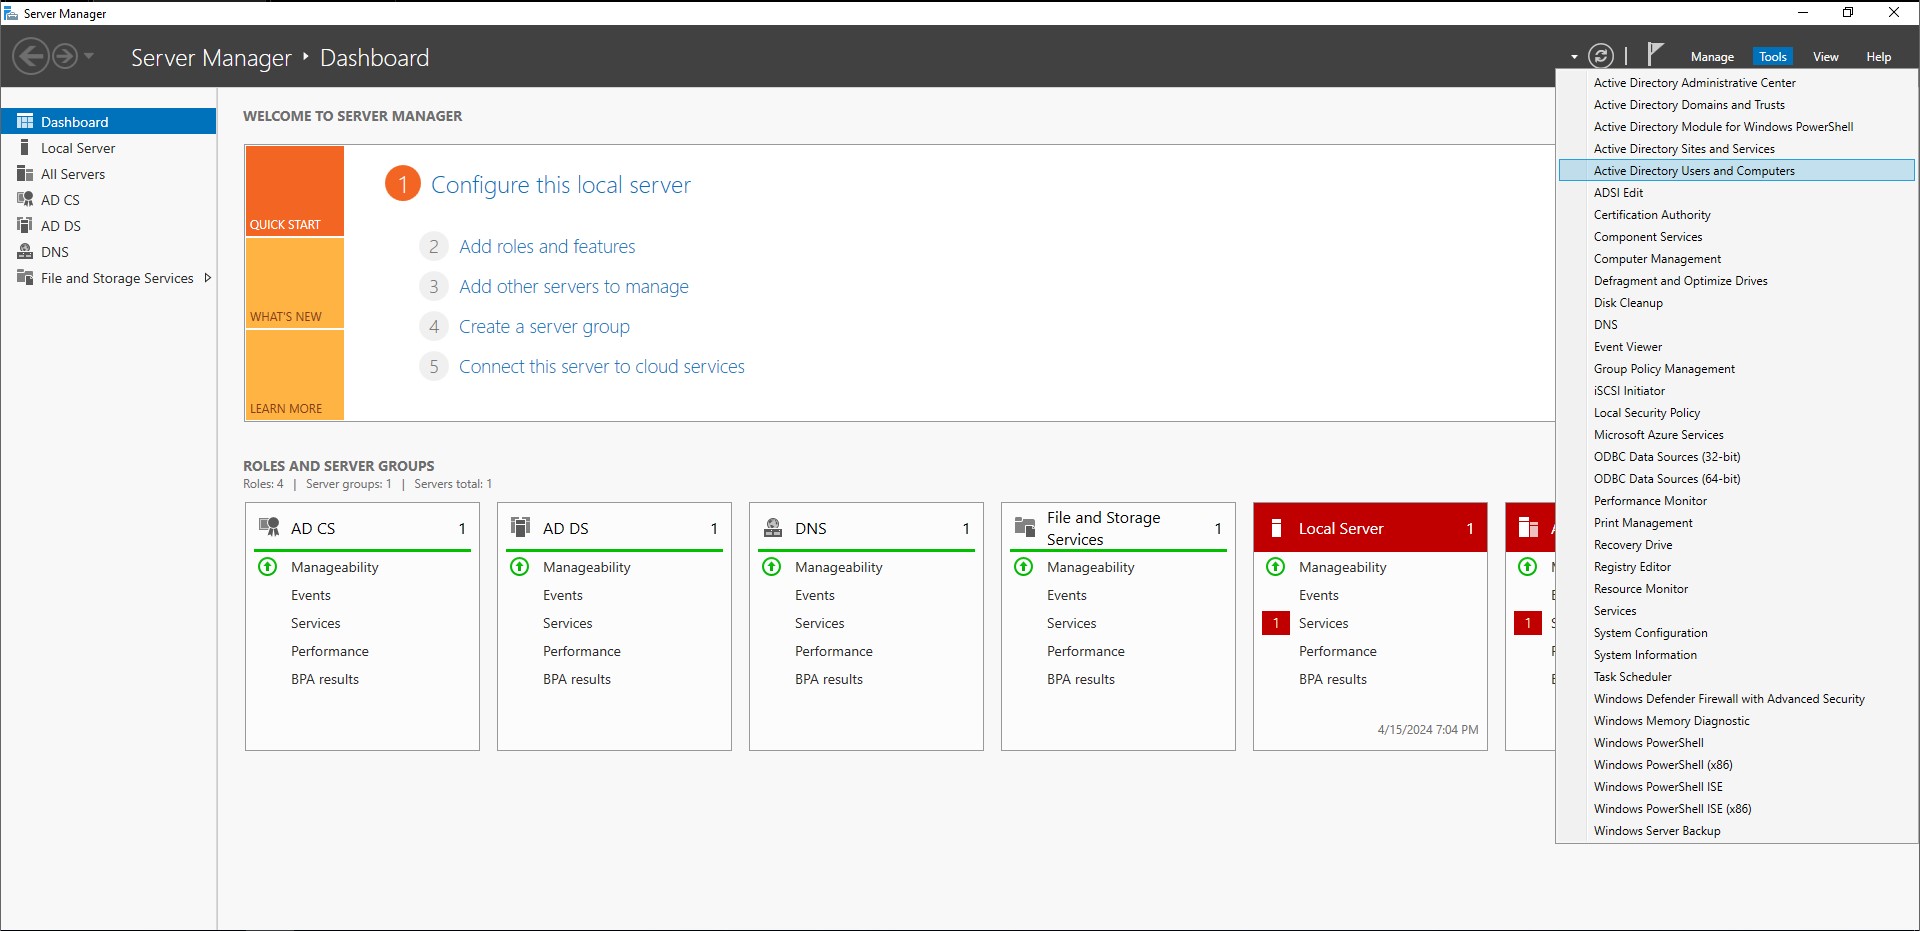
Continuing the setup of our new active directory forest, we now need to add some user account objects to the domain. Go to ‘Tools’ → ‘Active Directory Users and Computers’. You should see the domain we just created. Clicking on it will reveal all of the organizational units (OUs) within that domain. At the bottom of the list we can see ‘Users’. Clicking on it reveals a lot of different security groups. Before we proceed further, we can clean the users up a bit.
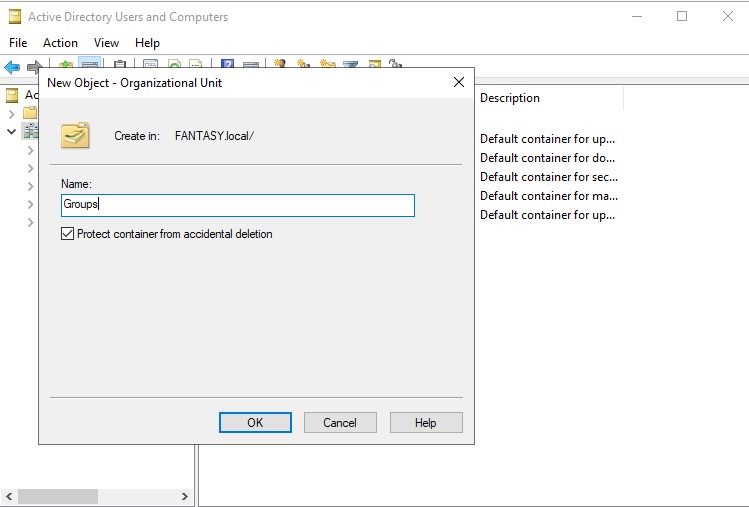
Let’s right click our domain → ‘New’ → ‘Organizational Unit’. A new object creation window will pop up. Let’s name it ‘Groups’. After it’s created we can move all of the security groups from users to this OU. Now we have separated our users from our groups.
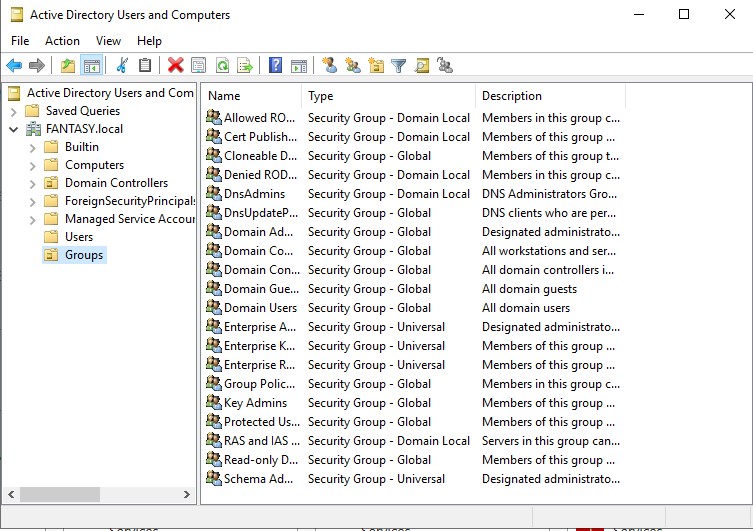
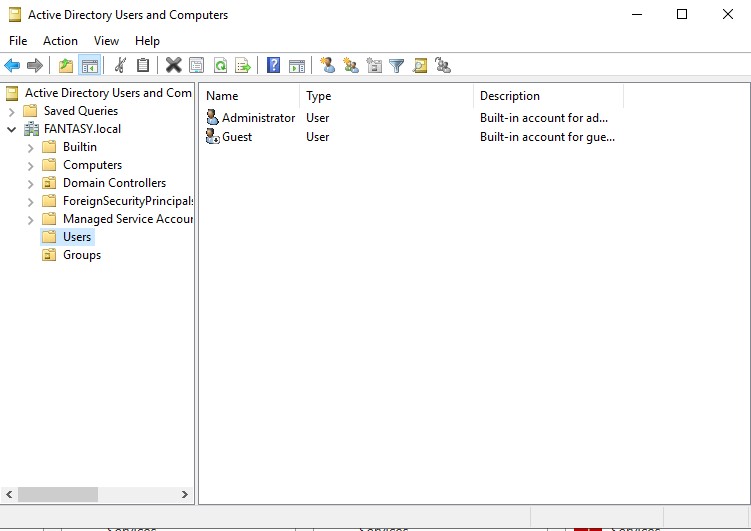
These are what the ‘Users’ and ‘Groups’ OUs should look like after the fact.
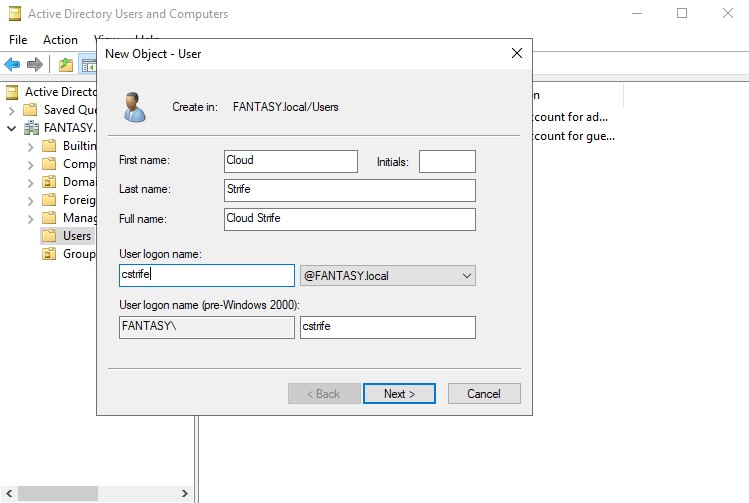
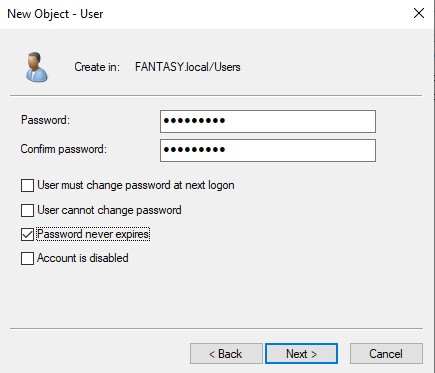
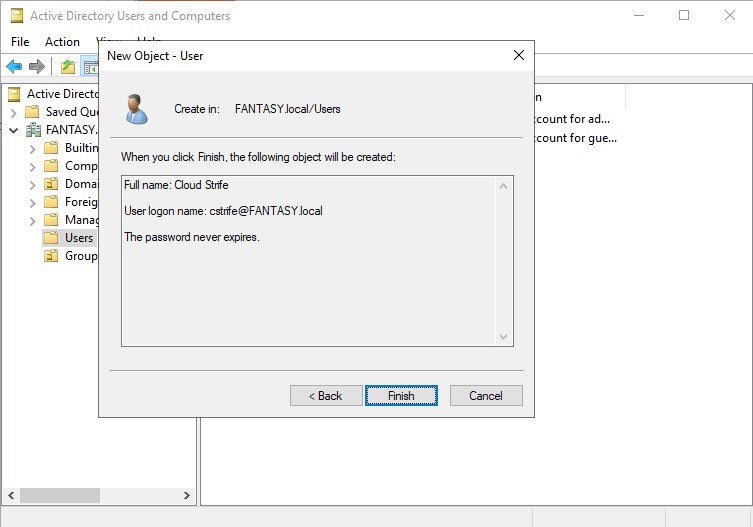
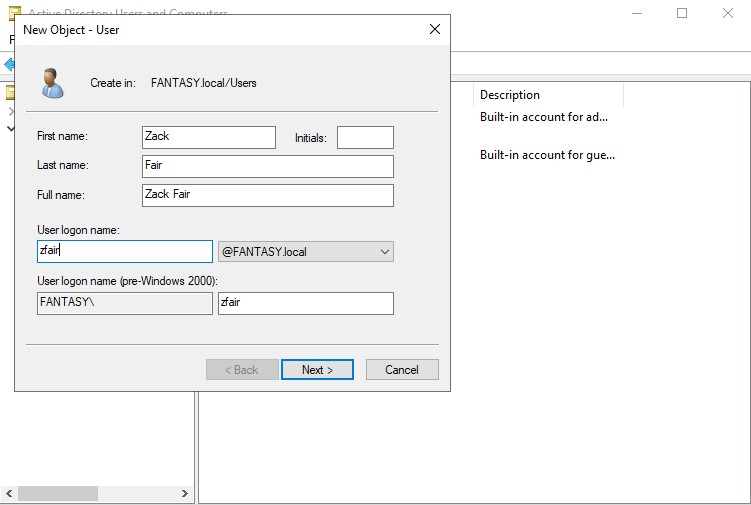
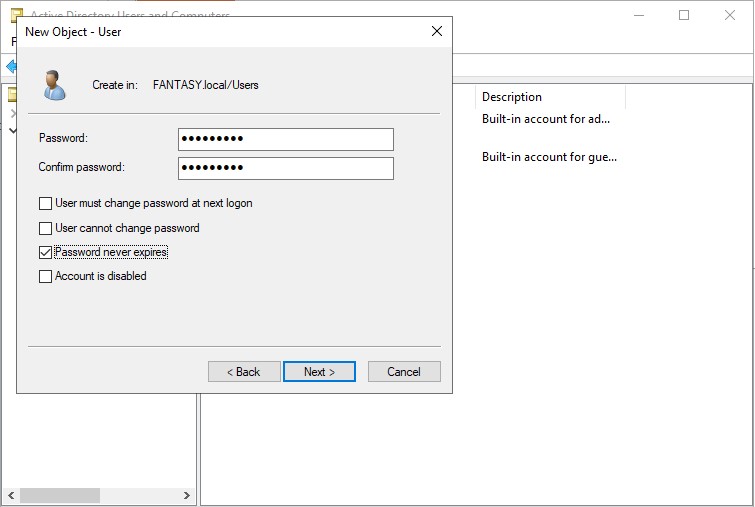
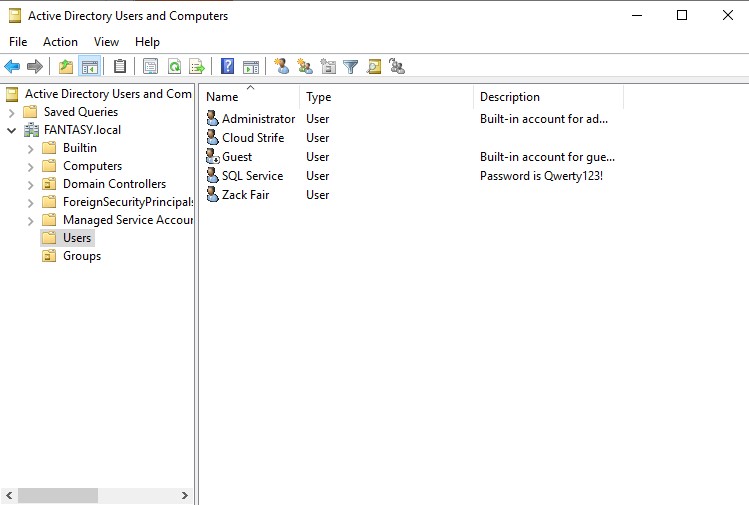
Now we can add some new user objects. Let’s create a new domain admin account as well as a standard user account. Right click in the empty space of the ‘Users’ OU → ‘New’ → ‘User’. Name your users whichever you please. We want to keep our passwords the same across the board for this vulnerable active directory forest we are creating. Passwords are often reused in networks and password cracking/hash attacks will allow us to gain access to other accounts/machines through scripts like crackmapexec. Below are two user accounts that I’ve created.

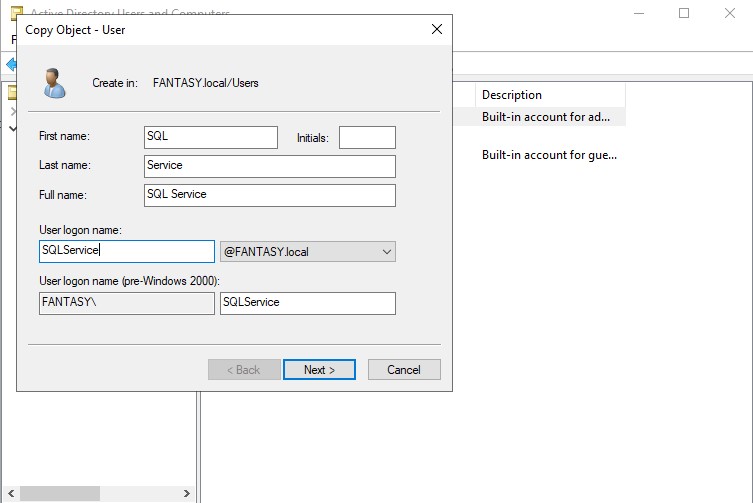
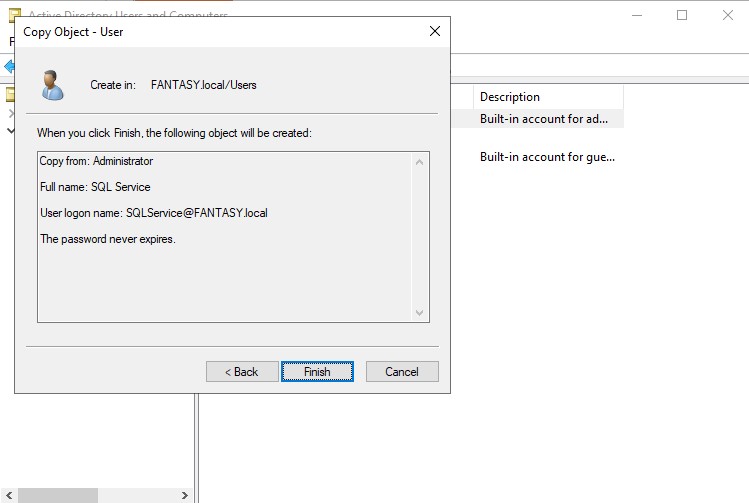
Once our standard users are created, we will be creating a new administrative SQL Service account. Right click the admin account → ‘Copy’. Usually a SQL Service account would not be an administrator, but it is often something that a domain admin might accidentally overlook. By creating an admin SQL Service account, we can perform exploits such as Kerberoasting. For the password, we can change make this one different from the previous ones. Sse whatever weak password you want. I’m gonna use ‘Qwerty123!’. Make sure your new SQL Service administrative account looks the same as mine below.

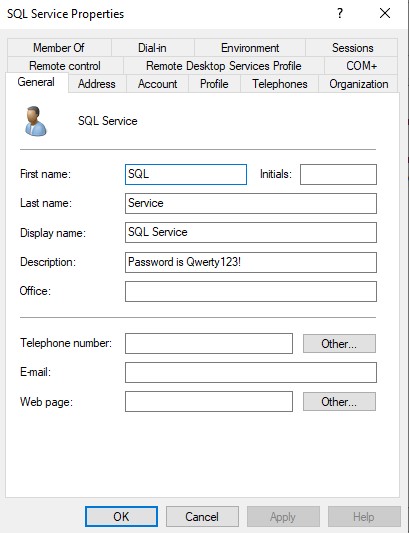
We will also be putting the password directly into the description of the account. Sometimes domain admins will make the mistake of thinking that only they are able to see the description of admin account objects, but this is not true. We can leverage this vulnerability in our exploits. Right click the SQL Service account → ‘Properties’. Add the password to the description and then click ‘Apply’.
We’re now done with adding all of the user objects we need for the time being. Your final view of the ‘Users’ OU should look like the image below.
Setting Up Service Principal Name for SQL Service
Now that we have created the SQL Service account we need to create a corresponding SPN for it. Open up command prompt as administrator and type in the following command replacing the domain controller/domain name where appropriate.
setspn -a 'YOUR-DC'/SQLService.YOURDOMAIN.local: 60111 YOURDOMAIN\SQLService

To check if the SPN was set correctly, type the following command replacing with your domain name when appropriate.
setspn -T YOURDOMAIN.local -Q */*
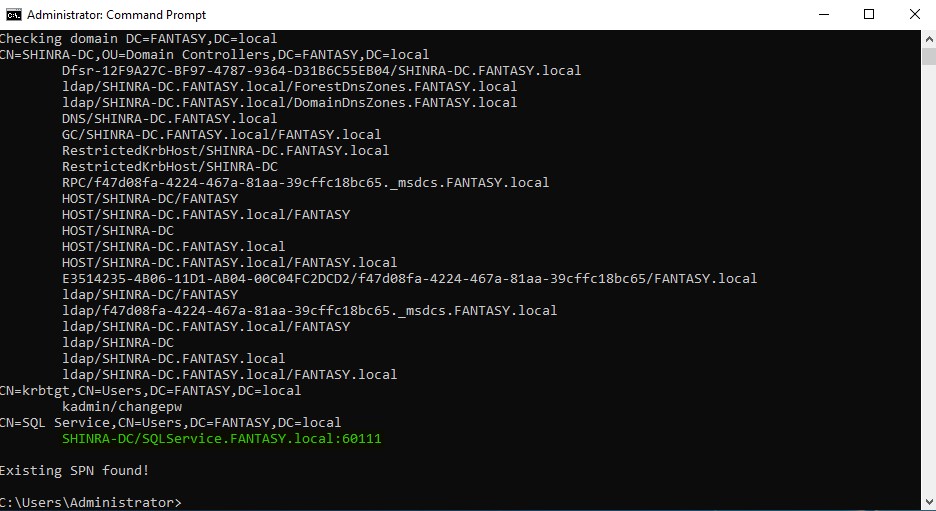
With this step now finished, our domain is now vulnerable to Kerberoasting attacks.
Creating an SMB Share to Open Ports
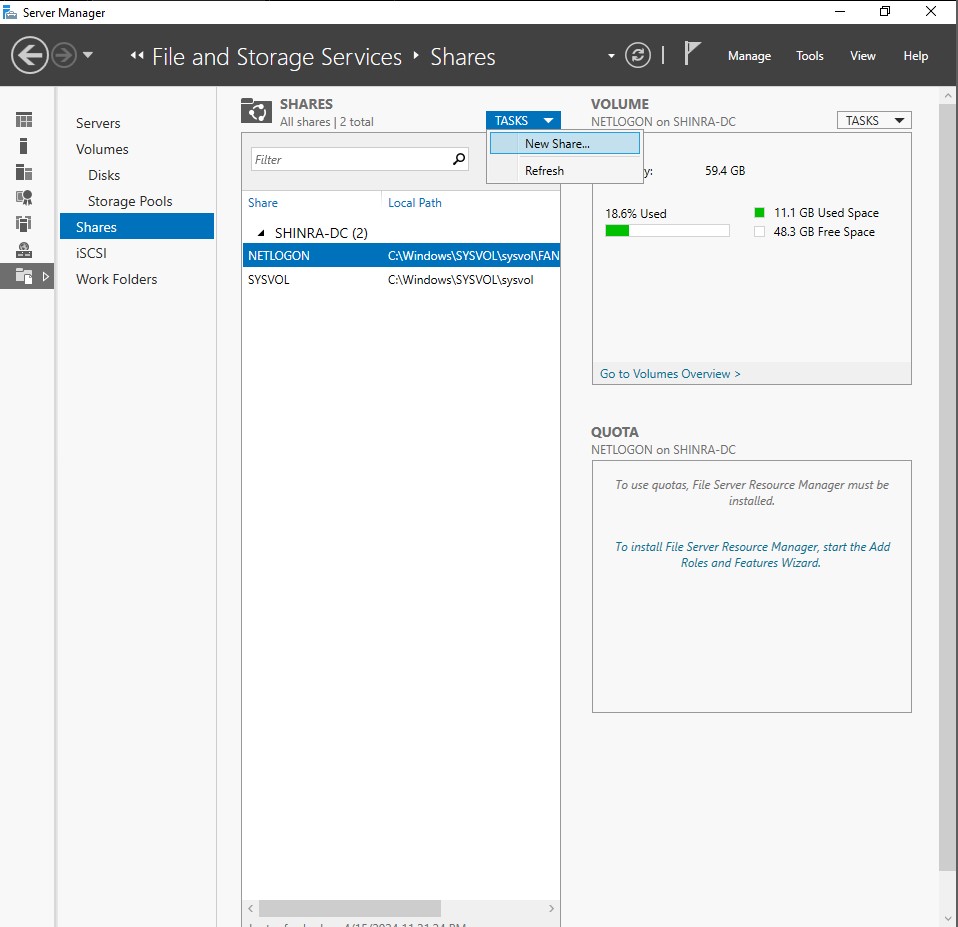
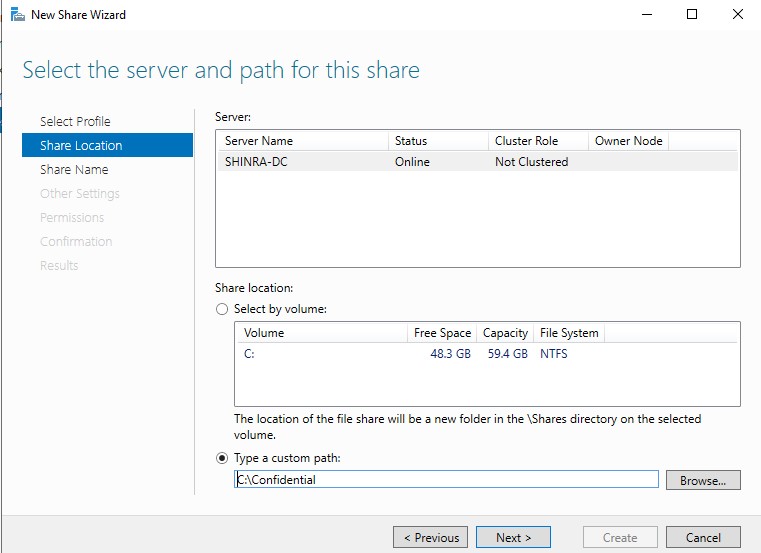
Since SMB is a service that many attacks aim to exploit, we will need to open SMB ports 139/445. In the left-hand sidebar click ‘File and Storage Services’ → ‘Shares’ to get to the shares menu. Click on the ‘TASKS’ dropdown and then click ‘New Share’.
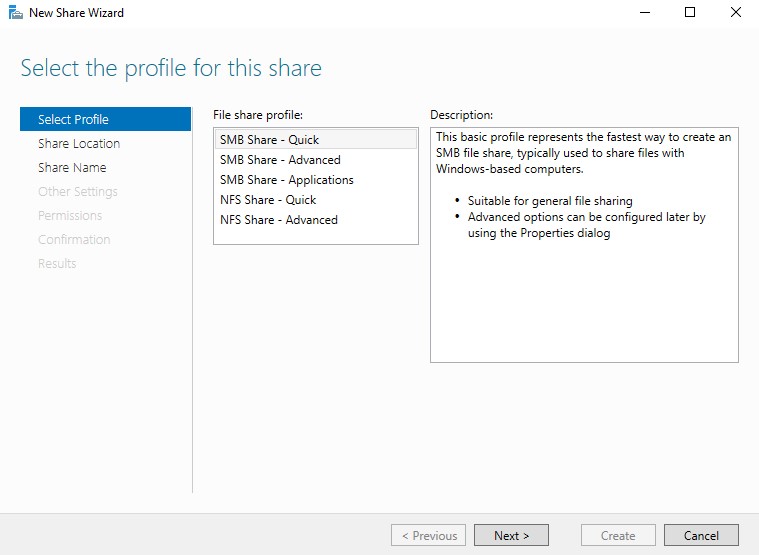
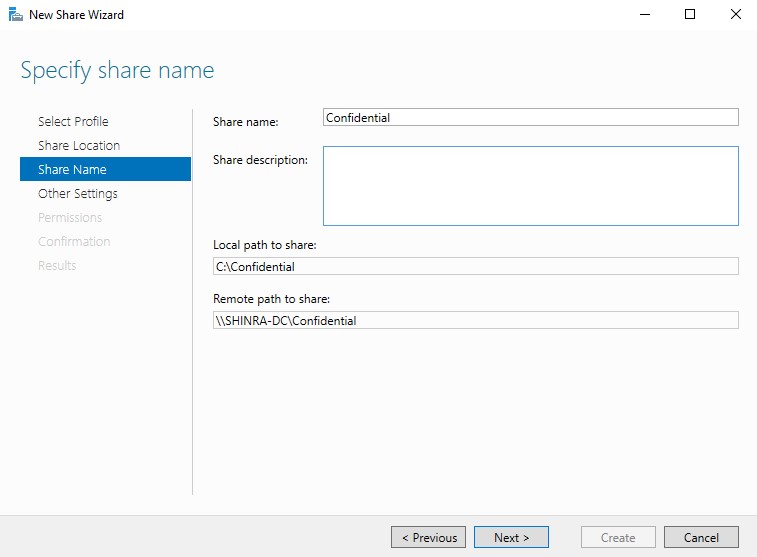
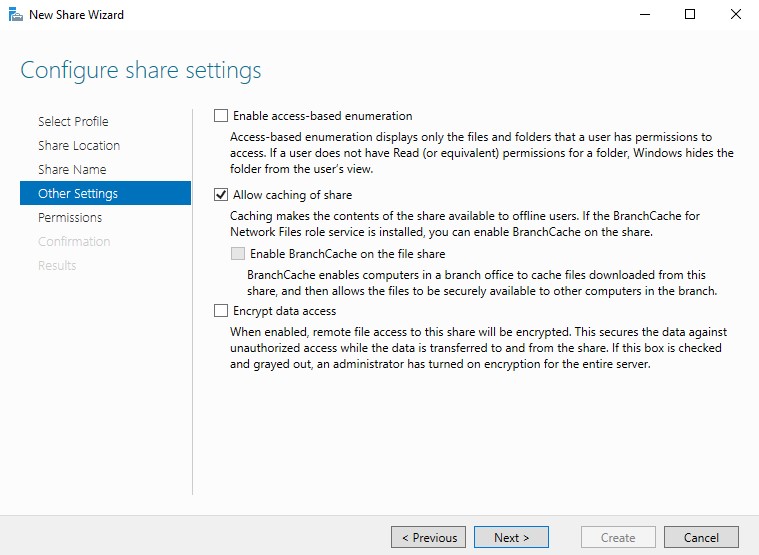
The New Share Wizard will be launched. Follow through the wizard using the below images as a guide.
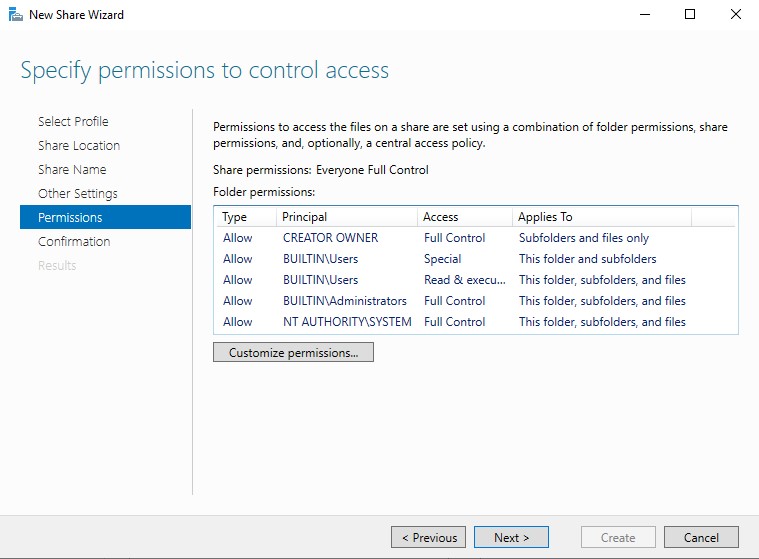
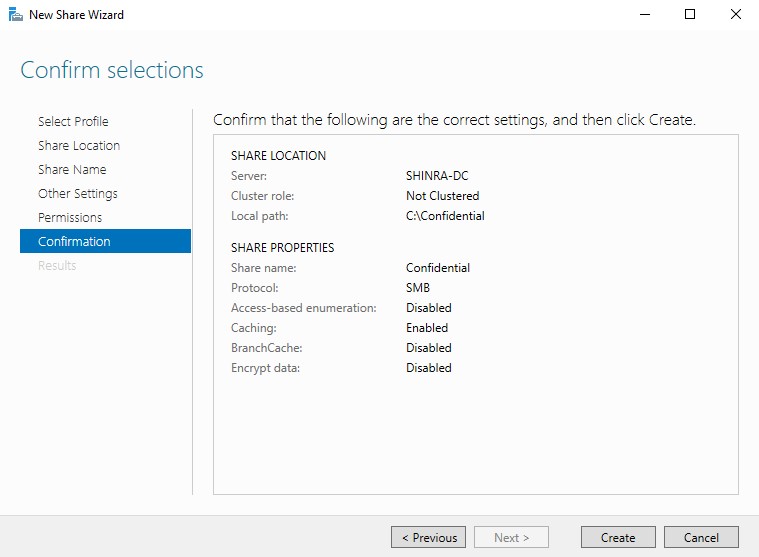
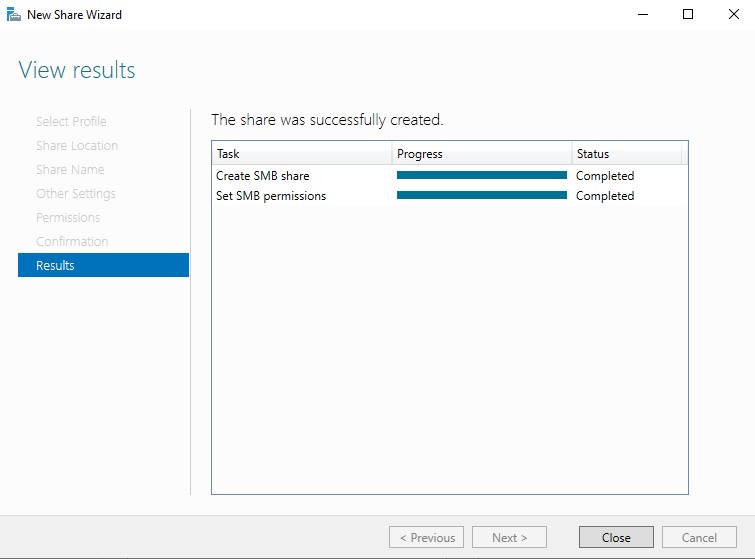
Once that’s done, the shares page should now have our new share. SMB should now be open in the network, allowing us to make attacks on 139/445 against the DC and it’s clients. Speaking of clients, we now need to set those up as well.
Windows 10 Enterprise Installation
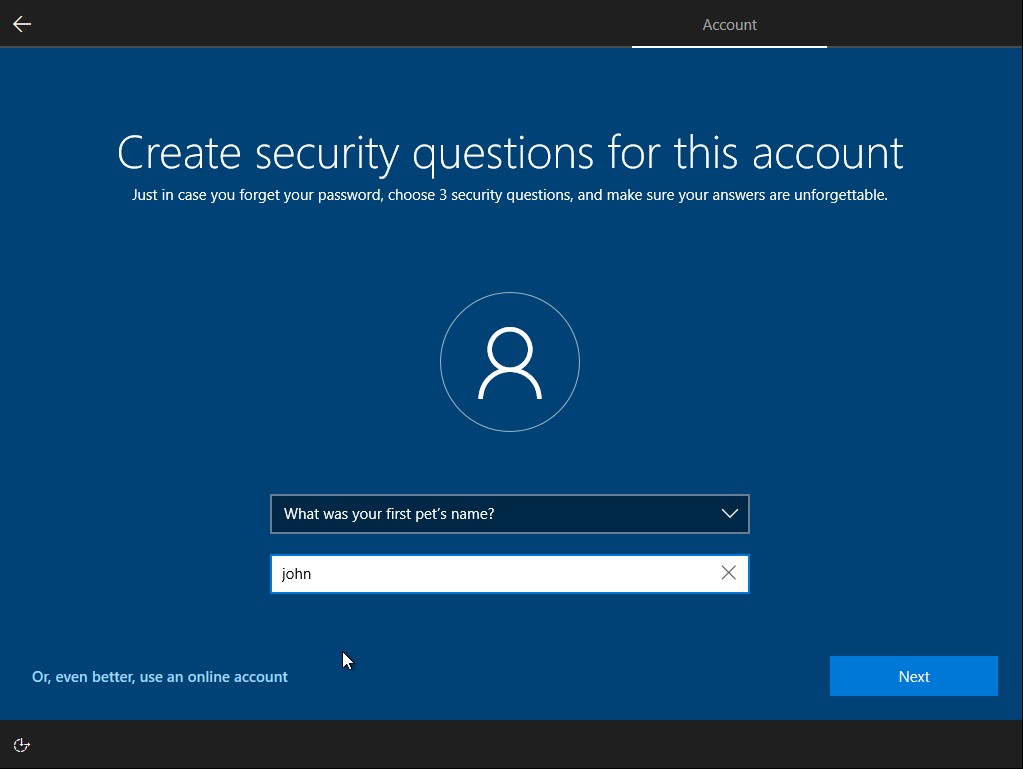
We will be adding two Windows 10 Enterprise client machines to the forest.I will skip the OS installation as it is near identical to that of our server machine. Don’t forget to set the MAC address for each VM before launching for the first time. The specs for each machine are listed below. For the security questions, they don’t matter so put whatever you want.
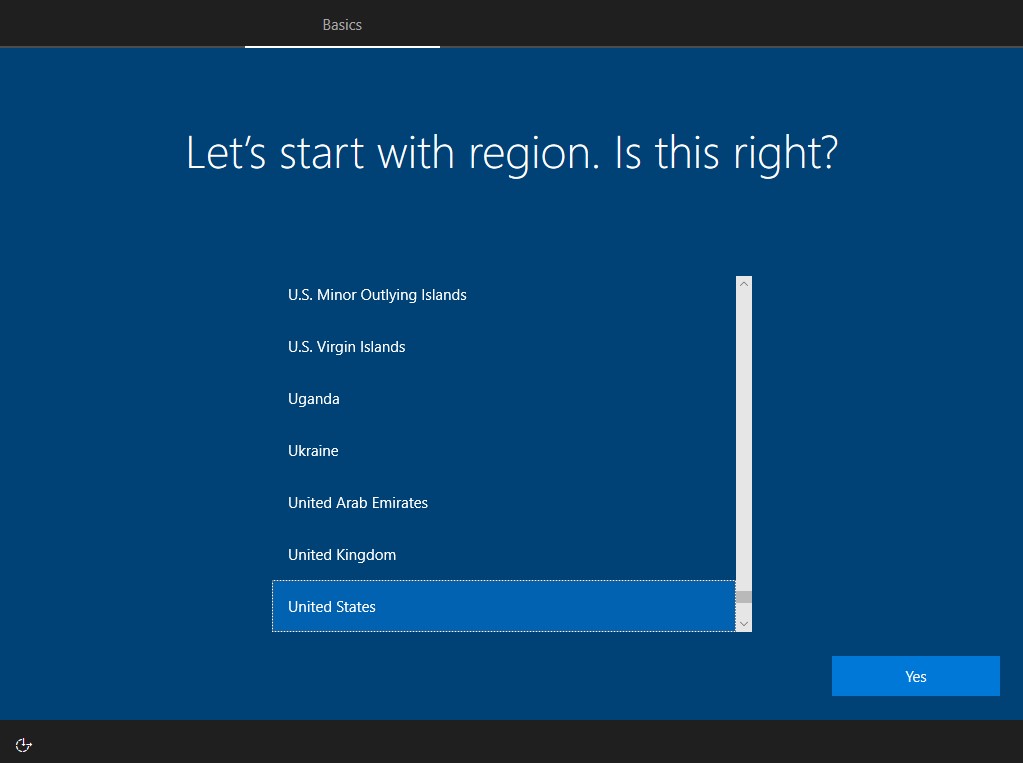
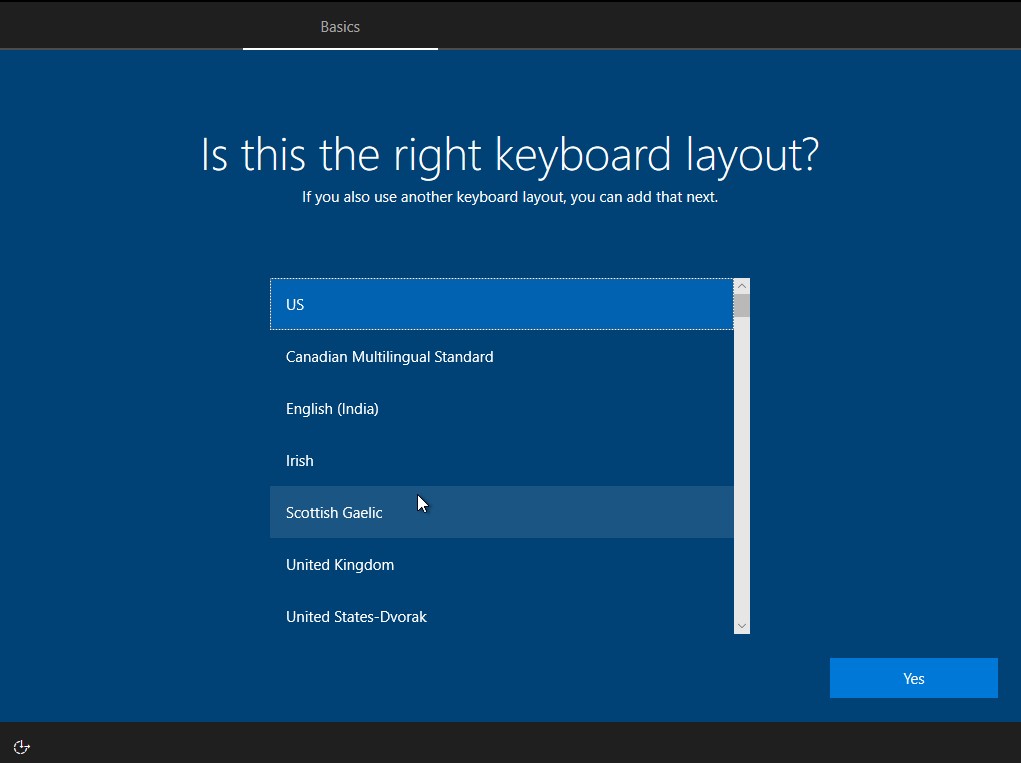
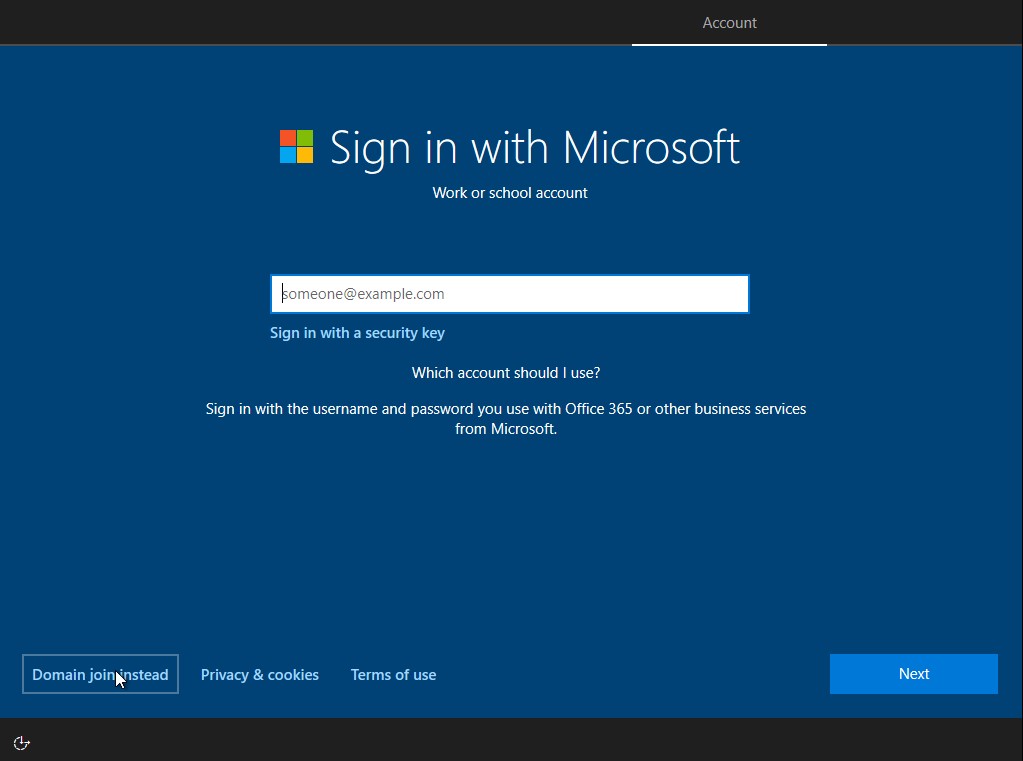
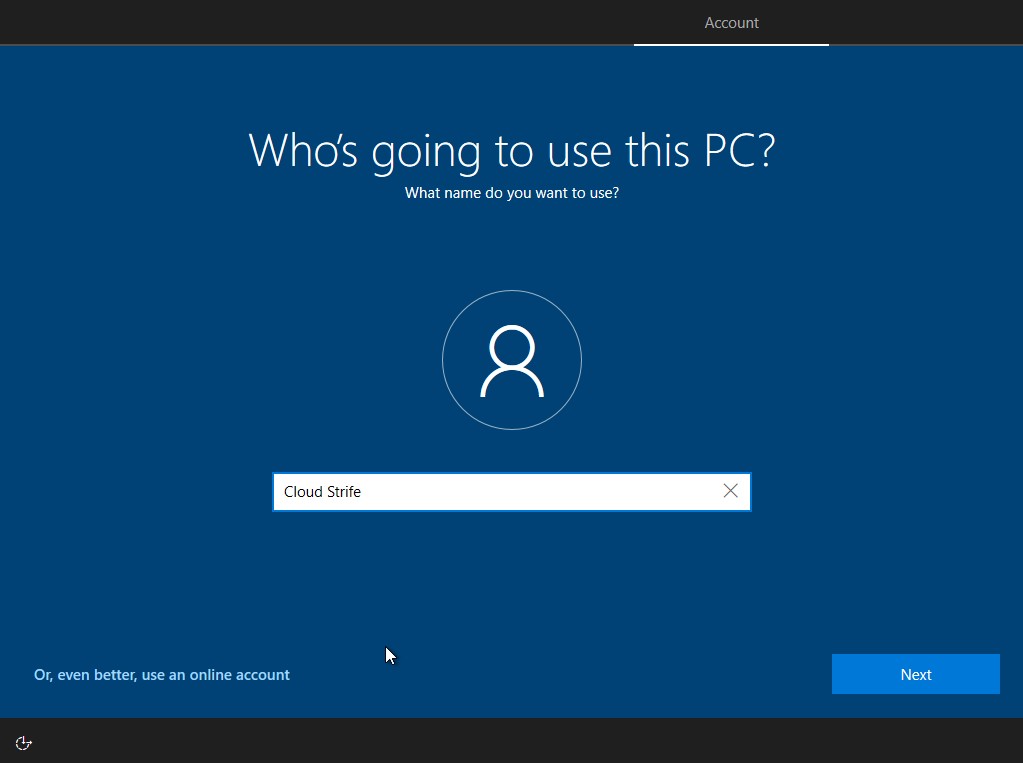
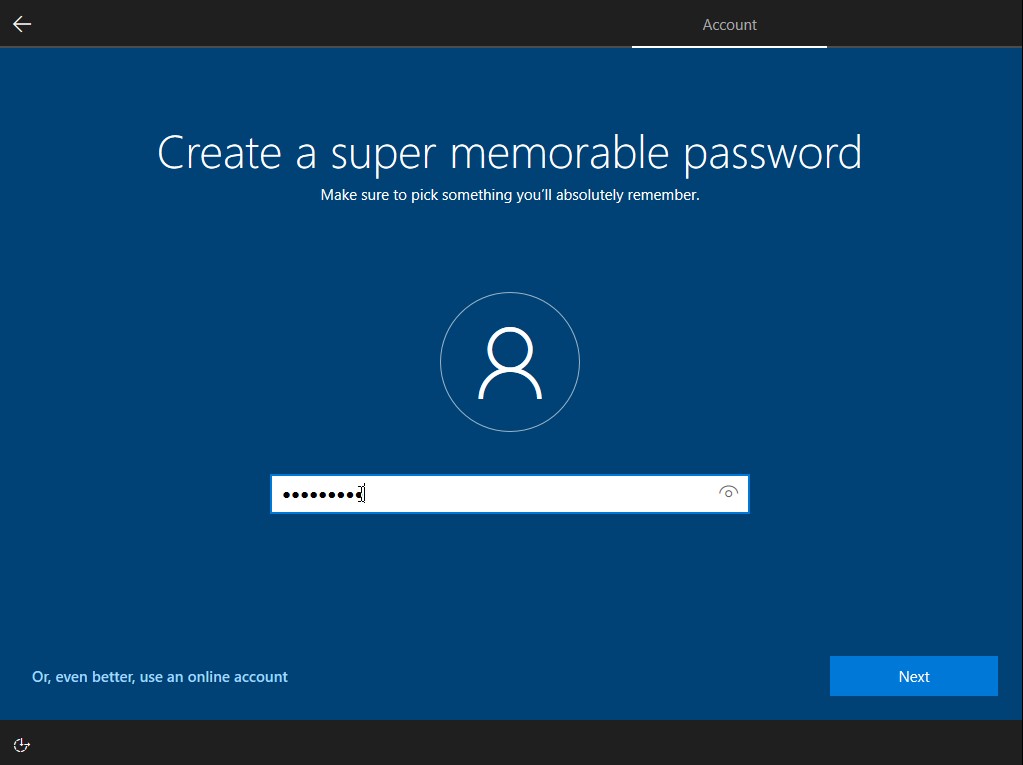
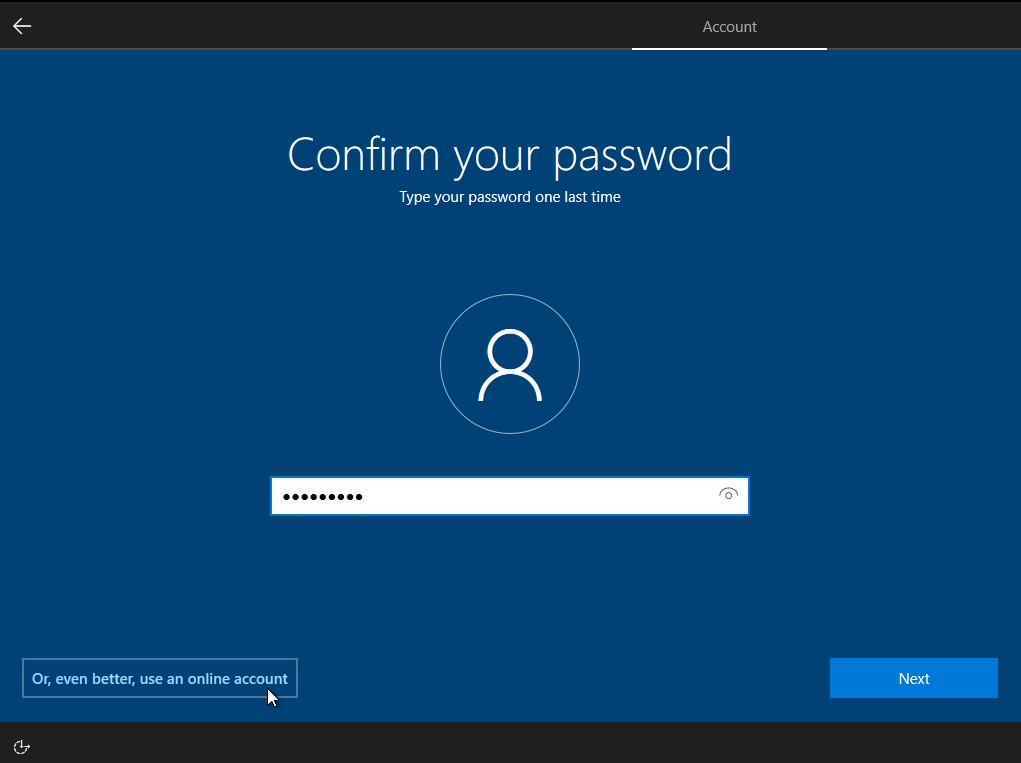
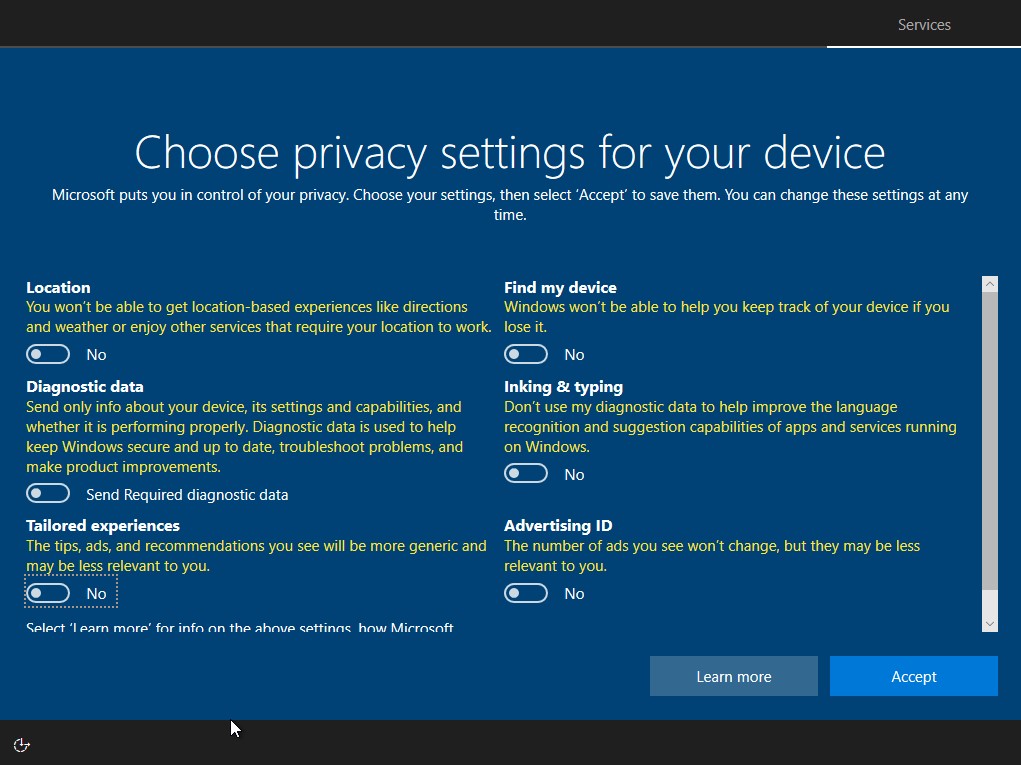
Once the OS is installed for both machines. Use the images below as a guide for finalizing the setup.
Joining the Clients to the Domain
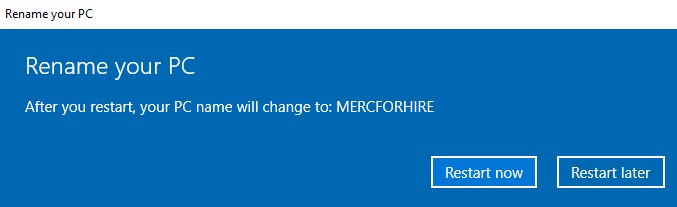
Before we join the clients to the domain, let’s first rename our machines. You can do this through the same process we used to rename our domain controller.
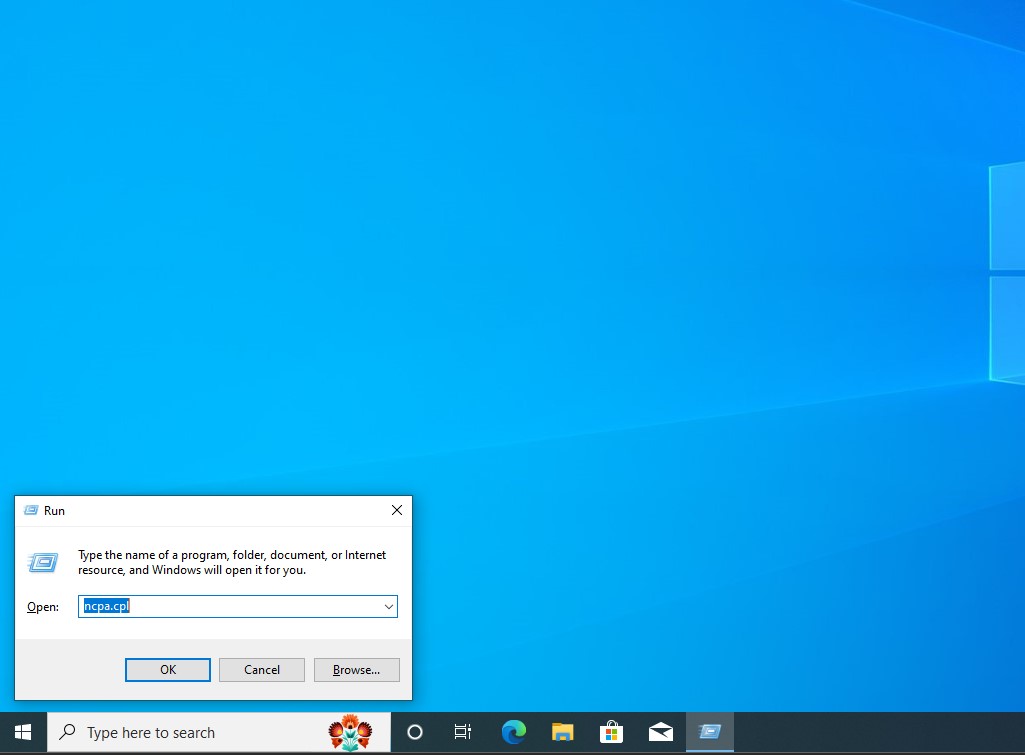
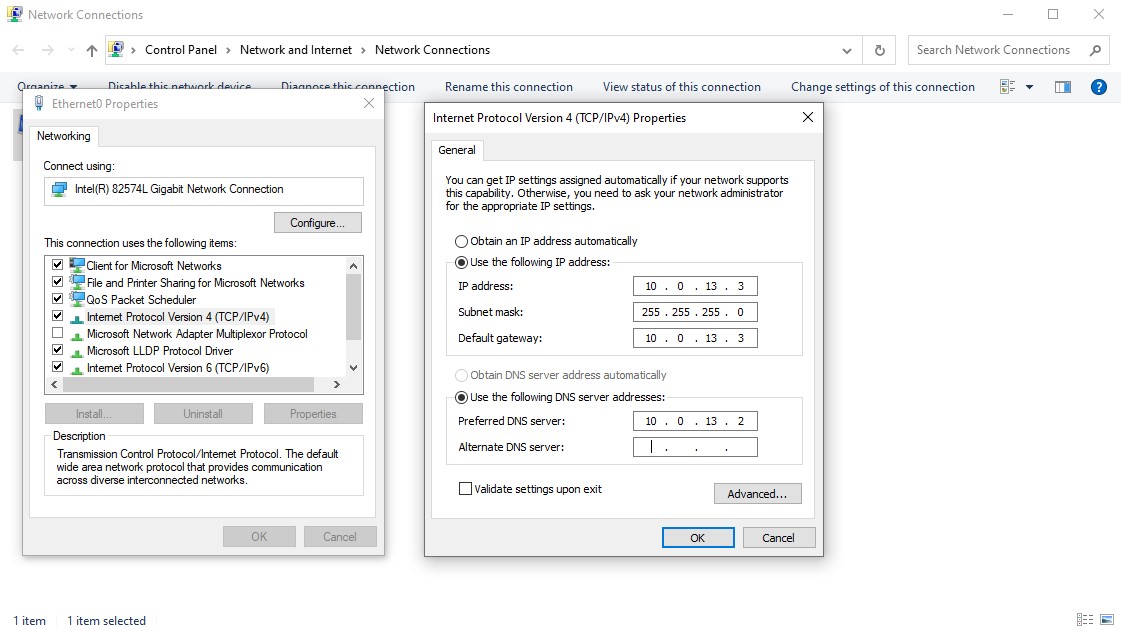
Once that’s complete, hold Win+R to open the Windows run command. Type in ‘ncpa.cpl’ to bring up the network connections. Right click ethernet0 → ‘Properties’ → ‘Internet Protocol Version 4 (TCP/IPv4)’ IP address of the domain controller (which should be 10.0.13.2 if you set it up correctly within pfSense) as the DNS gateway. We can also explicitly set our IP address and default gateway to our domain controller.
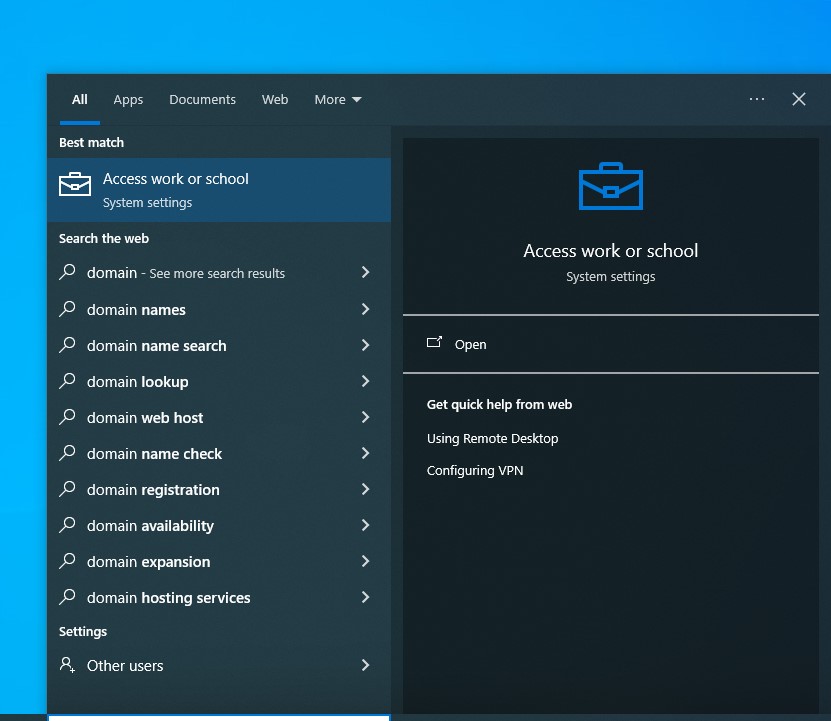
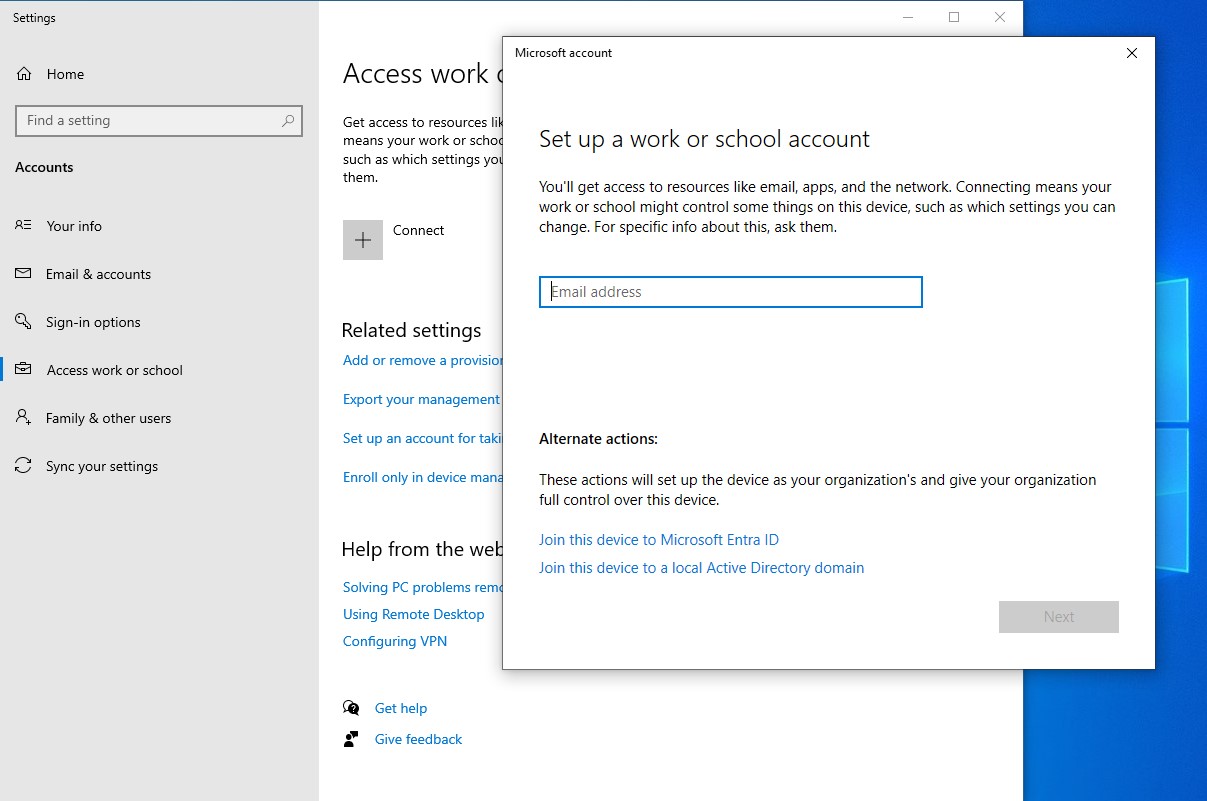
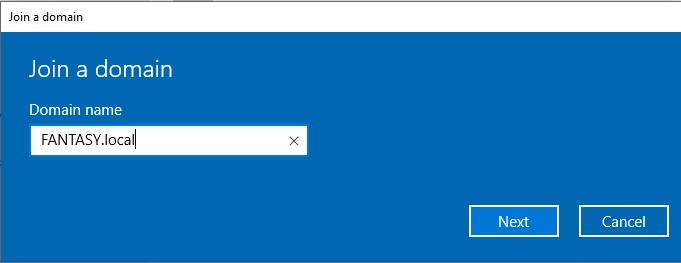
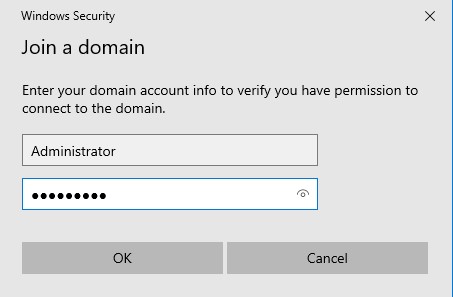
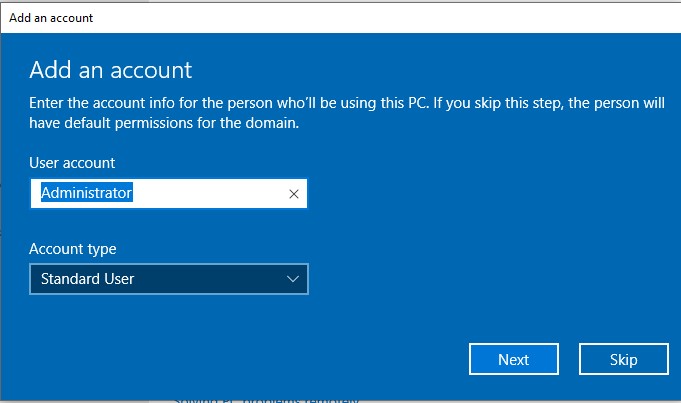
Once this is done, we can restart the machine so that the PC name change takes effect. After the reboot, in the search bar enter ‘domain’ and choose ‘Access work or school’. Click ‘Connect’ → ‘Join this device to a local Active Directory domain’. When prompted, enter the name of your domain. In the next step, enter the credentials for the domain admin account. Finally, choose the skip option on the last screen. Afterwards the device will need a restart.
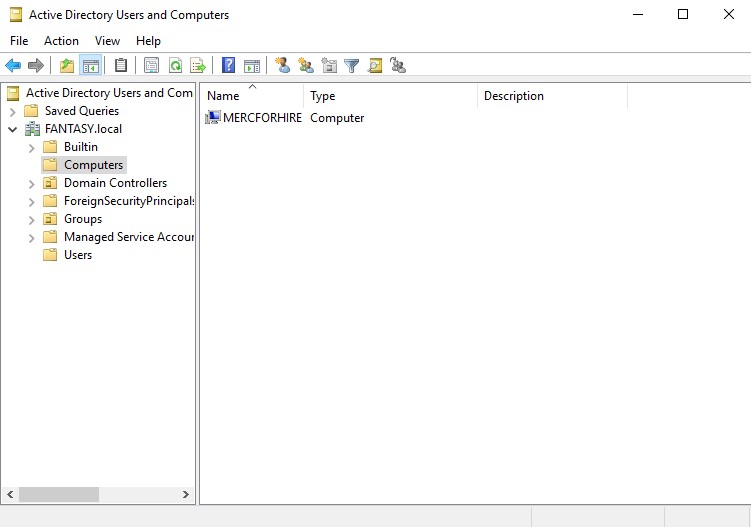
If we go back to our domain controller, we should now see the device itself as a new object within the ‘Computers’ OU. If that’s the case then you’ve successfully added the first client to the domain. Go ahead and repeat all of the above steps in this section for the second client machine.
Creating Local Administrators for the Client Machines
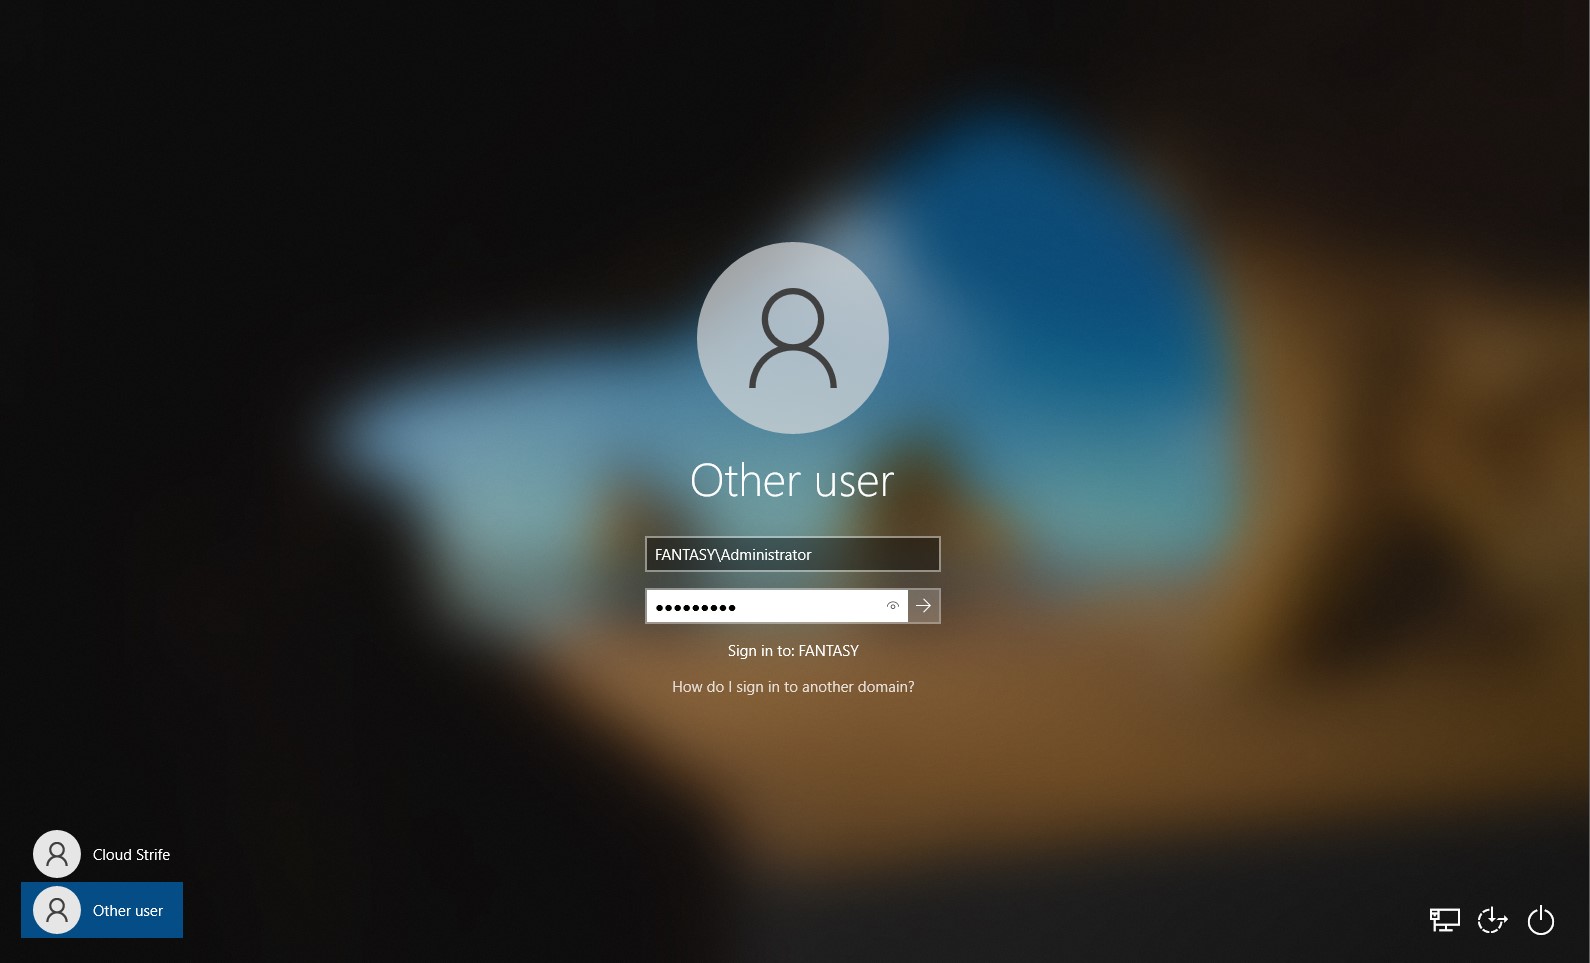
It’s a common thing in active directory networks to setup domain users as local administrators on the device that they use. We are going to do this so that we are able to perform more attacks and escalate privileges. First, we need to log into the client machine as the domain admin account. To do this on the login page click other and then type in ‘DOMAINNAME\Administrator’. Of course, replace DOMAINNAME with your own domain’s name.
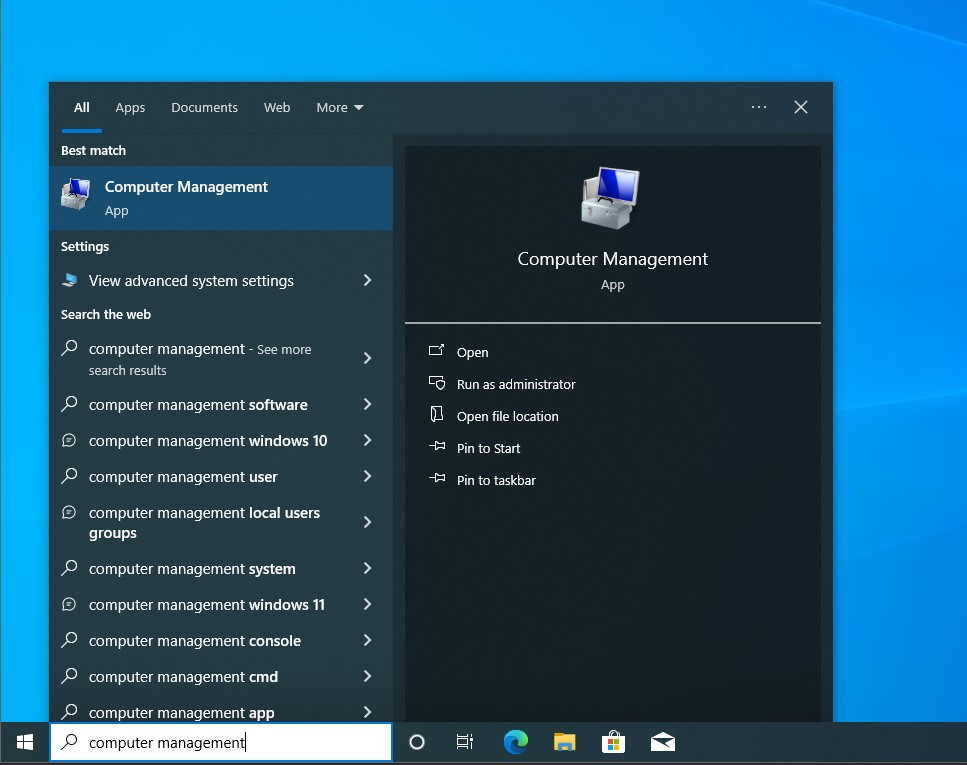
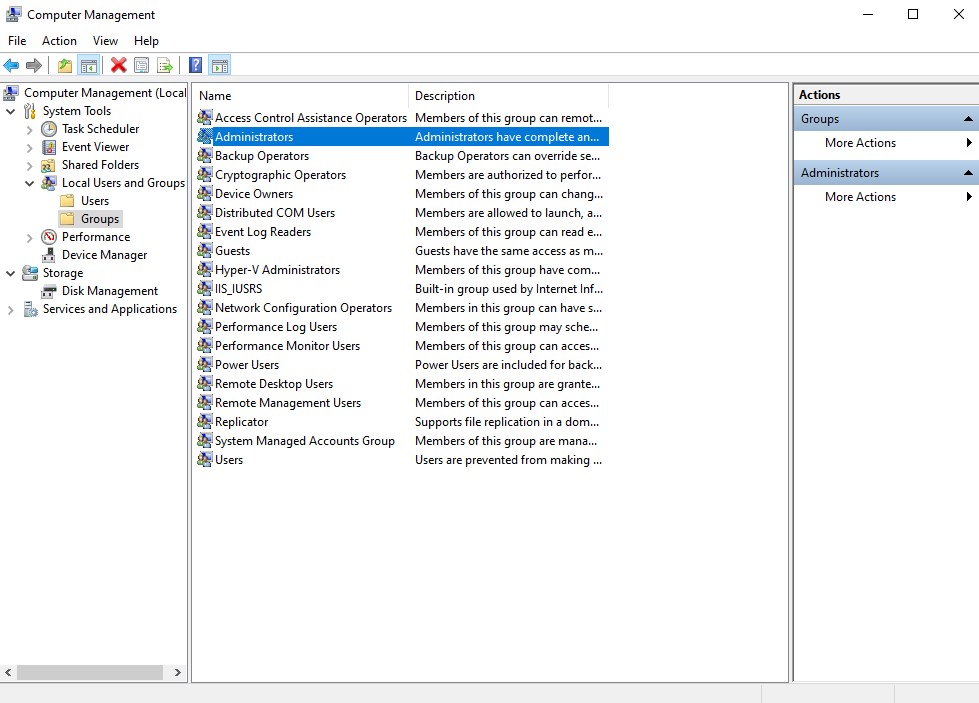
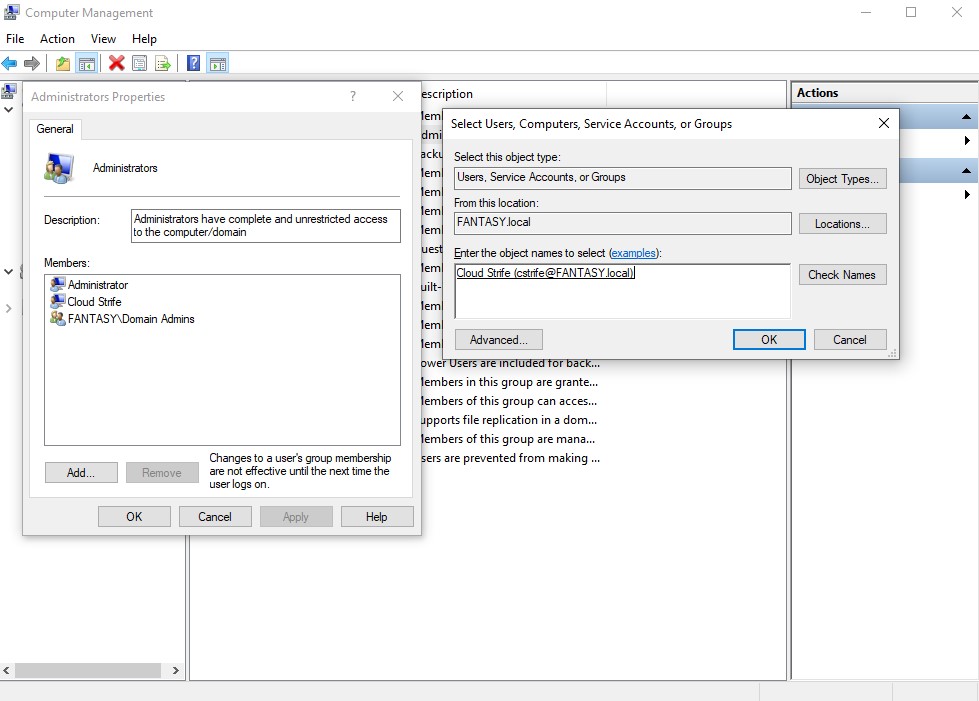
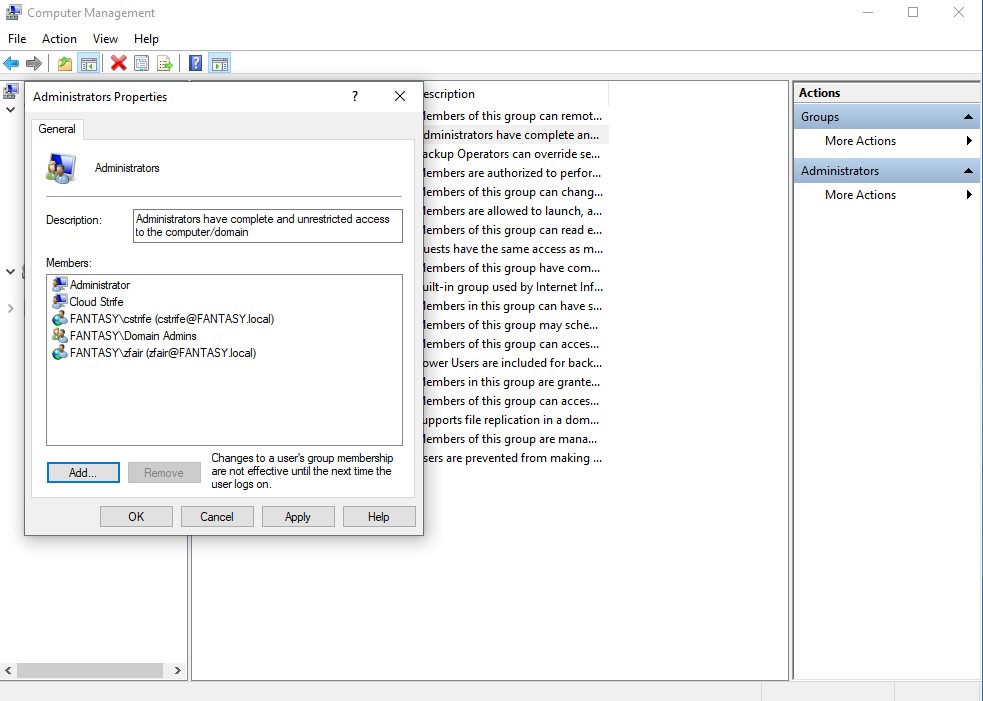
Once in, type ‘computer management’ into the search bar and select that option. In the computer management window, click ‘Local Computers and Groups’ → ‘Groups’ → ‘Administrators. Here we are going to add our user account as a local admin. Once that’s done, we are also going to add the other domain user account that we created as a local admin on this machine as well. This way we cna make our domain vulnerable to relay attacks. Repeat the below steps for the second client machine as well.
With that, our full active directory forest is setup. Following all of the steps so far our lab should be equipped for performing several attacks such as LLMNR/NBT-NS poisoning, SMB Relay Attacks, Pass-the-Password, Pass-the-Hash, Token Impersonation, Kerberoasting, Golden Ticket, enumeration with Powerview/Bloodhound, credential dumping, and more.
| We will be setting up Wazuh to ingest Suricata logs from pfSense soon. You can find the next part, ‘VMWare Pro Homelab | Active Directory Forest Setup Pt. 2’, in the [blog] section of this site. |