
- Creating/Importing the Isolated Network VMs
- Installing Ubuntu Server
- Importing & Upgrading Metasploitable2 VM
- Importing and Upgrading the Symfonos: 1 VM
Creating/Importing the Isolated Network VMs
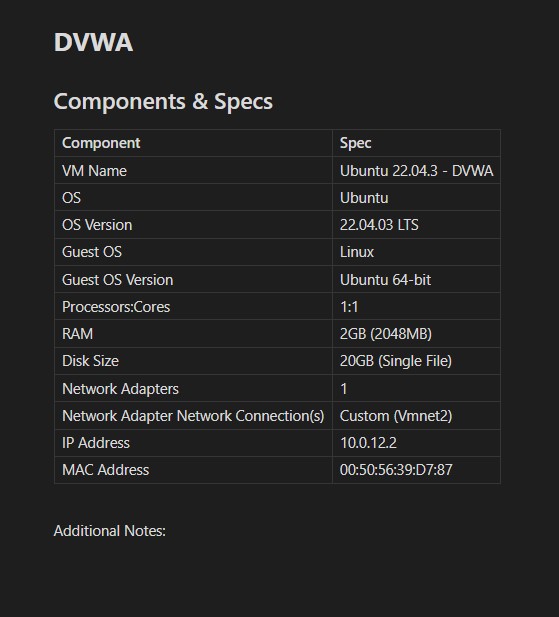
We will need to do some preparatory work and create an Ubuntu server machine before we get to setting up DVWA itself in the next part. The Metasploitable2 and VulnHub VMs will be imported into VMWare pre-configured, so we will have to manually adjust the specifications for those machines. As I mentioned in the intro, there are a multitude of VMs to choose from on VulnHub. Feel free to make your own choice about which one you want to start with. You can always add more later. I will be starting with the ‘Symfonos: 1’ machine, a beginner level box. This machine will be using DVWA on Ubuntu server. Here are the recommended specifications and the DHCP allocation in the webConfigurator.

Installing Ubuntu Server
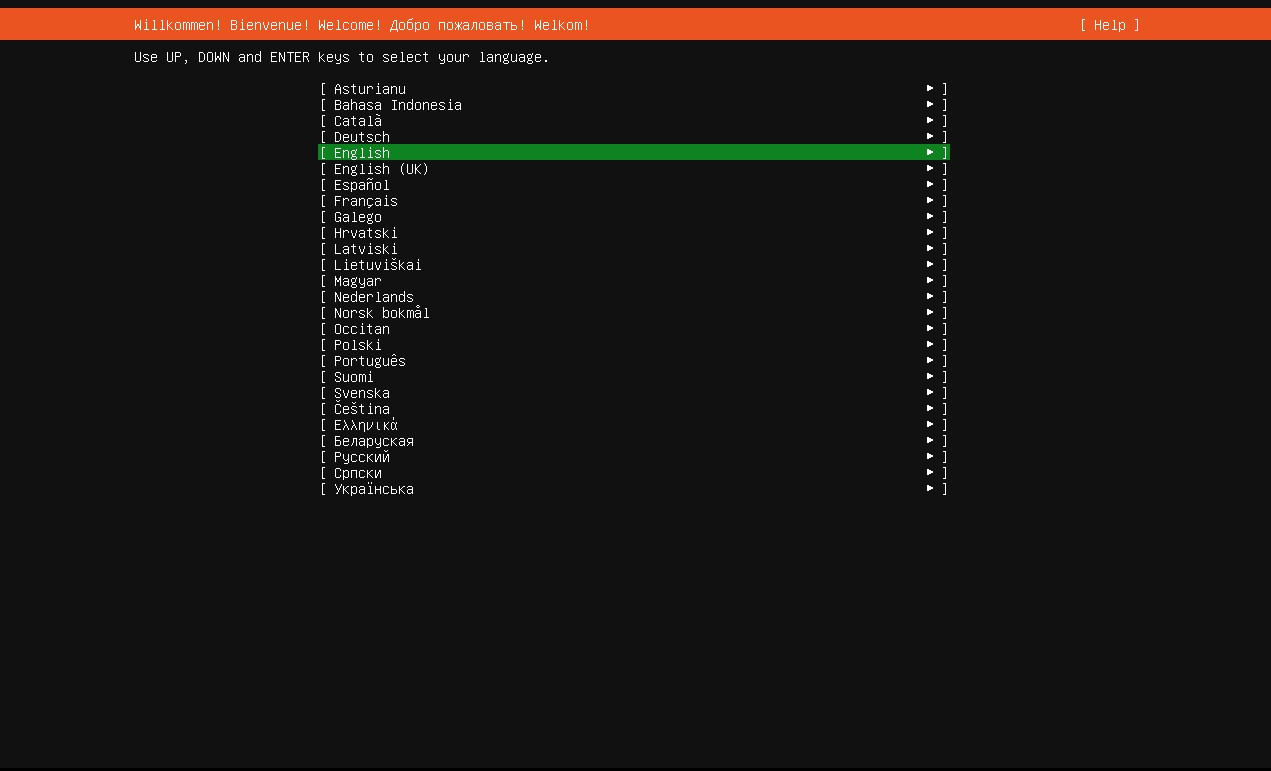
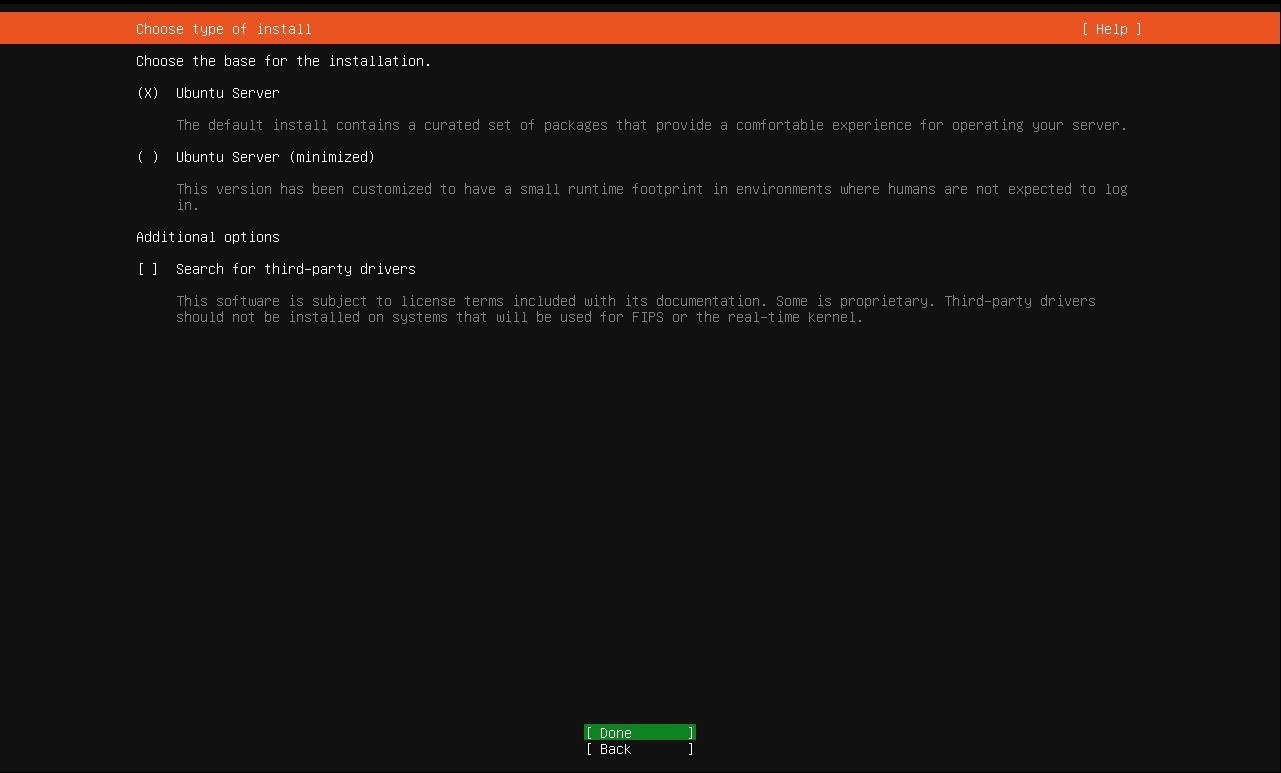
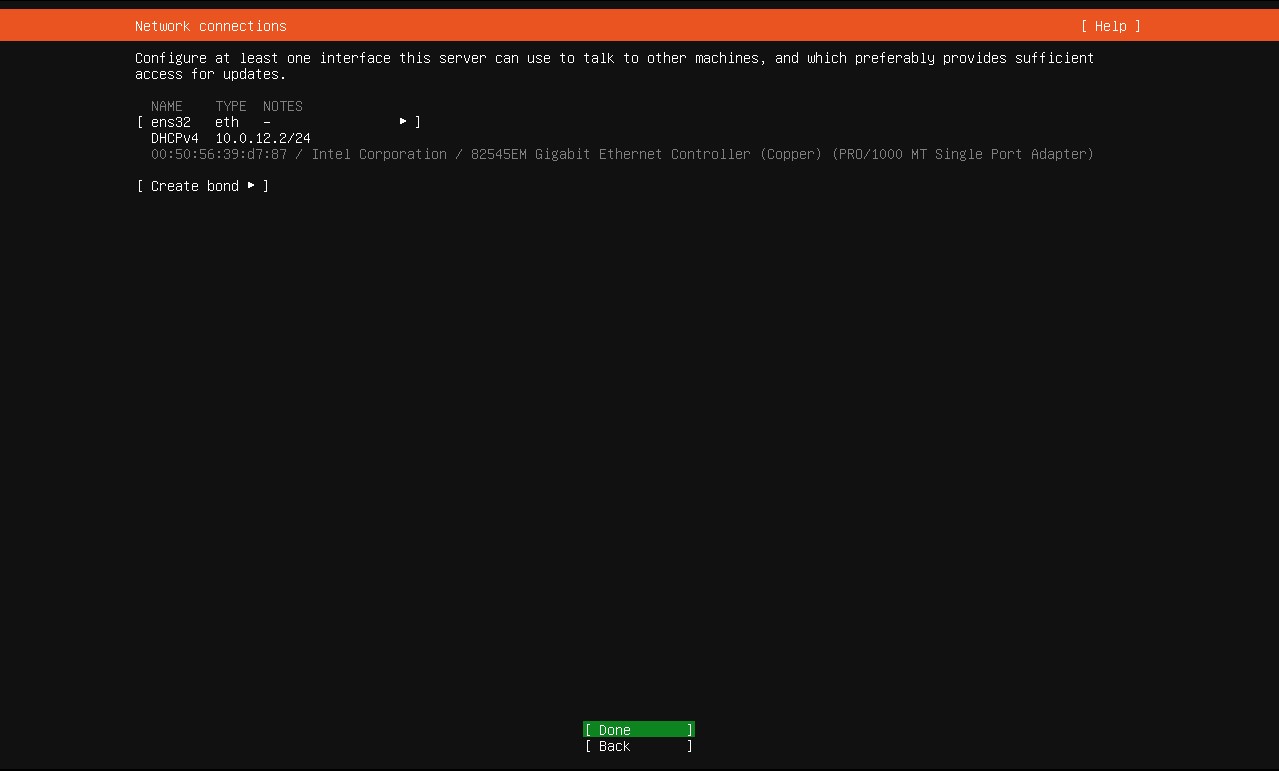
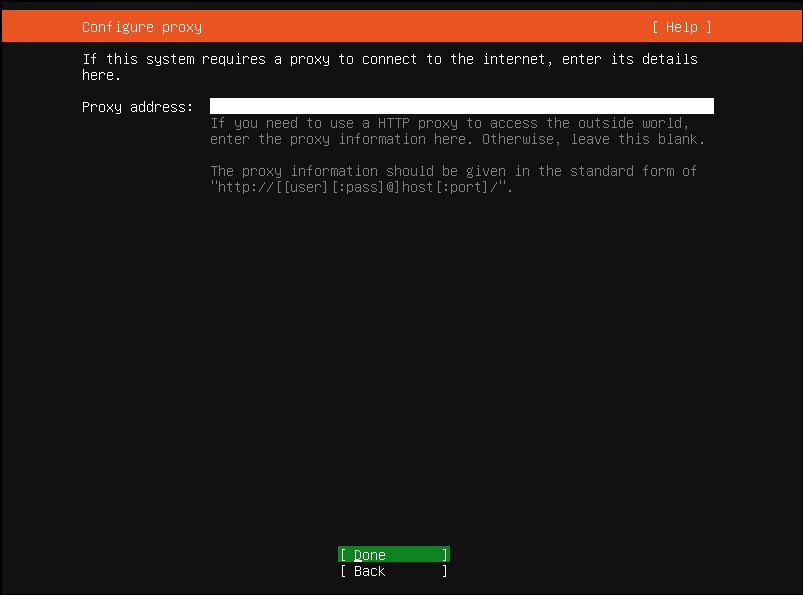
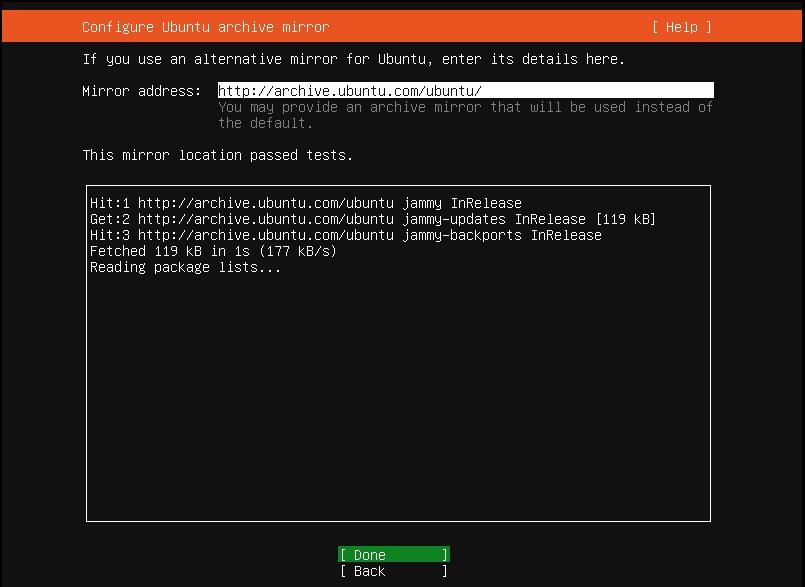
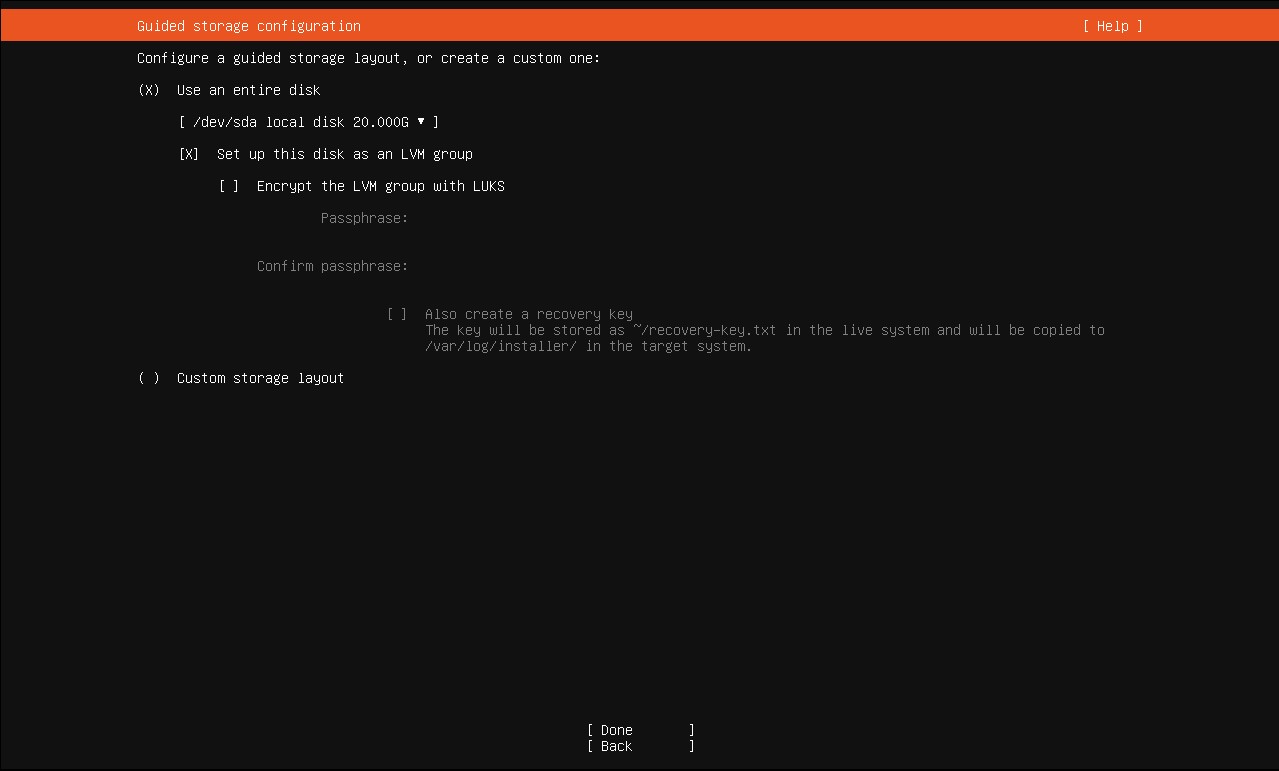
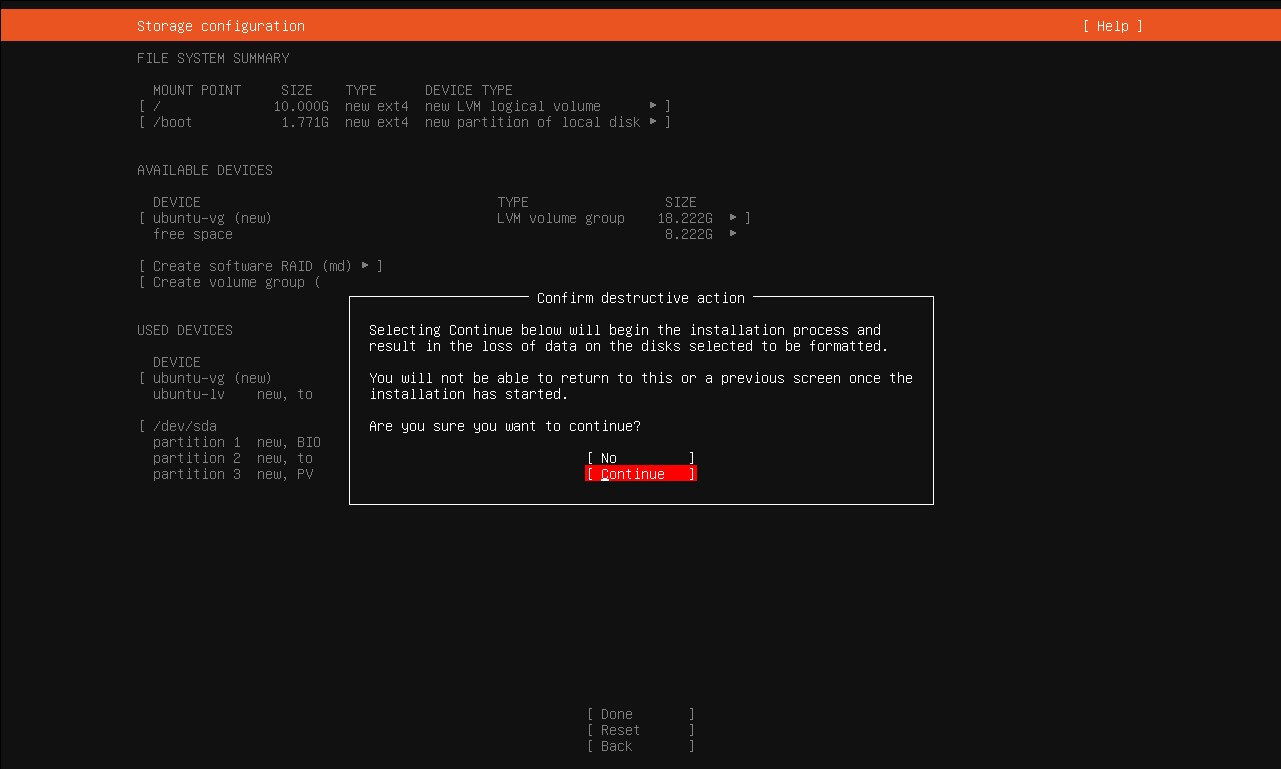
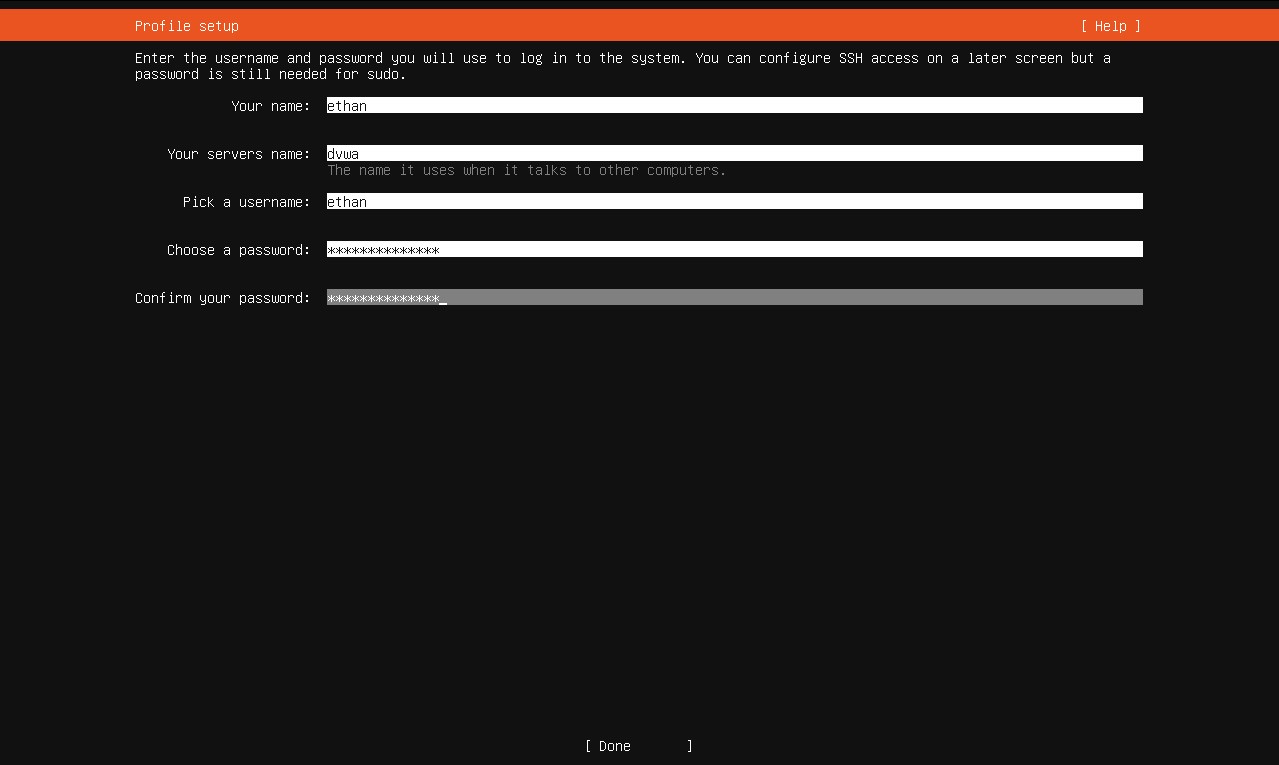
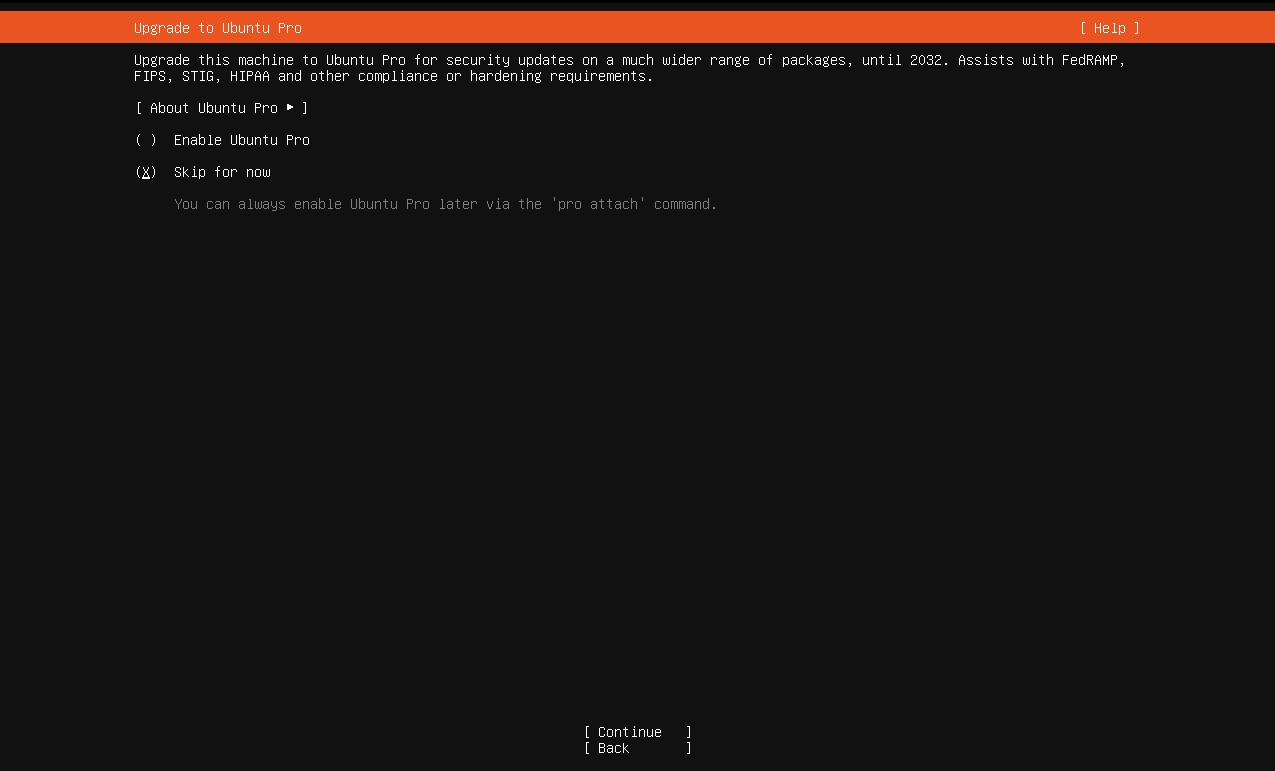
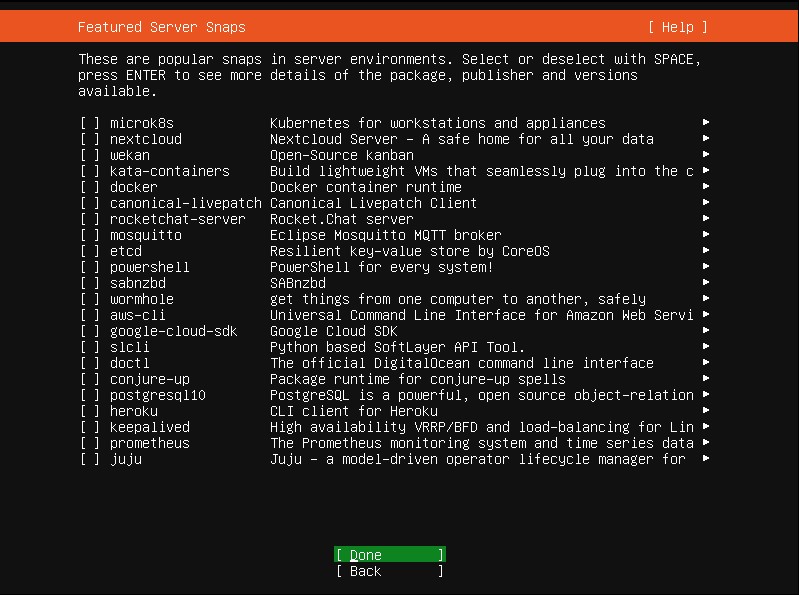
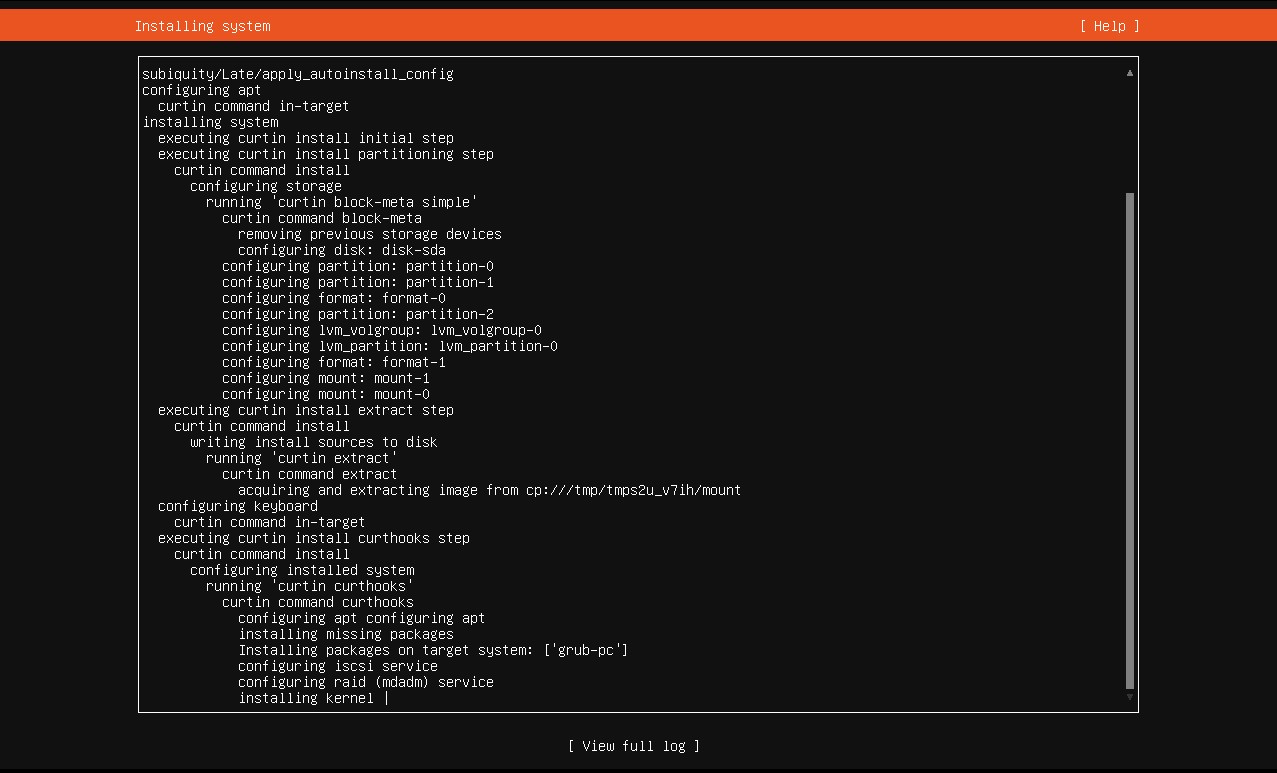
Power on the machine and choose ‘Try or Install Ubuntu Server’ and you will be greeted with the Ubuntu installation wizard after a short time. Choose your language, keyboard, and the standard server installation options. When you get to ‘Network Connections’ you should see the IP/MAC if you did everything correctly in the webConfigurator. Click ‘Done’. On the next page it asks us for a proxy, we aren’t using one so skip this section. Accept the default settings on the archive mirror page. On both of the storage configuration pages leave them as is and hit ‘Done’. When asked to wipe the disk, click ‘Confirm’. On the next screen, we will be able to choose a server name, username, and password. Once you have them entered, click ‘Done’. We will not be using the pro version, so skip this step. On the next page, we want to install SSH so make sure to enable it before clicking ‘Done’. We will not be installing any snaps, so skip and click ‘Done’. Finally, we can allow Ubuntu to install. Once its done, reboot the system. Don’t forget to test connections and update.

Importing & Upgrading Metasploitable2 VM
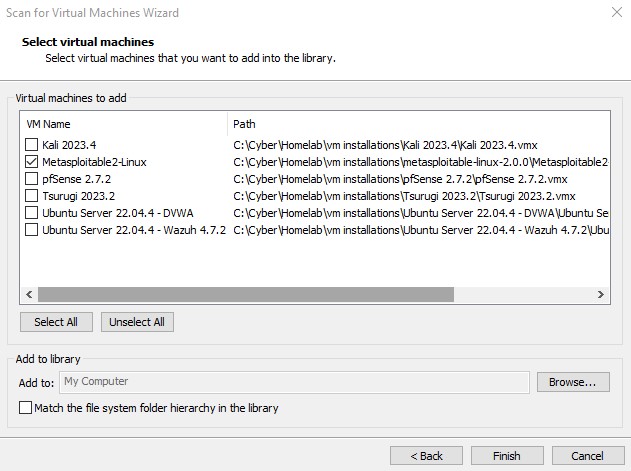
To import Metasploitable2 into VMWare, ctrl-x and paste the unzipped metasploitable2 folder into the directory where all your virtual machines are stored. Once that’s done, go to ‘File’ → ‘Scan for Virtual Machines’. Make sure that Metasploitable is the box that is clicked. Follow the wizard and VMWare should register the metasploitable machine at this point.
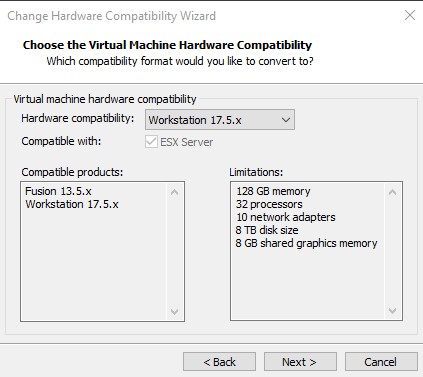
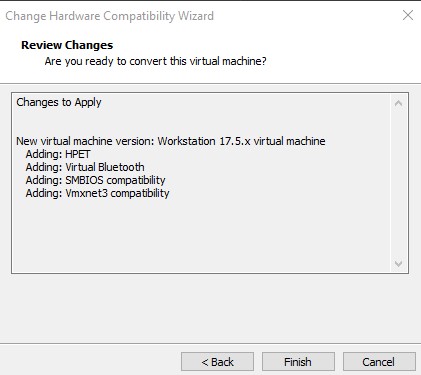
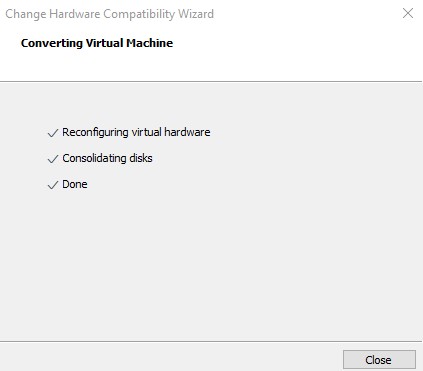
It should now show up under the library pane of VMware. Now we will need to reconfigure the hardware settings. Click on the VM and you should see the option ‘Upgrade this virtual machine’, choose it. The ‘Change Hardware Compatibility Wizard’ will be launched. On the wizard click through and choose the newest workstation version from the dropdown. On the next screen, choose ‘Alter this virtual machine’. On the ‘Review Changes’ screen, click ‘Finish’ to convert and upgrade the virtual machine for use with Workstation X.X.X (17.5.x for the most current version at this time).
Changing Metasploitable2 Settings
Now that we have upgraded the machine, we can change the specifications and set it’s DHCP allocation. Luckily, the OS comes pre-installed so we don’t have to worry about that. Here are recommended specs and the DHCP allocation within the webConfigurator.
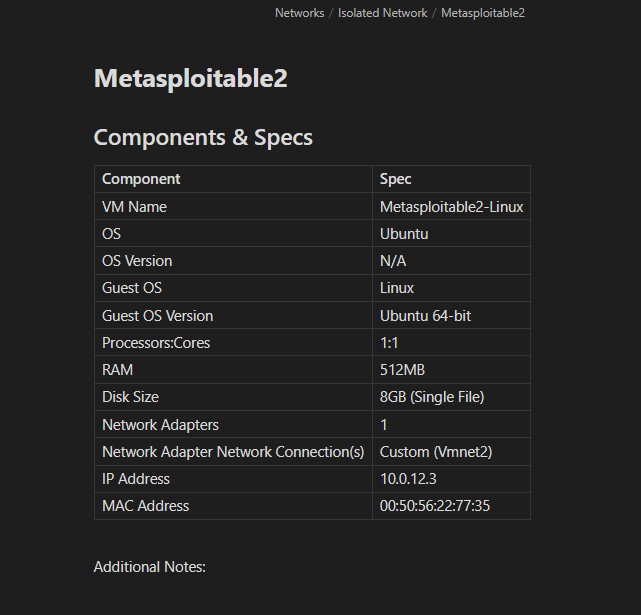

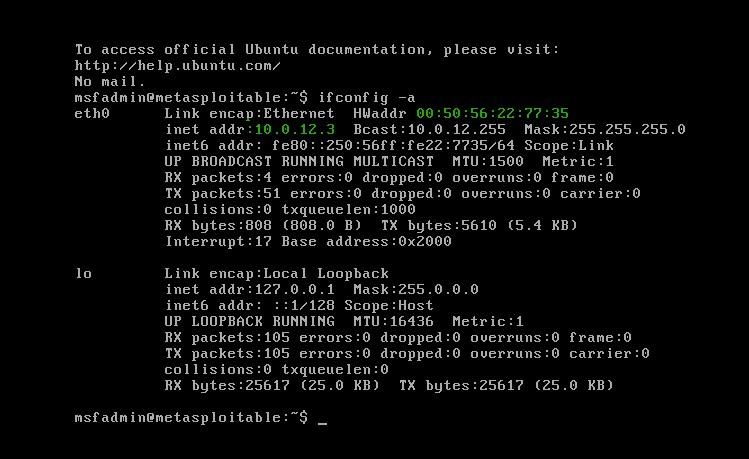
Next, we can boot up our Metasploitable VM, login with the default credentials, and do the regular connection check. Let’s start with a simple ‘ifconfig -a’ command. As we can see, the machine has the IP/MAC we set for it.
Now we absolutely do not want this machine to be able to have outbound access to other networks or the internet. Let’s try our nslookup and curl commands once again and make sure that it fails. If it fails, then we have successfully blocked outbound traffic from this machine. If it doesn’t, then your firewall rules are not configured correctly and you must change them ASAP. With that, metasploitable2 is done setting up.
Importing and Upgrading the Symfonos: 1 VM
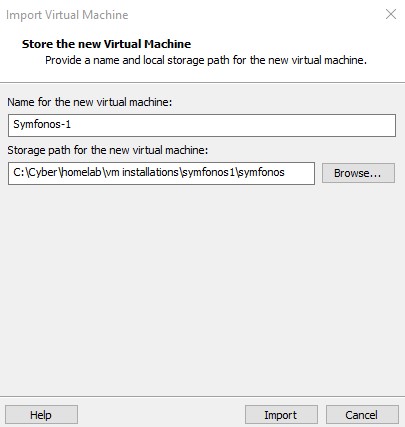
Importing the symphonos machine works a lot like metasploitable2, but instead of using the scan wizard to find metasploitable2 we will have to manually select it by going to ‘File’ → ‘Open’ and choosing the .ova file from the symfonos directory. The ‘Import Virtual Machine Wizard’ will launch and allow us to name it and choose an installation directory.
Here are the specifications and DHCP allocation in the webConfigurator.
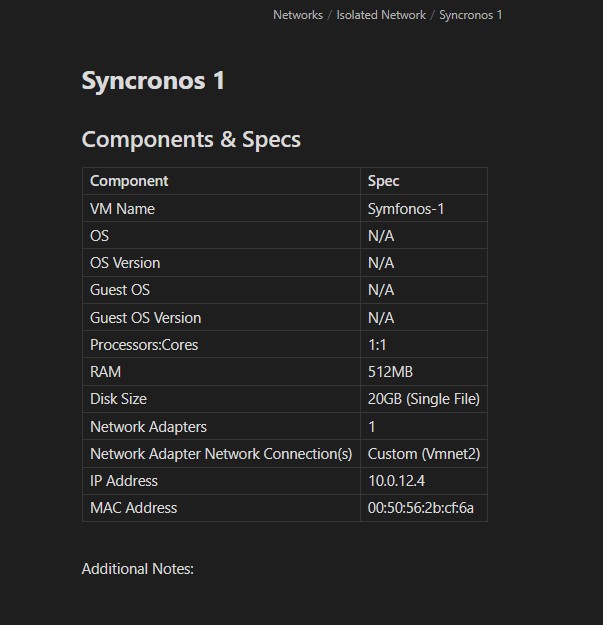

We don’t need to boot this machine right now as we don’t have the login credentials. The point is to break into it and achieve root access. Be sure to double check your DHCP and firewall rules for OPT1 to make sure everything is in working order.
| Once this is complete, then congrats all of the machines in our isolated network are now setup! We will be installing the DVWA web server onto Ubuntu here shortly. You can find the next part, ‘VMWare Pro Homelab | DVWA’, in the [blog] section of this site. |