
Installing Suricata Package Manager
This section will be a rundown on how to install Suricata on pfSense and enable it for intrusion detection and network security monitoring. We will not be using inline intrusion prevention because we don’t want to block our traffic when we launch attacks. We will be using pfSense’s package manager to complete the installation. Go to ‘System’ → ‘Package Manager’ → ‘Available Packages’ and search for ‘Suricata’. Click ‘install’ and ‘confirm’. It’s that simple! Now we can move on to configuring the rules.

Configuring Suricata Rules
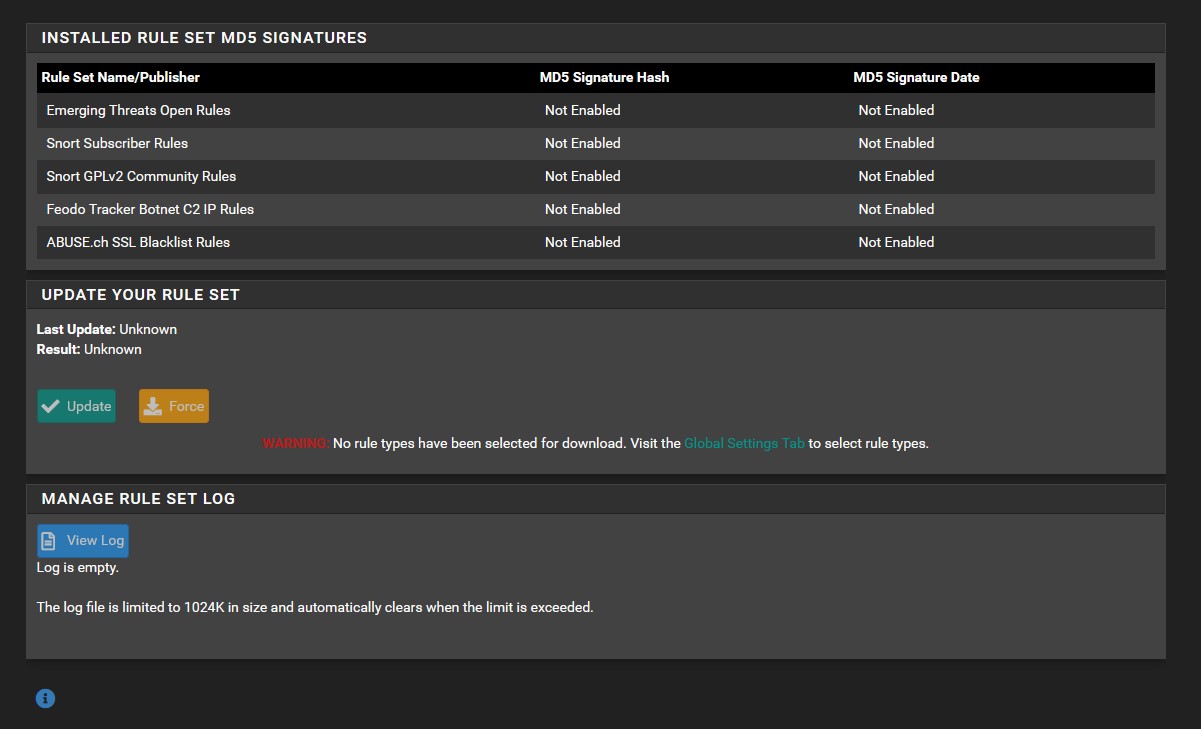
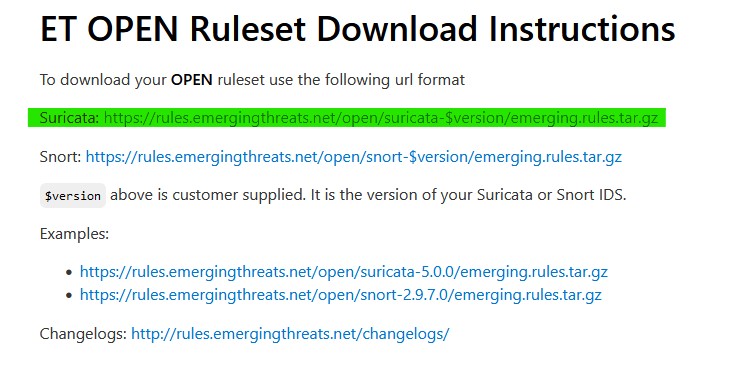
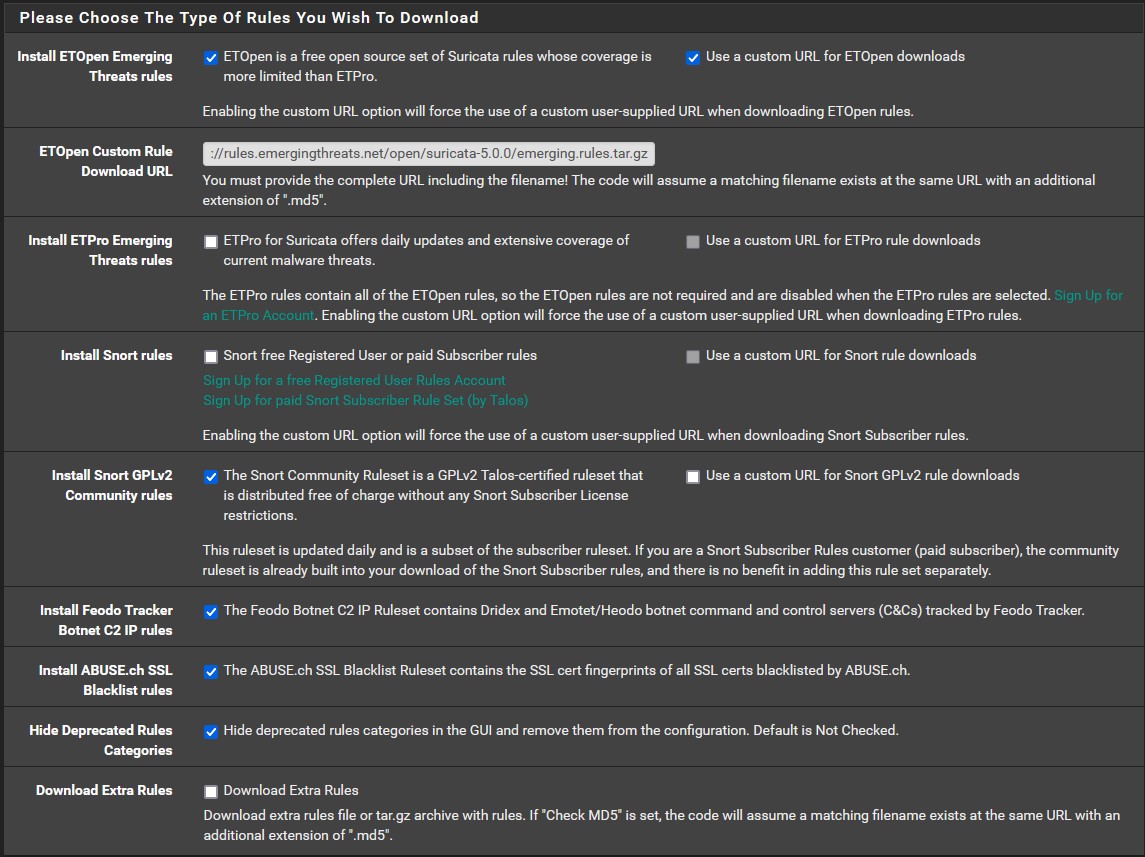
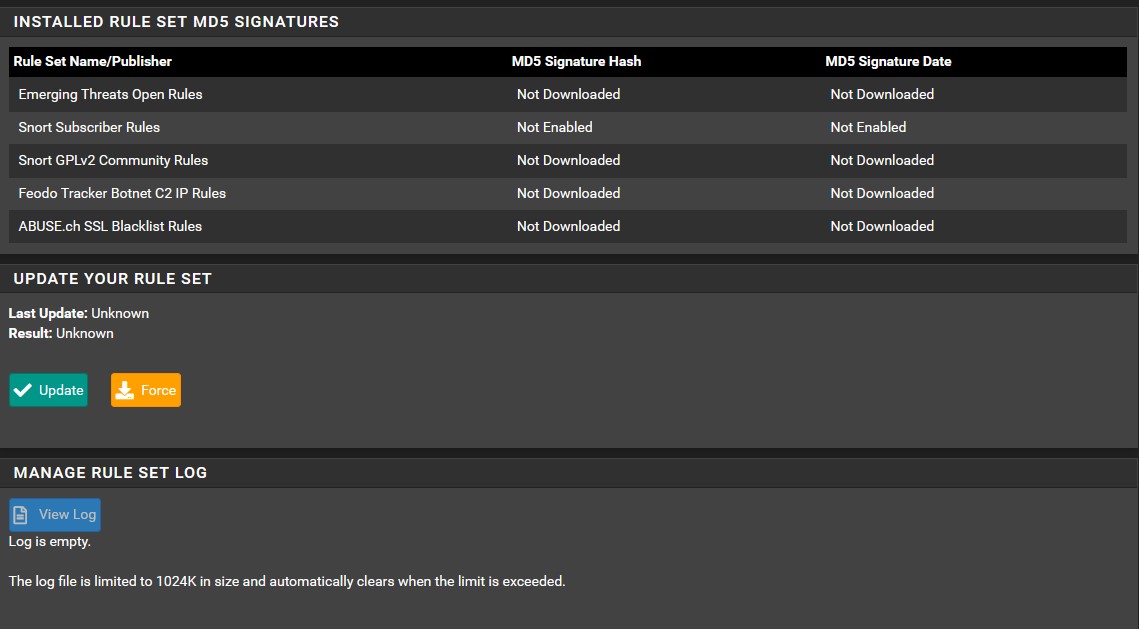
Now that Suricata has been downloaded, head over to ‘Services’ → ‘Suricata’ → ‘Updates’. As we can see, all of our rule sets are not enabled. We need to change that. Go to ‘Global Settings’ and make sure that your chosen rules look identical to the images provided below. You can find the custom URL for ETOpen here. Use the highlighted option in the image provided below. Once you have everything in order, click save and then head back to ‘Updates’ to download and install the the rule sets. This may take some time.
Setting Up Interfaces
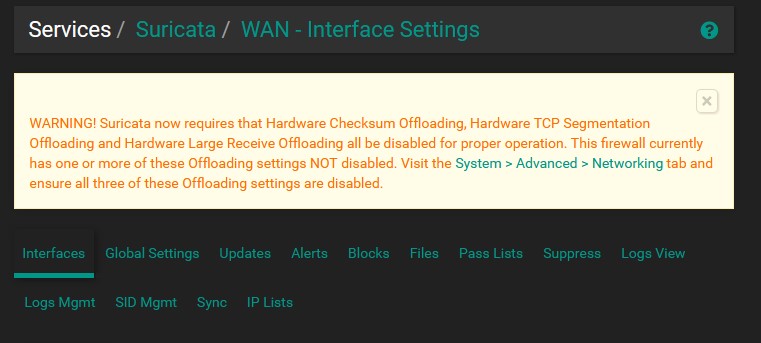
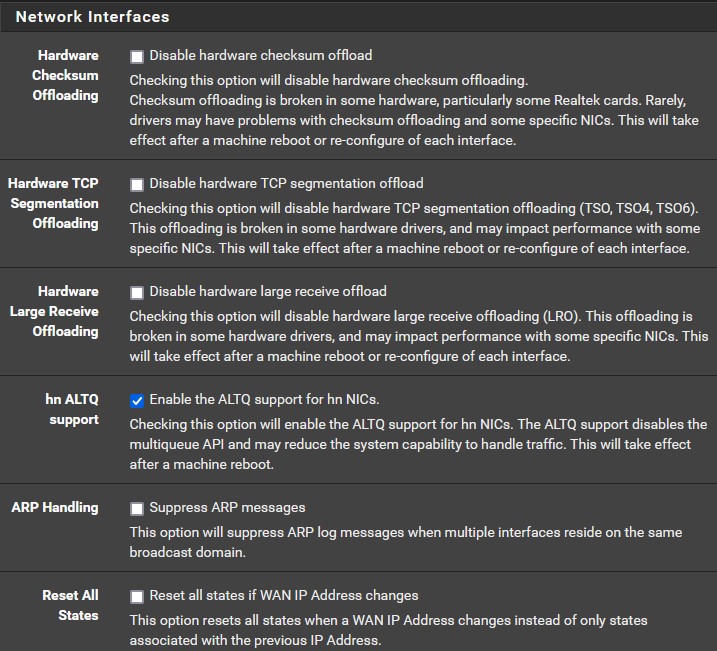
Now that our rule sets have been updated we can start adding each interface to Suricata. We will start with LAN first. Go to ‘Interfaces’ and let’s add a new one. You might see a message that says we need to disable some network interface options. Let’s go to ‘System’ → ‘Advanced’ → ‘Networking’ and disable the three settings that pfSense flagged so that Suricata can function properly on our interfaces. This will require a reboot.
Once that’s complete, head back to ‘Interfaces’ so we can setup each interface with the rule sets. We will start with the LAN. Click ‘add’ to add a new interface. Everything setting can remain as default EXCEPT make sure to enable ‘EVE JSON log’. leave the output type as ‘FILE’. Every other EVE setting can stay as is.

Make sure to avoid clicking ‘Block Offenders’ so we aren’t accidentally blocking intrusion attempts we try to conduct ourselves. It’s best practice to only turn on this feature after the Suricata rules have been tuned over a week or so to eliminate false positives. We are not really concerned with blocking anything for the purpose of this lab, but it’s important to note incase you want to mess around with it later.
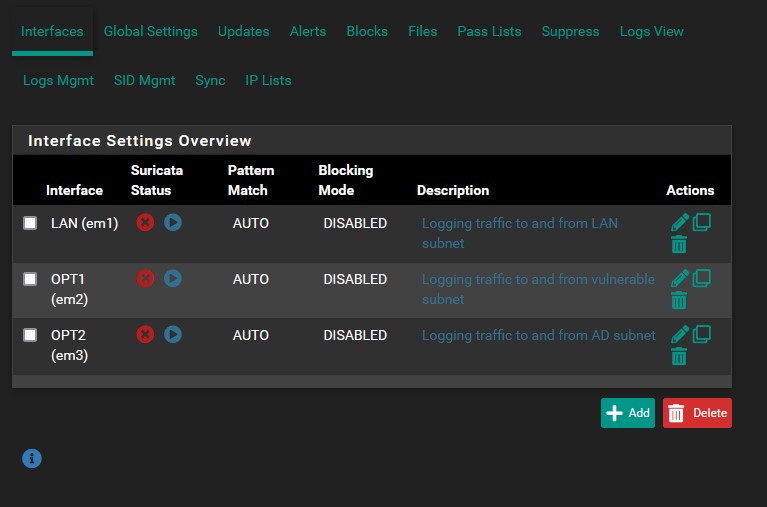
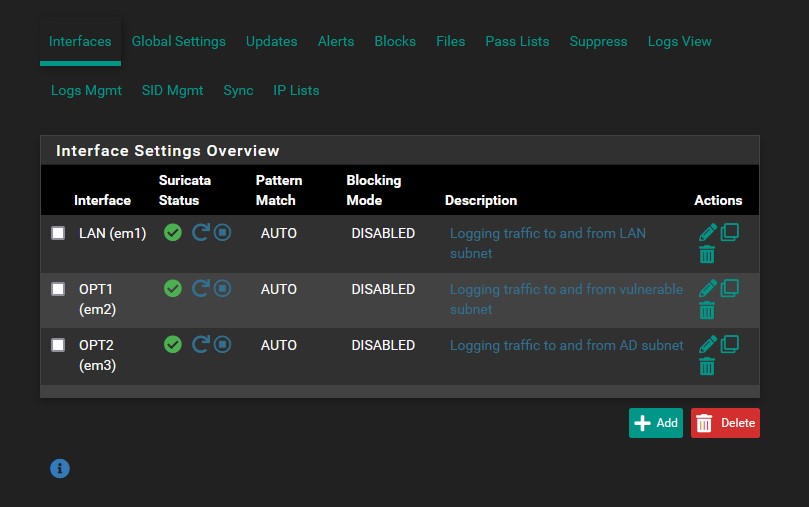
Once you have saved the LAN interface settings, copy them for OPT1 and OPT2. Your interfaces list should look like the image below.
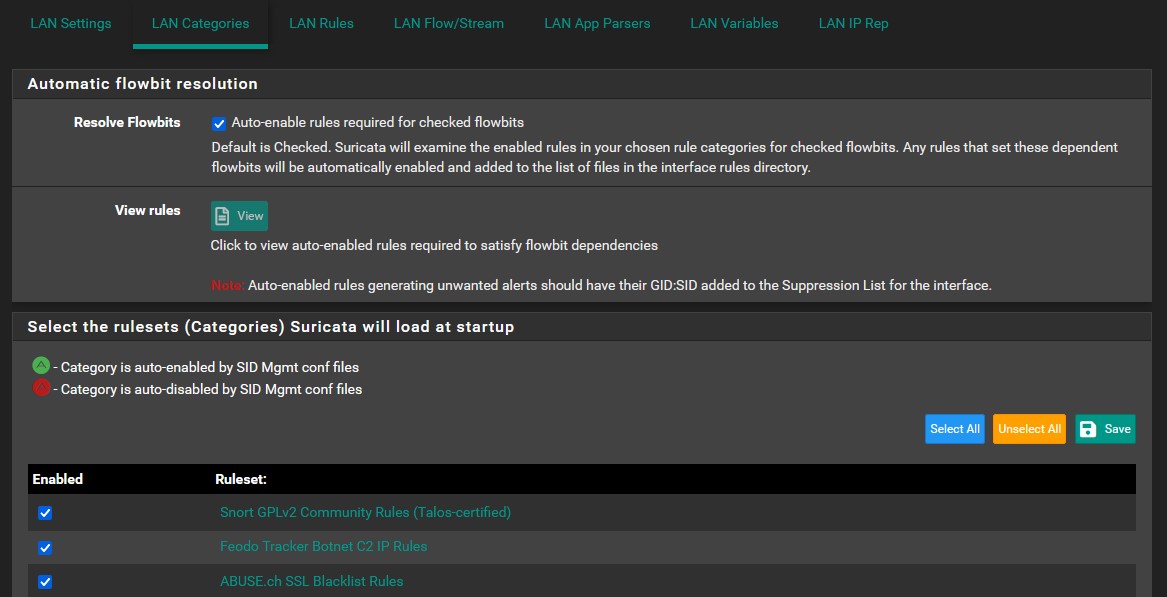
In each interface, we will need to select which rule sets the interface will load at startup. Enable all of rule sets by clicking ‘Select All’. Do this for each interface in the ‘xxx Categories’ menu, where ‘xxx’ is the currently selected interface. Make sure to save and apply. Selecting all will likely cause false positives, so you will need to whittle down the rules over time to eliminate these. I cannot walk you through this process as it occurs over time. There are plenty of useful guides for how to fine tune alerts in Suricata on Youtube.
Now we must enable Suricata on each interface in the ‘interfaces’ menu. For each interface, click the start button next to it, and voila, Suricata is now ingesting traffic and providing alerts for each interface. Below are some sample LAN alerts.
| That’s all for this part. Soon, we will be installing Wazuh on Ubuntu. You can find the next part, ‘VMWare Pro Homelab | Wazuh’, in the [blog] section of this site. |