
Creating the Management VMs
Since we already covered how to use the ‘New Virtual Machine Wizard’ when creating the pfSense machine, we will not be going through those steps. I will provide the specifications of each VM so that you can create them yourself. However, we will cover DHCP static allocations in the webConfigurator as well as OS installations. If you never obtained the ISOs in the introduction post, then go and grab them now. The images below contain the minimum requirements for each machine. We can always bump these numbers up if we need to, but we cannot reduce something like disk space in VMWare, but feel free to better tailor CPU processors/cores, disk size, and RAM to your own hardware.


Static DHCP Allocation in webConfigurator
We will now configure the DHCP server to statically assign IPs for each of our VMs. Remember that these are the assignments we’ve made thus far.
- Our LAN (Management Network) is assigned to 10.0.11.0, OPT1 (IPS 1 & 2 Networks) to 10.0.12.0, and OPT2 (AD network) to 10.0.13.0.
- The LAN interface to 10.0.11.1, the OPT1 interface to 10.0.12.1, and the OPT2 interface to 10.0.13.1.
- The vNIC for vmnet1 is assigned as 10.0.11.2.
- We also set the dynamic DHCP ranges to 10.0.11.10 - 10.0.11.254 for LAN, 10.0.12.10 - 10.0.12.254 for OPT1, and 10.0.13.10 - 10.0.13.254 for OPT2.
This means that we will have 7 potential static IP addresses remaining for the LAN segment (10.0.11.3 - 10.0.11.9), 8 for OPT1 (10.0.12.2 - 10.0.12.9), and 8 for OPT2 (10.0.13.2 - 10.0.13.9). If we ever want more machines, we can tighten the range of dynamically assigned IPs to allow for a higher static range. Make sure you have your MAC addresses you just generated because we will be needing those. Let’s go ahead and map out which machines are going to be assigned to which IP for the management (LAN) network:
- LAN static DHCP mappings:
# We will assign the Wazuh IP now and install this VM later
10.0.11.3 - SIEM (Wazuh)
10.0.11.4 - Tsurugi
10.0.11.5 - Kali
Now that we understand which IP is mapped to which machine, let’s go to ‘Services’ → ‘DHCP Server’. On the ‘LAN’, ‘OPT1’, and ‘OPT2’ tabs, make sure that the ranges are to your desire and no mistakes were made. I accidentally made a typo in the command line assignments for the LAN range (ending at ‘.245’ instead of ‘.254’) so I fixed that. DHCP should be enabled by default for all. On the ‘LAN’ tab, head down to ‘DHCP Static Mappings on LAN’ at the bottom of the page. We need to make sure that the MAC address of the correct VM aligns with the IP address we want to assign to it. Below is an example allocation.
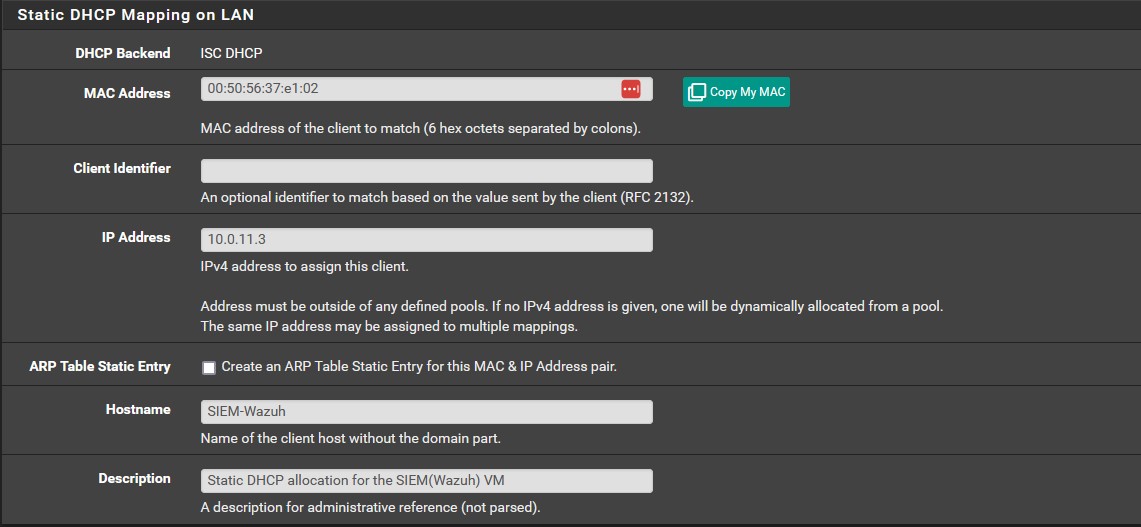
Once you’ve added the remaining two IPs, the ‘Static DHCP Mapping on LAN’ section should look like should look like the image below.

Installing Tsurugi Linux OS
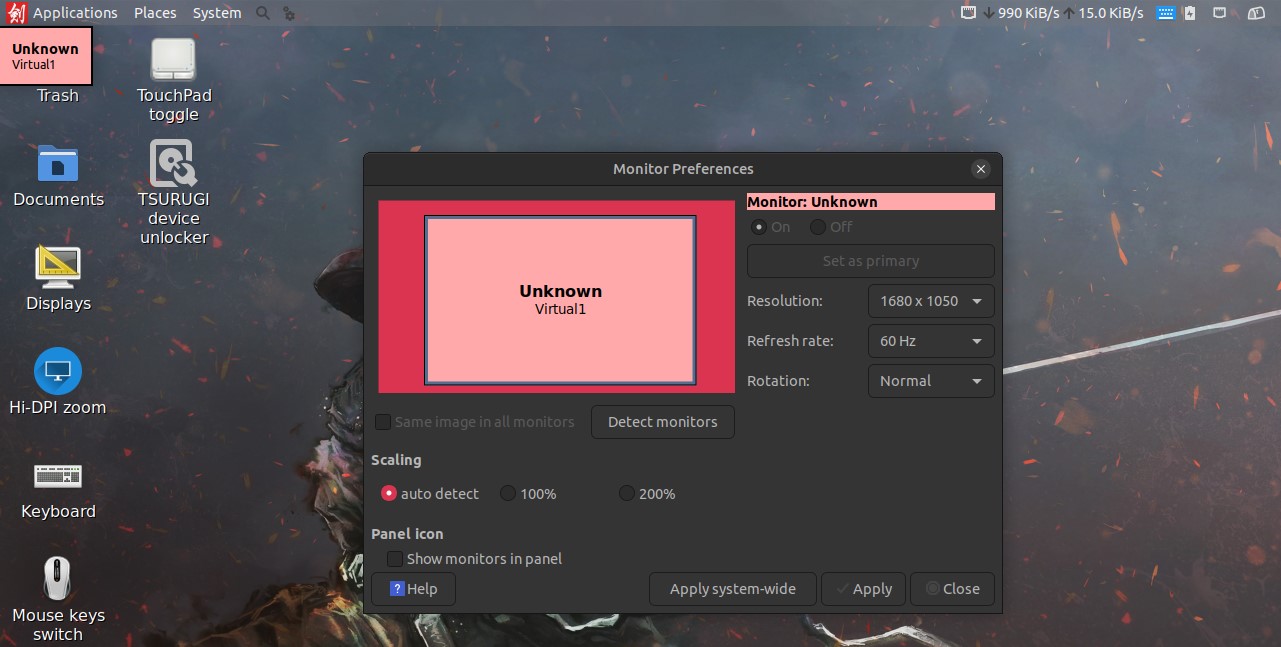
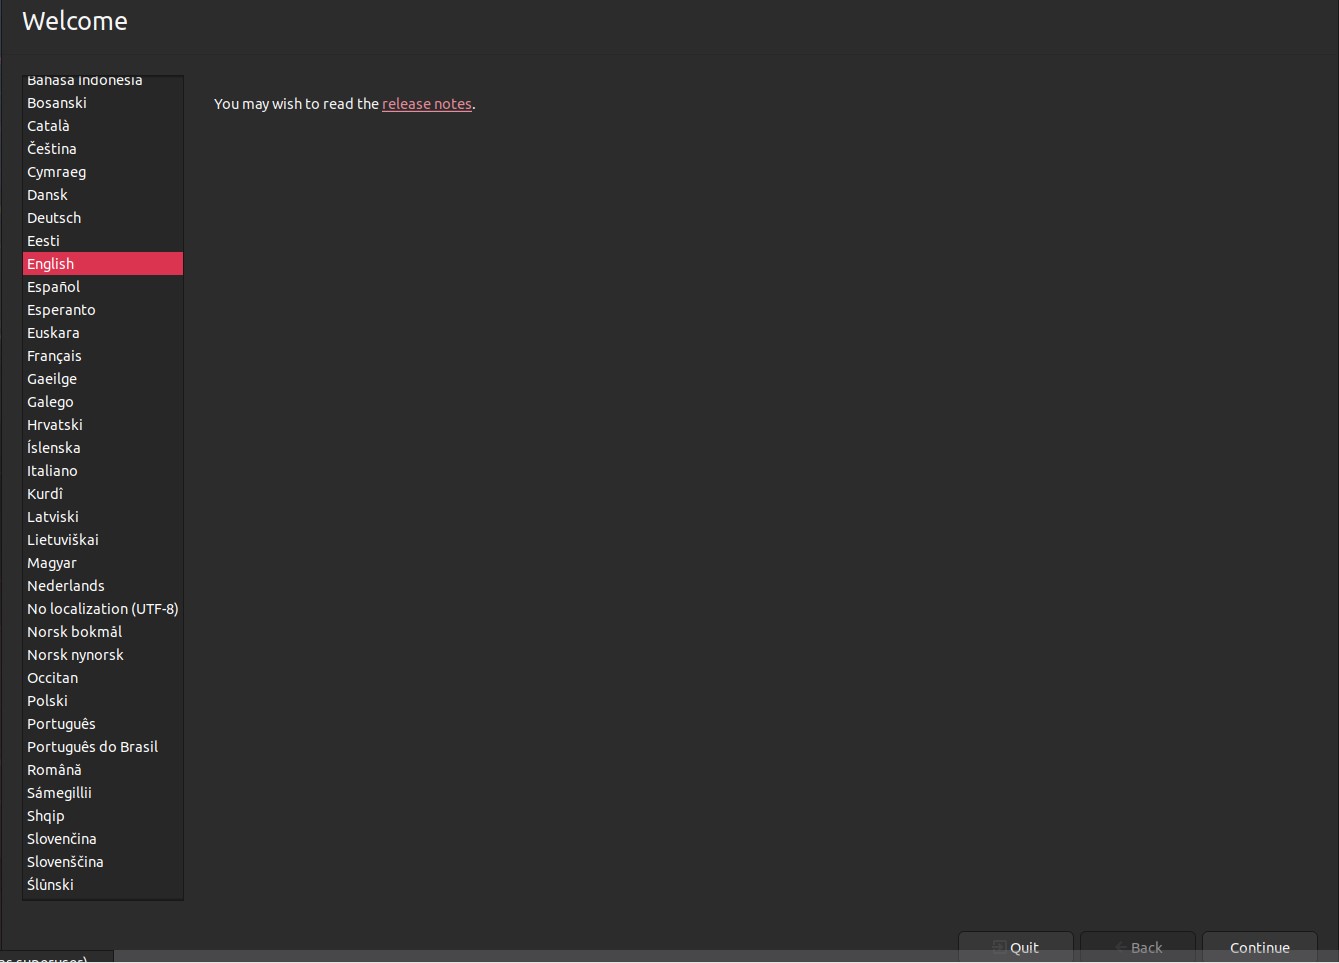
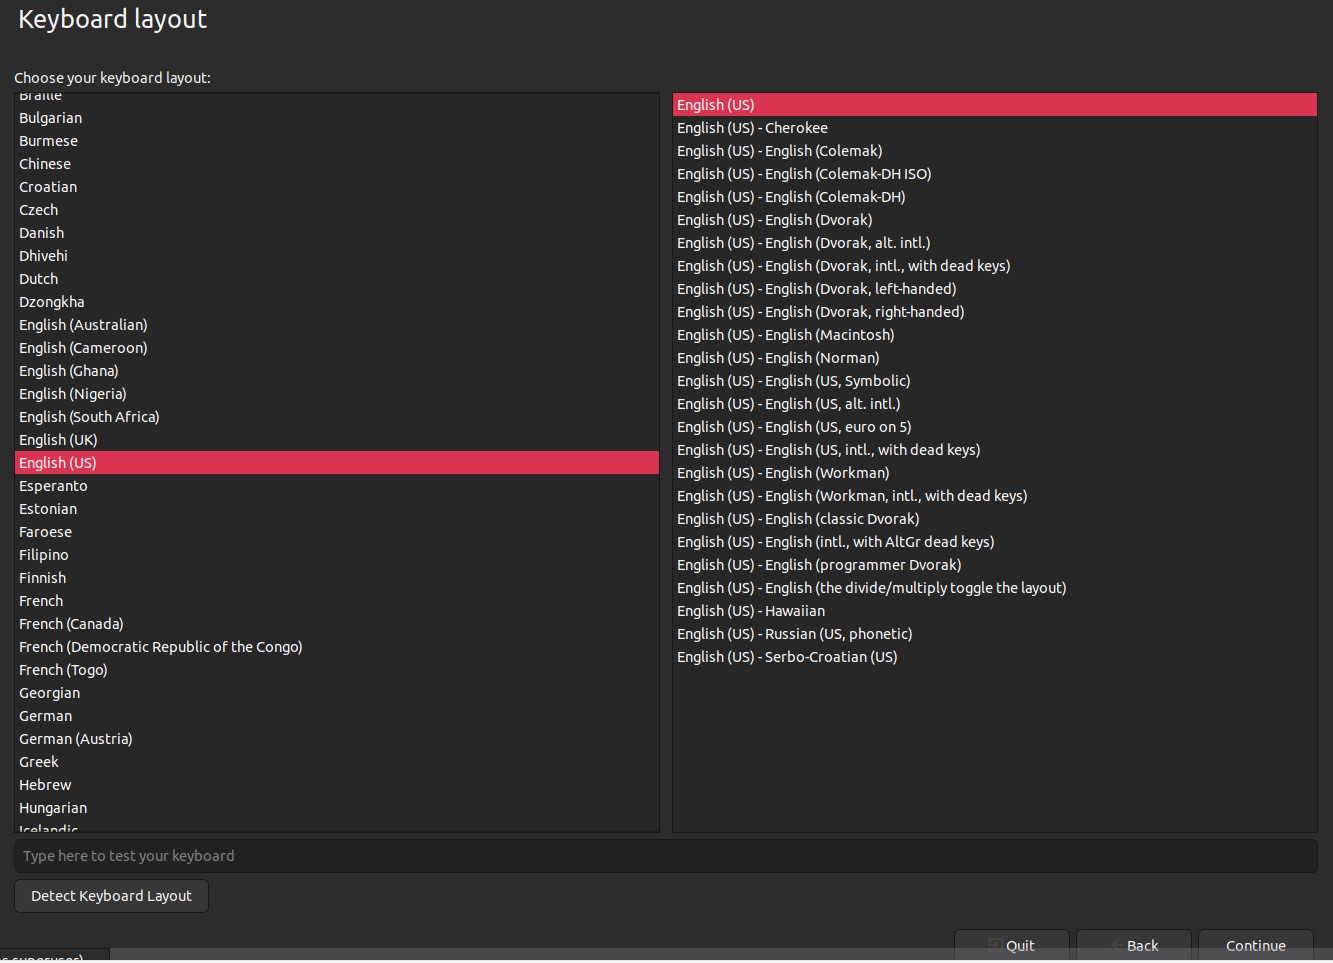
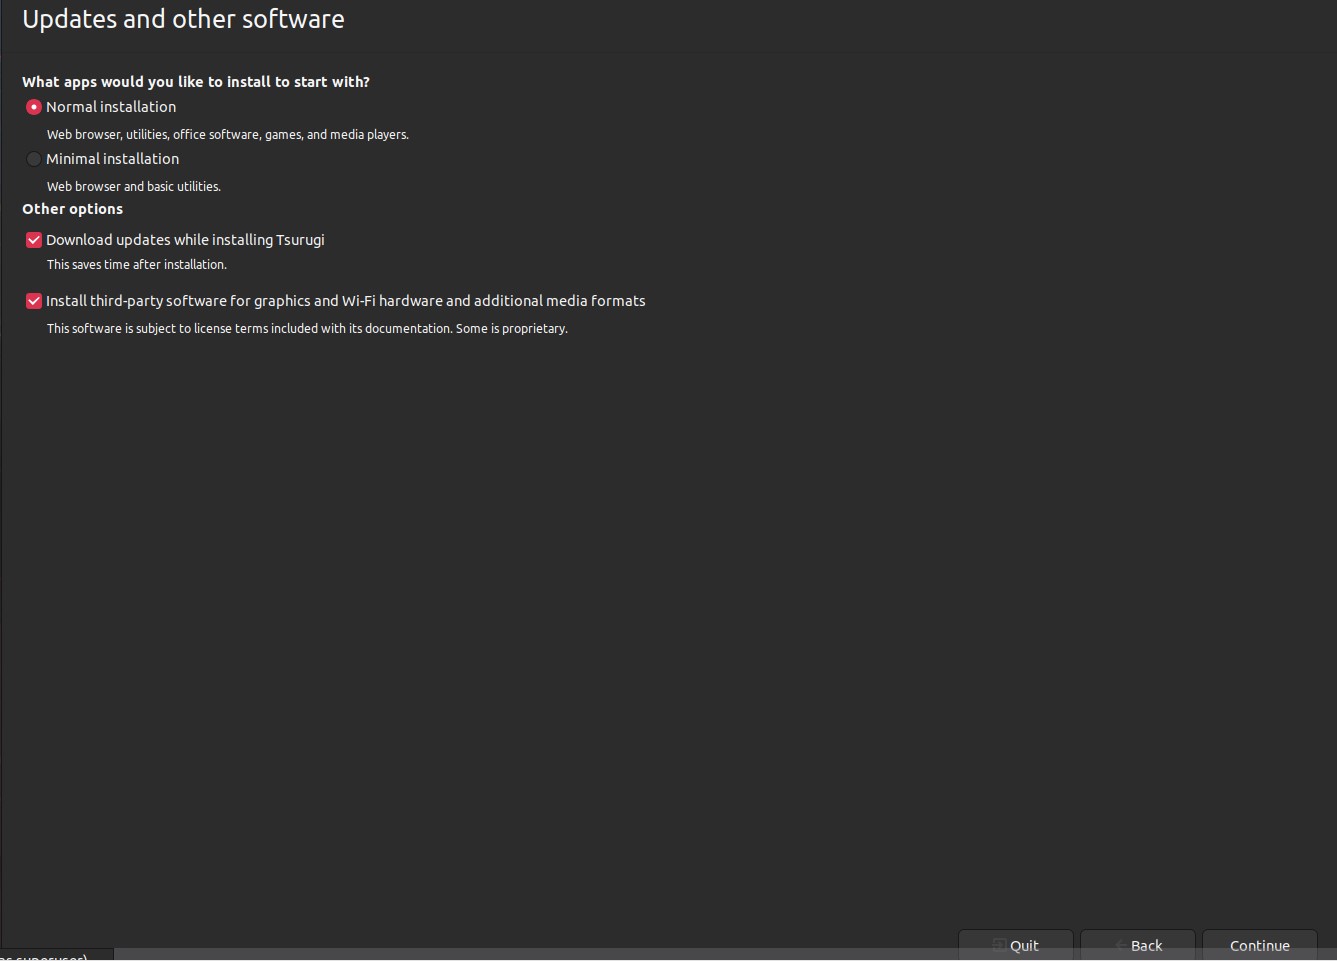
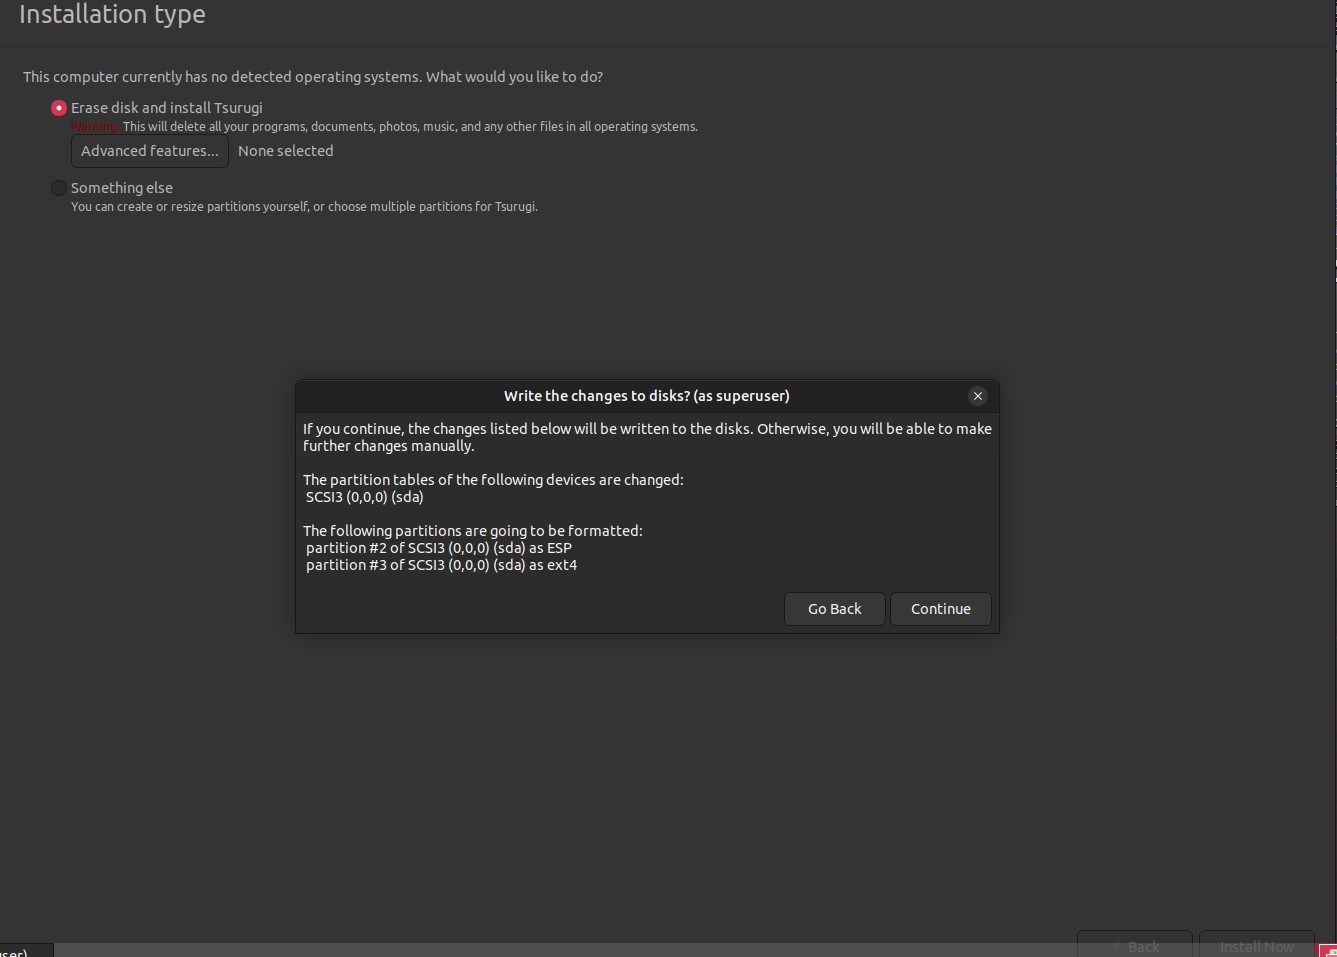
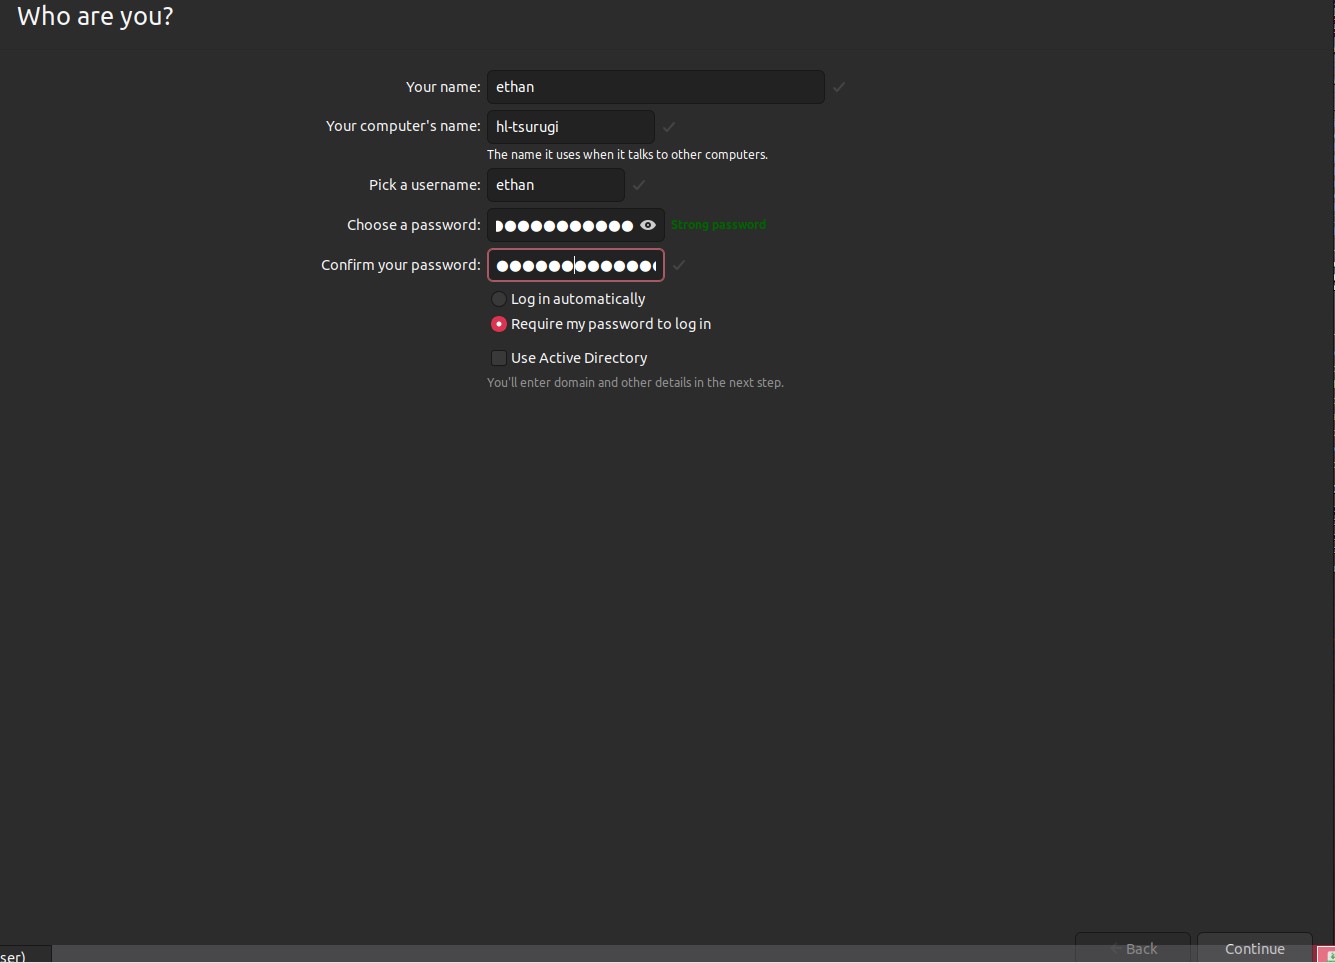
Power on the Tsurugi machine and then select ‘Install Tsurugi(GUI Mode)’. Once it’s done loading, click on the icon that reads ‘Displays’. Here we can change the screen resolution to ‘1680 x 1050’. Click on ‘Install Tsurugi Linux 2023.2’. A warning will pop up, just click ‘Yes’ to continue. Choose your language and keyboard settings. On the updates screen choose the normal installation and you can choose to install third-party software for graphics and hardware if you so desire. For the type leave it as is and erase the disk when prompted. Choose your location, I will not be showing mine as to not doxx myself. You’ll then need to create a profile and name your machine. Once this is done, you should be ready to install. It might take a while, so get cozy in the meantime. Once its done, we can remove the installation media and restart. You will be prompted to login. Now we can test connectivity as well as update and install packages. Now you have access to a full range of DFIR tools at your disposal.
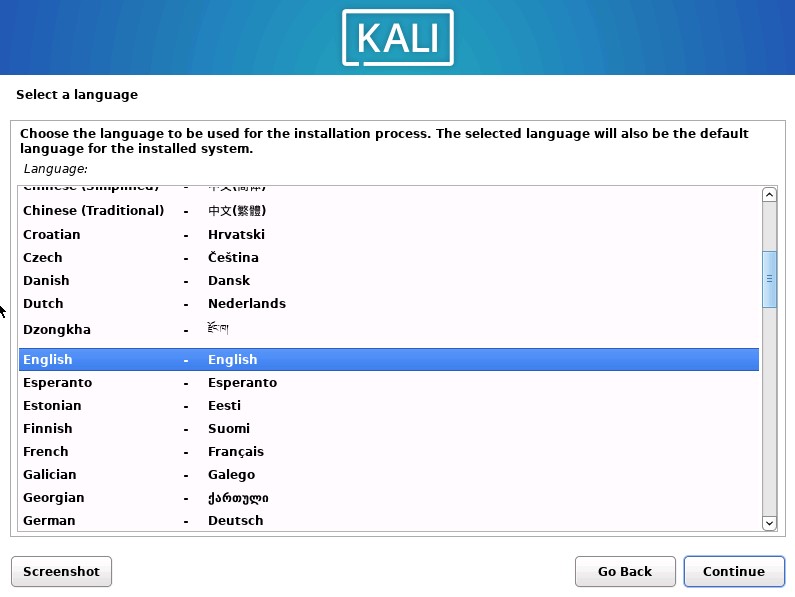
Installing Kali Linux OS
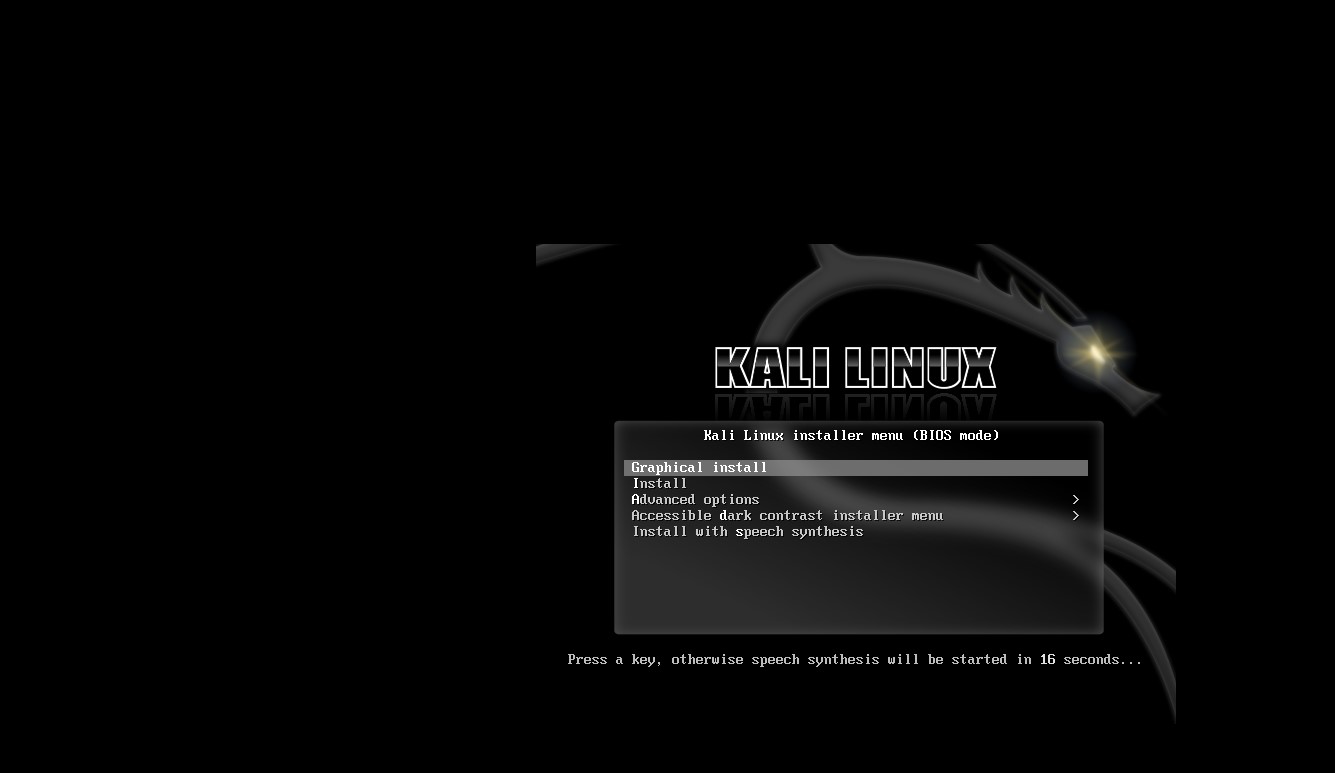
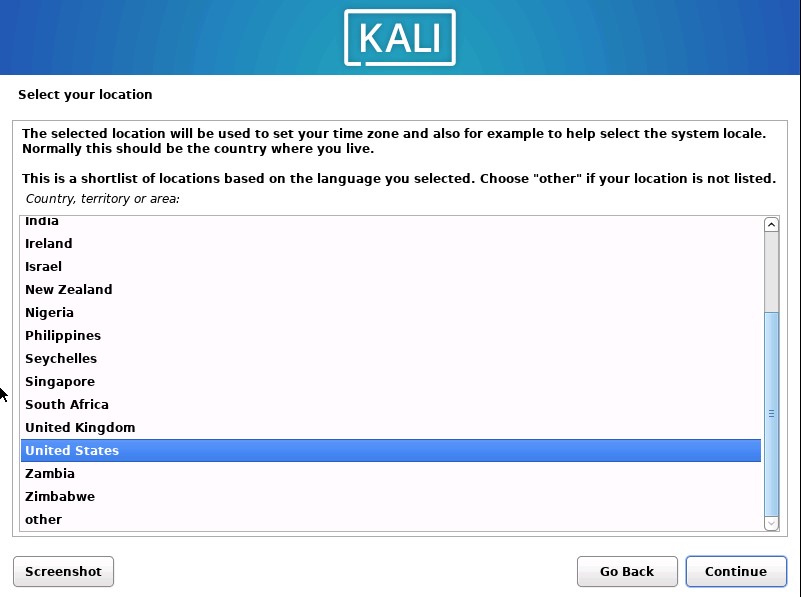
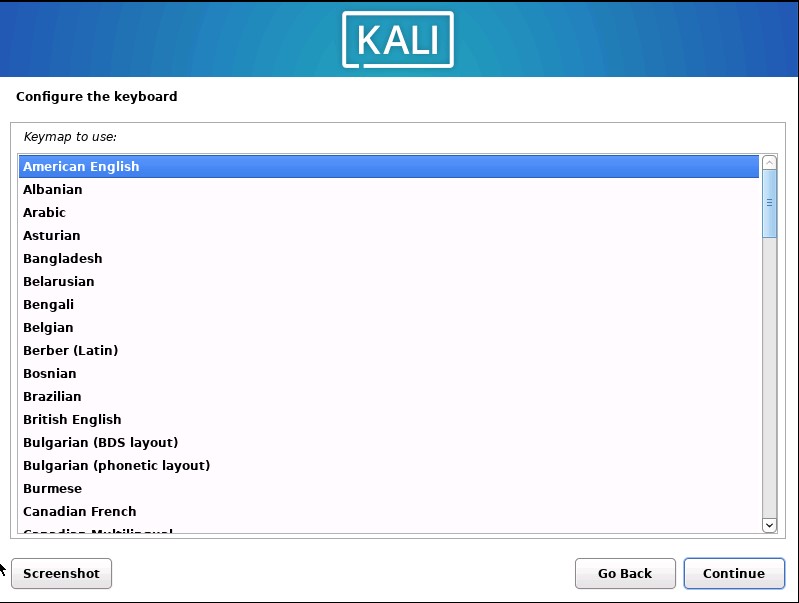
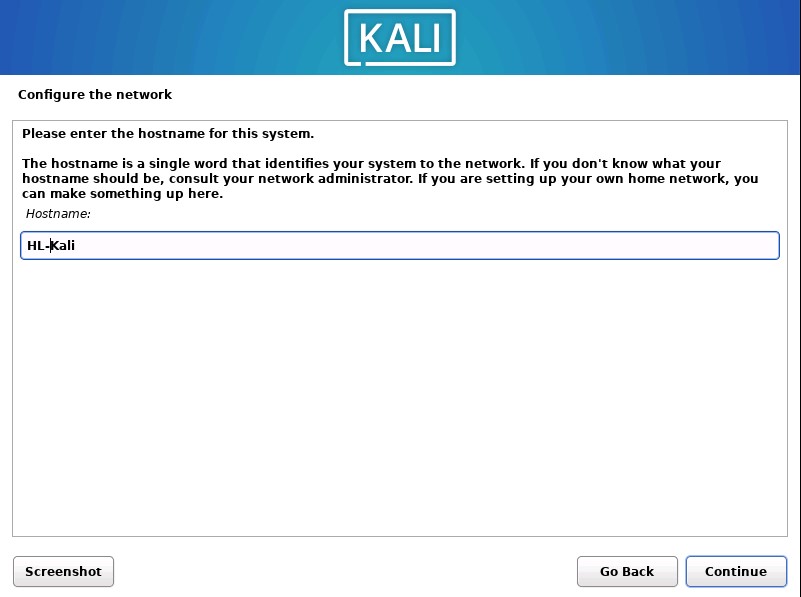
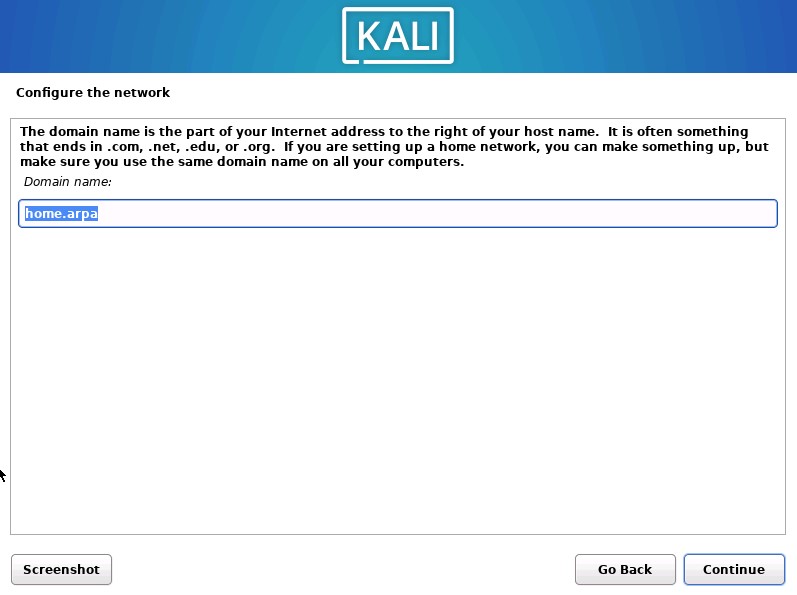
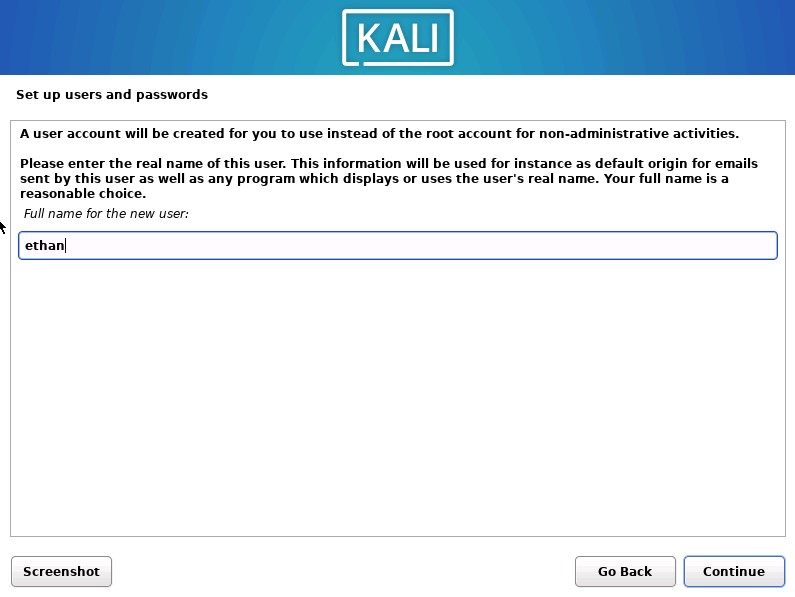
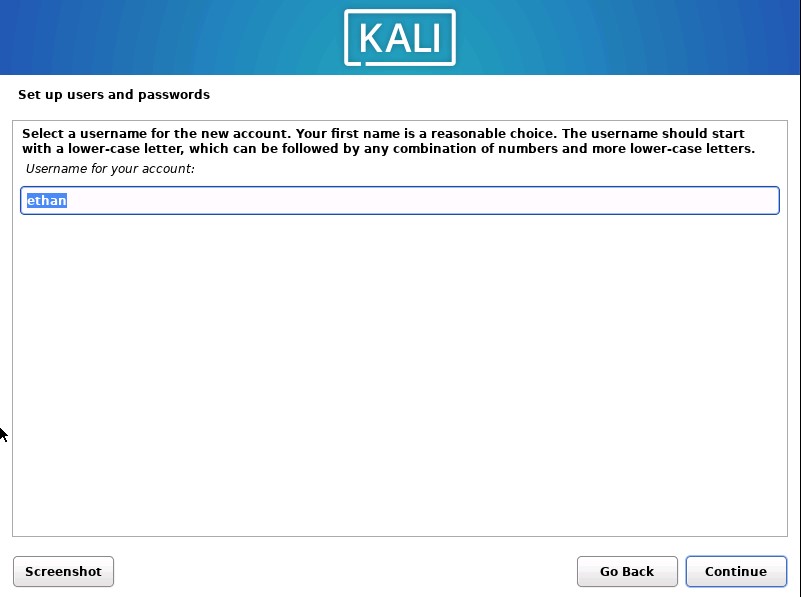
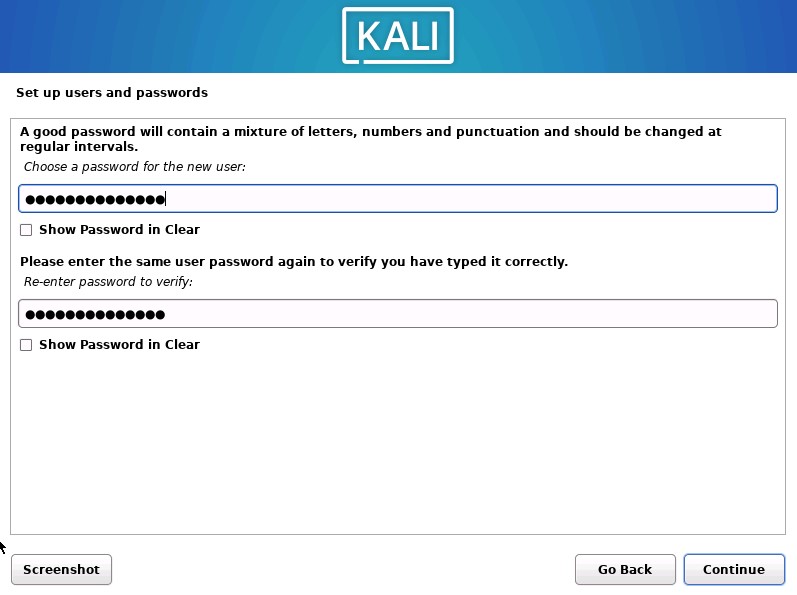
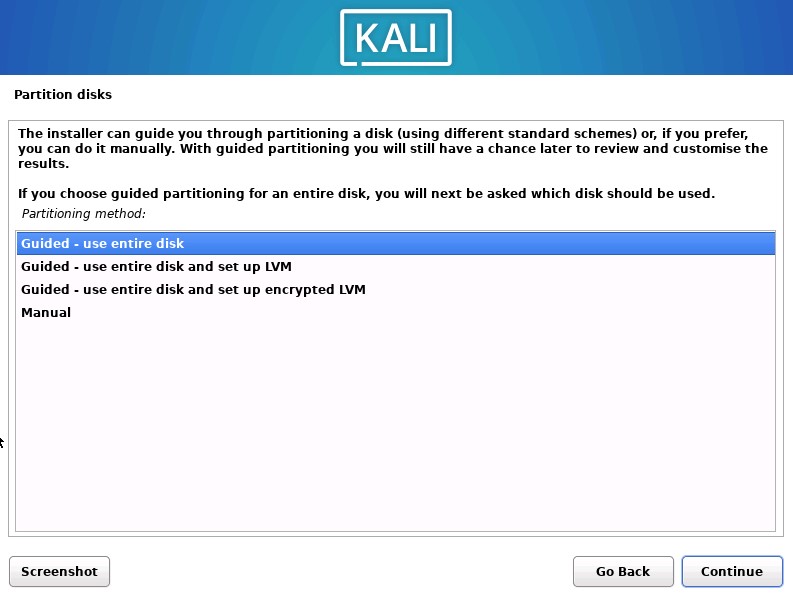
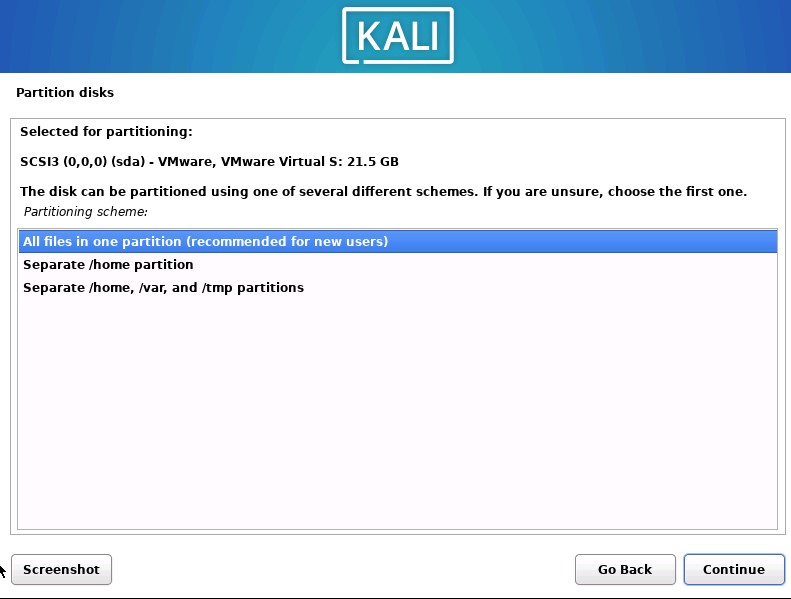
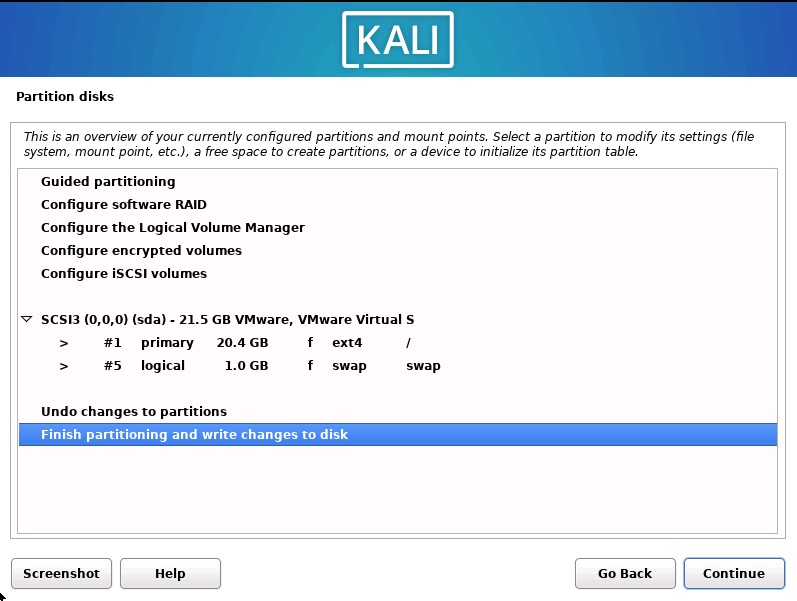
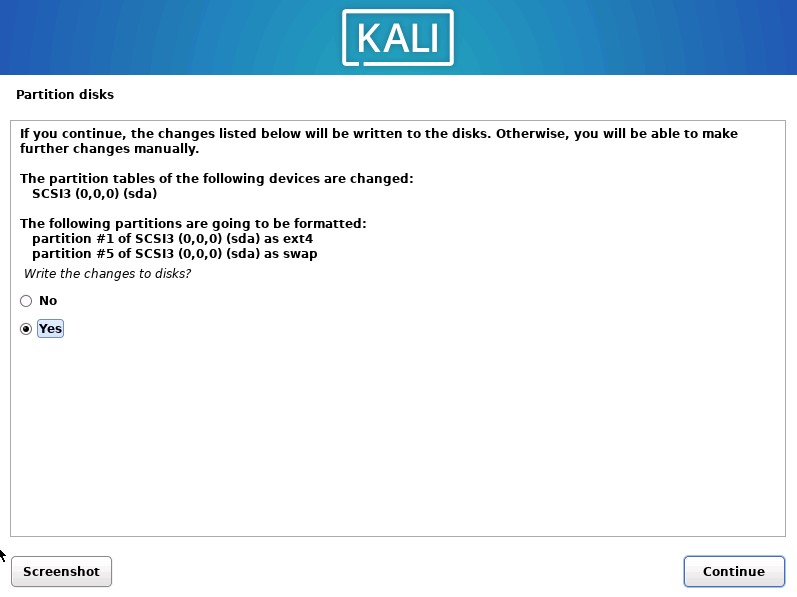
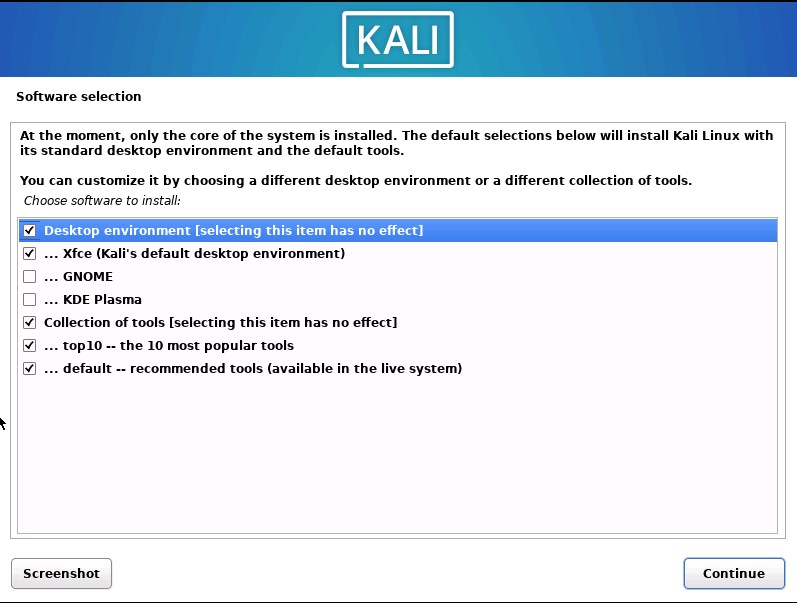
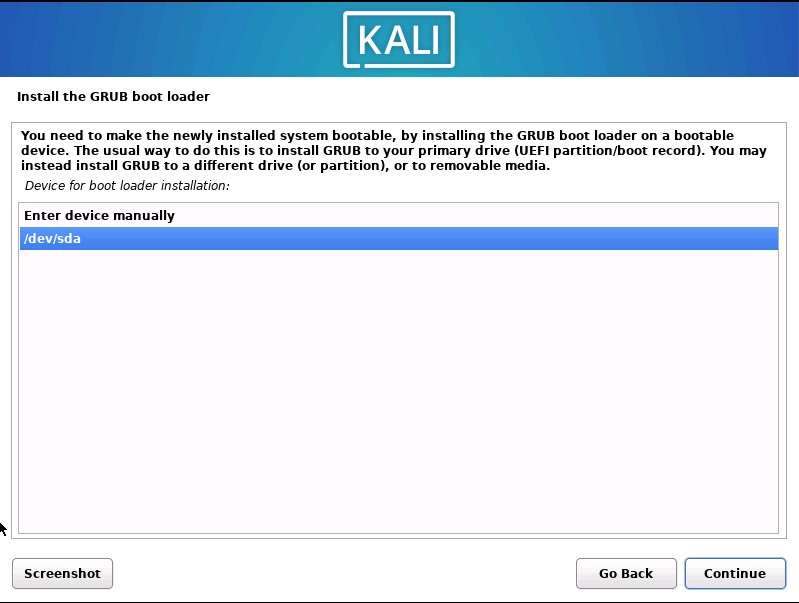
For Kali, choose the ‘Graphic Installer’ option. Choose your language, region, and keyboard configurations. Wait for the installer for a moment. On the next screen, change the hostname to whatever you wish. For the domain name make sure it aligns with the domain you setup in the webConfigurator. On the next three screens, give your name and create a username/password. After that, configure the timezone for the clock settings. For the disk option, choose ‘Guided - Use entire disk’ and then select SCSI3. When asked how the disk is to be partitioned, choose ‘All files in one partition’. On the next two pages, click finish and then select yes. The disks will then be partitioned and the base system installed. We will then be asked which software we want to install. Choose whichever packages you like, but I’d leave it at the default. Software will then be installed. This will probably take some time. On the grub boot loader screen choose yes and then on the next select ‘/dev/sda’. The grub boot loader will then be installed and that should be it! Kali is now installed, so once more we can reboot to test connectivity and update packages.


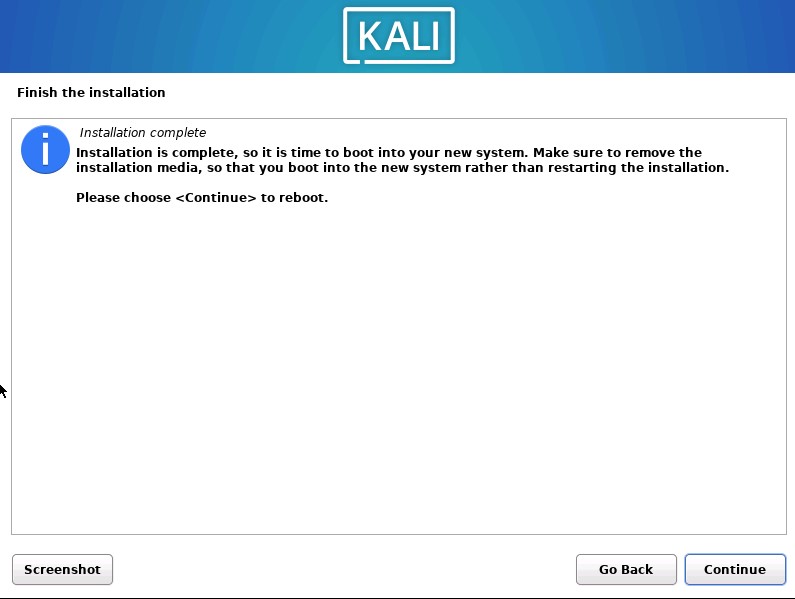
With that, the management network VMs are all setup! Don’t forget to take snapshots of all of them at this point. Later, we will be installing Wazuh on the Ubuntu server to act as our SIEM and ingest logs for from the firewall.
| we will now move on to importing the isolated VMs and preparing an Ubuntu server for DVWA. You can find it by going to ‘VMWare Pro Homelab | Metasploitable2 & Vulnhub’ in the [blog] section of this site. |